7 crucial mistakes to avoid when setting up your hi-fi system
Because it's not just about buying the right kit...
The latest hi-fi, home cinema and tech news, reviews, buying advice and deals, direct to your inbox.
You are now subscribed
Your newsletter sign-up was successful
You did everything properly when buying your system. You read product reviews and made a shortlist, visited your local dealer to listen to your options and bought the kit you liked the most. It’s all come home and been connected with care, and yet something isn’t right: your system doesn’t quite sing as you think it should and you start to wonder whether all the effort and expense have been worthwhile. Perhaps you are happy with your system but have arrived at this page intrigued to discover whether you've accidentally overlooked something (and if you haven't, très bien!) Either way, fear not, because what you may not have realised is that there are other influences at work here besides the kit itself. And in your haste to get listening, it's easy to forget to think about all of these 'other bits'.
Picking the right components is a great start, but there are a range of factors that can still affect the quality of the sound you get from them. We've listed some below, alongside solutions, to help you make your system the very best it can be. Some improvements are completely free while others will cost a bit, but in the end your system will sound all the better for the attention...
- Starting from scratch? Here's how to build the perfect hi-fi system
1. Don't ignore your room
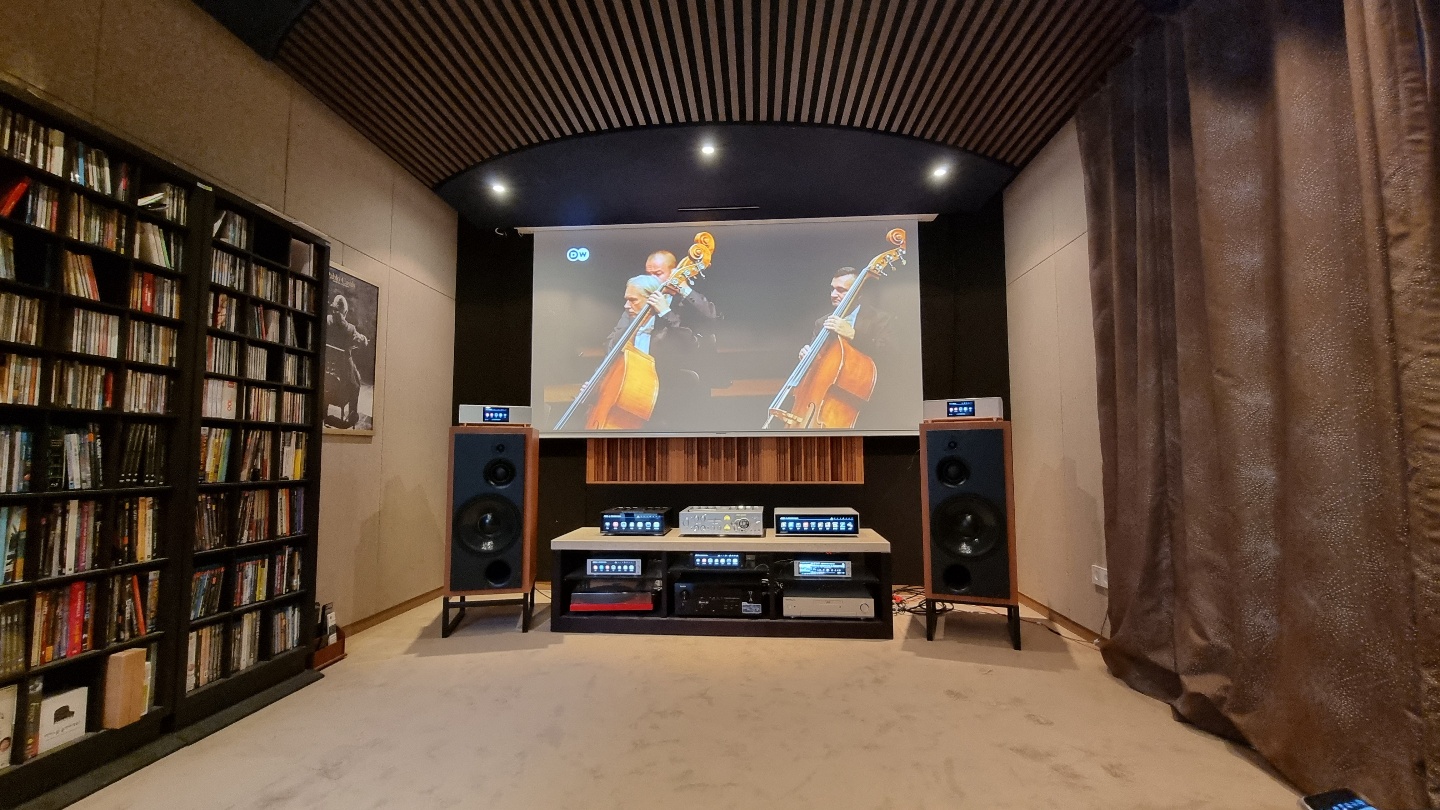
It may surprise many people to learn that the room in which you listen to your system is arguably the biggest single influence on the performance of your system. And room acoustics don't just make a small difference to how it sounds, either; they can have a big impact on clarity and tonality. Indeed, every room has a distinct sonic signature, made up of the way sound bounces around it and the resonances that generates. This has to do with the room's size and construction, as well as the way it is furnished. Yes, even that bookshelf in the corner is contributing to it.
See for yourself: walk into any room in your house and start talking out loud – it doesn’t matter if you count, sing or speak, we won’t judge – and you’ll find your voice sounds a little different in each room. Even with your eyes closed you will be able to identify which one it is – and that’s down to its sonic signature.
At low frequencies, your room’s behaviour is characterised by its size and the materials it's built from. While solid brick walls and concrete floors tend to hold onto bass energy, wooden-framed partition walls and suspended floors tend to let it escape – but not before they flex in sympathy, creating unwanted sound in the process.
Small rooms tend to have more issues with uneven low frequencies, particularly if any of their dimensions – length, width or height – are similar. Higher frequency issues are more related to the furniture in the room and how high a proportion of hard reflective surfaces it has.

If your room is sparsely furnished, has wooden or tiled floors and/or a large glass area, there’s a pretty high chance that it will sound bright and aggressive. There could well be strong reverb when you speak, and such effects will make your system sound forward, cluttered and tiring. The prominence of high frequencies could well unbalance the presentation and even make it sound lacking in bass weight and natural warmth.
The latest hi-fi, home cinema and tech news, reviews, buying advice and deals, direct to your inbox.
Alternatively, a heavily furnished room absorbs a lot of the higher frequencies, so it can make your system sound dull and unexciting. The ideal? Striking a balance between these extremes.
If the space is packed with hard surfaces, it’s worth adding some absorbing materials such as rugs or carpets on the floor between the speakers, or shelves filled with books. Heavy curtains are a great option in front of large glass areas, and – good news for cushion fans – things like heavily stuffed sofas also work a treat. By the same logic, reduce the amount of absorption material if your room gives a dull listen.
If you want to get really serious it’s well worth looking at getting into dedicated room treatments, which range from affordable to ‘sell your car’ money.
2. Don't disregard speaker placement
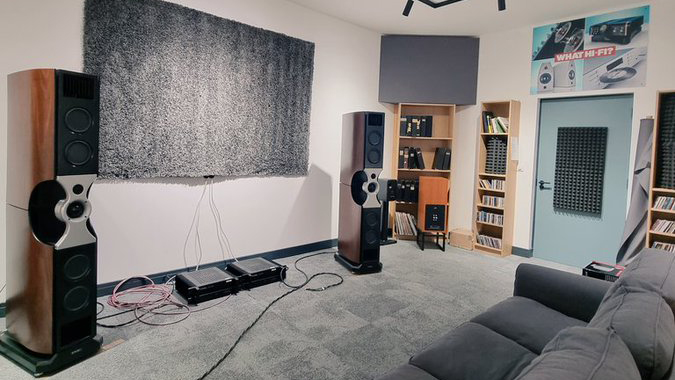
A little more obvious perhaps, but speaker placement can also hugely influence how your system sounds. Every speaker is designed with an optimum position in mind and, while some can be more accommodating, all will sound best when put in their rightful place. This information is usually offered by the owner manual, but there’s no harm in talking to a dealer or even the manufacturer regarding the optimum placement in your room.
The vast majority of the speakers we test are designed to sound best when placed away from any wall. In most cases a 50cm gap is a good place to start but, if it's practical to pull them out further, it’s often beneficial to give them more space.
The closer your speakers get to a wall the more their bass output is emphasised. The effect is much the same for rear and side walls, but a corner placement is the most extreme in this respect. We love bass, but ignore the effect walls can have and you might get the kind of low frequencies that swamp the midrange and sound ponderous.
Putting proximity to walls aside, it’s also worth a) leaving at least two metres between your speakers so that they can render a wide soundstage, and b) ideally a little more than that between the speakers and the listening position to allow the sound from the multiple drive units to integrate seamlessly to play out in front of you.
It’s also worth playing around with how much the speakers point towards the listening position. The majority of speakers we test sound best when aimed so that they cross a little behind the listener’s head, delivering a good compromise between soundstage width and the focus on individual sounds.
There’s no harm in experimenting, of course. Angling the speakers to aim at the listener or even cross in front of them will progressively tighten the focus and solidify the central imaging, but go too far and you’ll find that the soundstage narrows.
- The longer answer: how to set up and position your speakers
3. And don't forget component placement
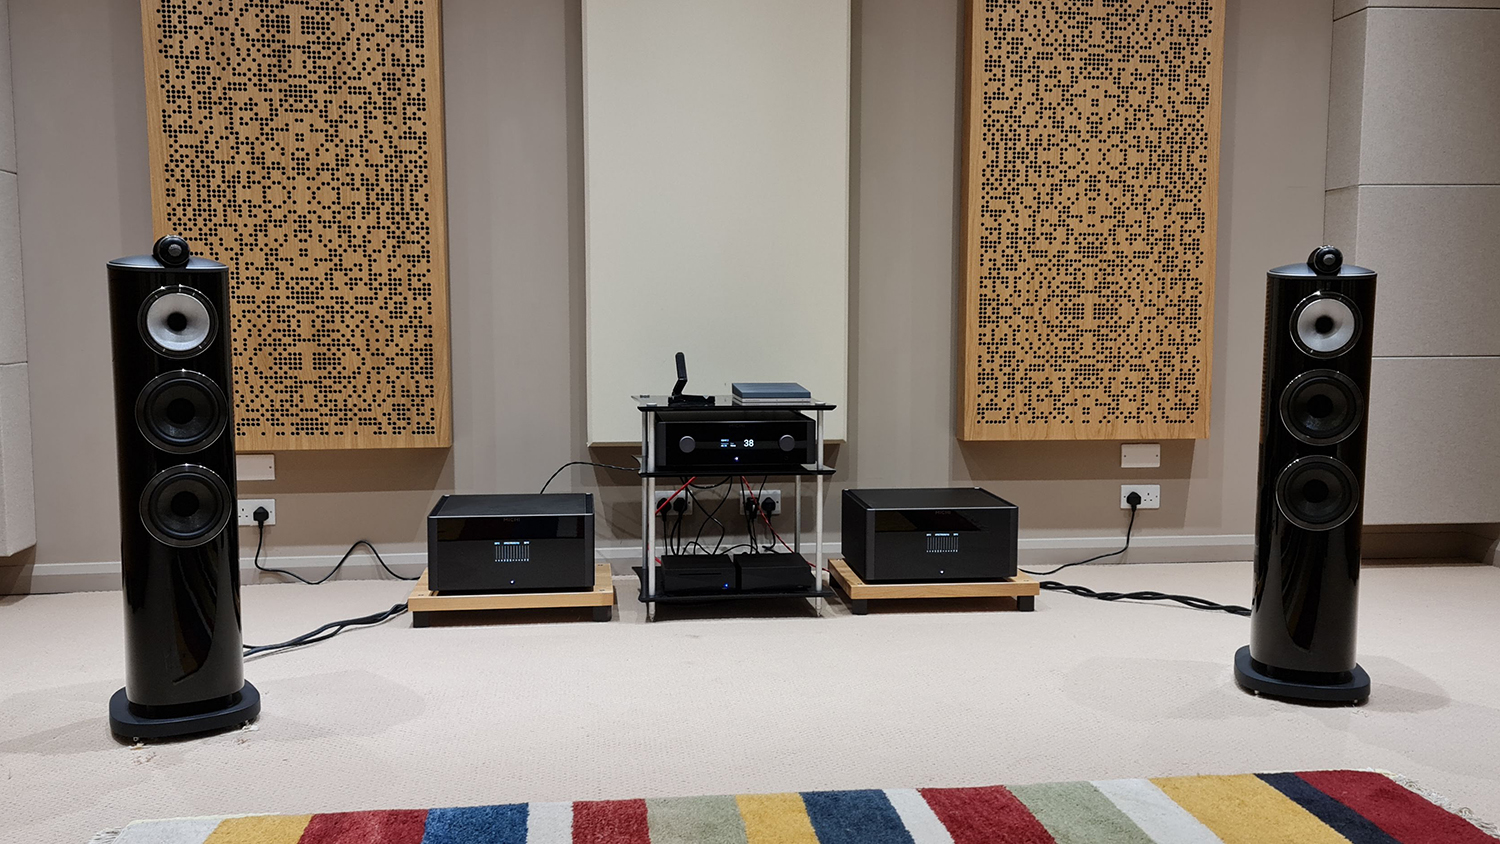
The next thing to consider is where you’ve put your system's electronics. If it’s close to the speakers then there’s a strong chance that their performance is being compromised by the vibrations generated by the speakers – especially if we're talking about a record player, which is the most temperamental of hi-fi components. The best thing to do is to get the system as far away from the speakers as possible.
Many people put their set-up in between the two speakers (as above), but while this looks nice and symmetrical and is probably the most practical, it’s invariably not the best place the system can go. Aside from the vibrations (which admittedly isolation supports like those pictured above help reduce), putting something in between the two speakers – be it system electronics, a television or even a chimney as in many British homes – adversely affects the system’s ability to stereo image.
In the What Hi-Fi? test rooms, the electronics have always been placed on a rack or two to one side. If this happens to be near your listening position, this side placement might have another benefit: you can reach over and twist the volume dial without always having to turn to the remote.
4. Don't overlook supports

That leads us nicely on to dedicated system supports, which can help to isolate the system from external vibrations. The difference a good support makes isn’t subtle, particularly if you have your system stacked, as so many people tend to do, so this is one piece of housekeeping that shouldn’t be overlooked.
Prices for good hi-fi racks can vary from one/two hundred to thousands of pounds depending on how far up the ladder you go. No matter what your budget, the support should be level and low resonance. There are disagreements within the hi-fi community on whether the support should be high or low in mass, and whether it should prioritise absolute rigidity or provide decoupling. There are good examples of every type, so it pays to talk to your dealer about which type works best with the kit you have.
If the not-insignificant cost of some of the commercially available supports is prohibitive, it’s possible to end up with something almost as effective by going down the DIY route, though unless you’re particularly skilled the level of finish may not be so great! Essentially, we'd recommend putting equipment on the most level, most rigid support you can find for your budget.
5. Don't forget floor spikes
In one way, it’s a shame that many people still refer to standmounters as 'bookshelf speakers'. We haven’t heard a pair yet that sounds better sharing a shelf with a pile of books than on dedicated speaker stands! Not only that, the vast majority of speakers tend to sound unbalanced when positioned so close to a wall.
There's a great variety of stands available, from column types (that can be filled with sand or similar to add mass) to more lightweight frame types. Which one works best comes down to the speaker design, and the type of support used during its development.
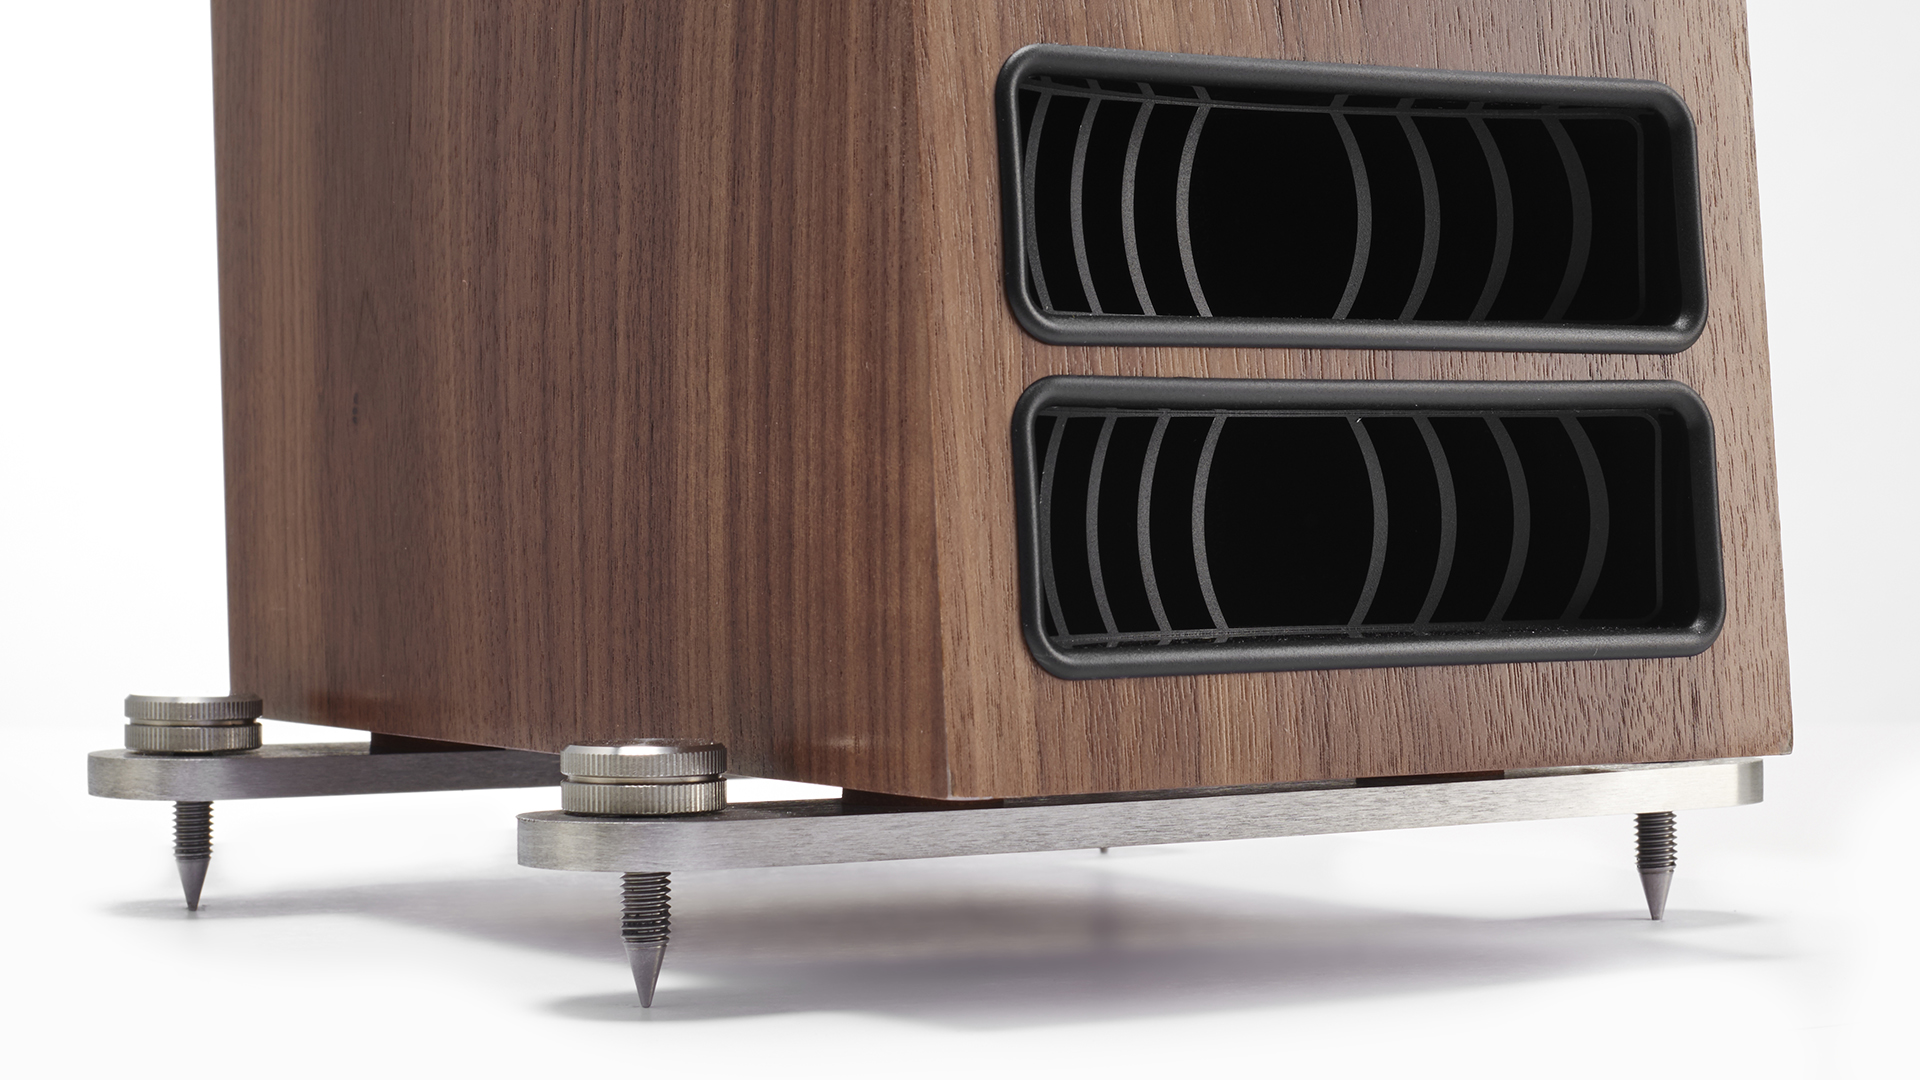
But what is equally important for floorstanders is that you use any floor spikes that are provided, no matter what flooring you have. If it's wooden, you can use the little round discs that will likely have been provided to put the spikes on to avoid scratching the floorboards. If you don’t have any of those, you can always use coins or something similar.
Make sure any spikes used in the stand are tight, and the same applies to the spikes used on the base of floorstanders. If those spikes aren’t properly adjusted so that the speakers don’t rock around on the floor, you’re wasting a good deal of the potential of your system. Basslines will sound soft and less well defined while dynamics will compress.
Overall, you’ll just have a less precise and notably less entertaining sound. Guess what? Tightening and levelling spikes is free. You’ll be glad you did it.
- Best speaker stands 2023
- Standmounts vs floorstanders: which speakers should you buy?
6. Don't settle for any ol' cables
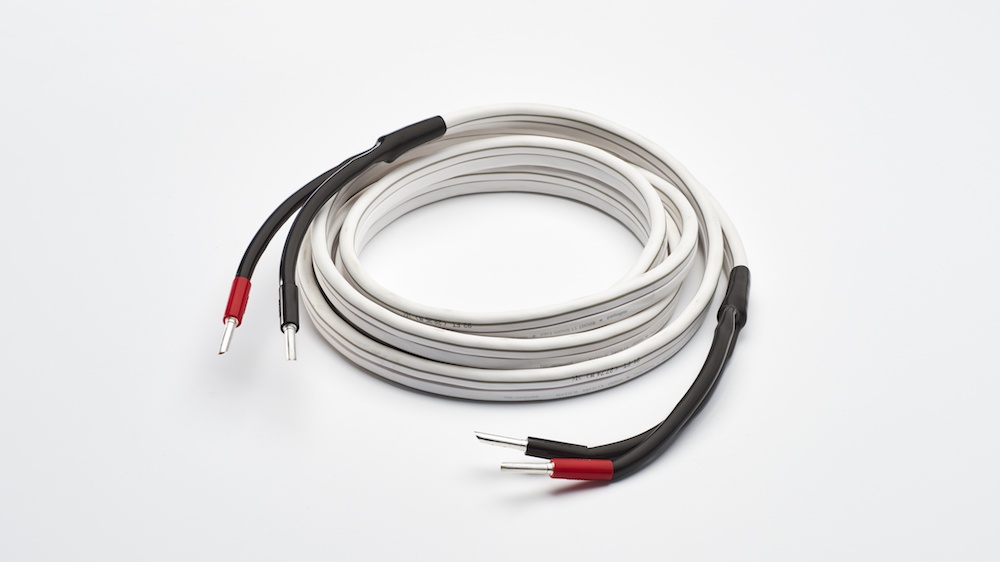
Some people get very worked up over cables. We don’t. They’re necessary for your system to work, and in our experience good ones make the most of the kit you’ve bought. Remember, they don't make your system sound better, but like many things on this list the best solutions allow it to sound its best. How much do good ones cost? Well, that depends, but as a very rough estimate you should consider spending around 10 to 15 per cent of your system cost on cabling. You can use our audio cable and speaker cable buying guides to make a shortlist before visiting your dealer.
Happy with your cables? It’s also important to ensure that mains and signal cables are kept as far away from each other as possible. If you have a capable set-up, the degrading effect of having the two physically interact is pretty obvious and comes through in an added coarseness to the presentation, combined with a lack of subtlety.
This might seem like an odd thing to suggest, but try to make sure that all your electronics are plugged into mains sockets that are close to each other. If you’ve got a complex set-up, it’s likely that they are plugged into sockets that are all over the room, or with some on a mains multi-way adaptor while others are plugged straight into a wall. Try to group them together if possible and use a mains/power conditioner if you can. It’s all about making sure that there are no slight potential differences between the electrical Earth that each product sees. We’ve heard this make notable differences in particularly transparent set-ups.
7. Don't let connections tarnish
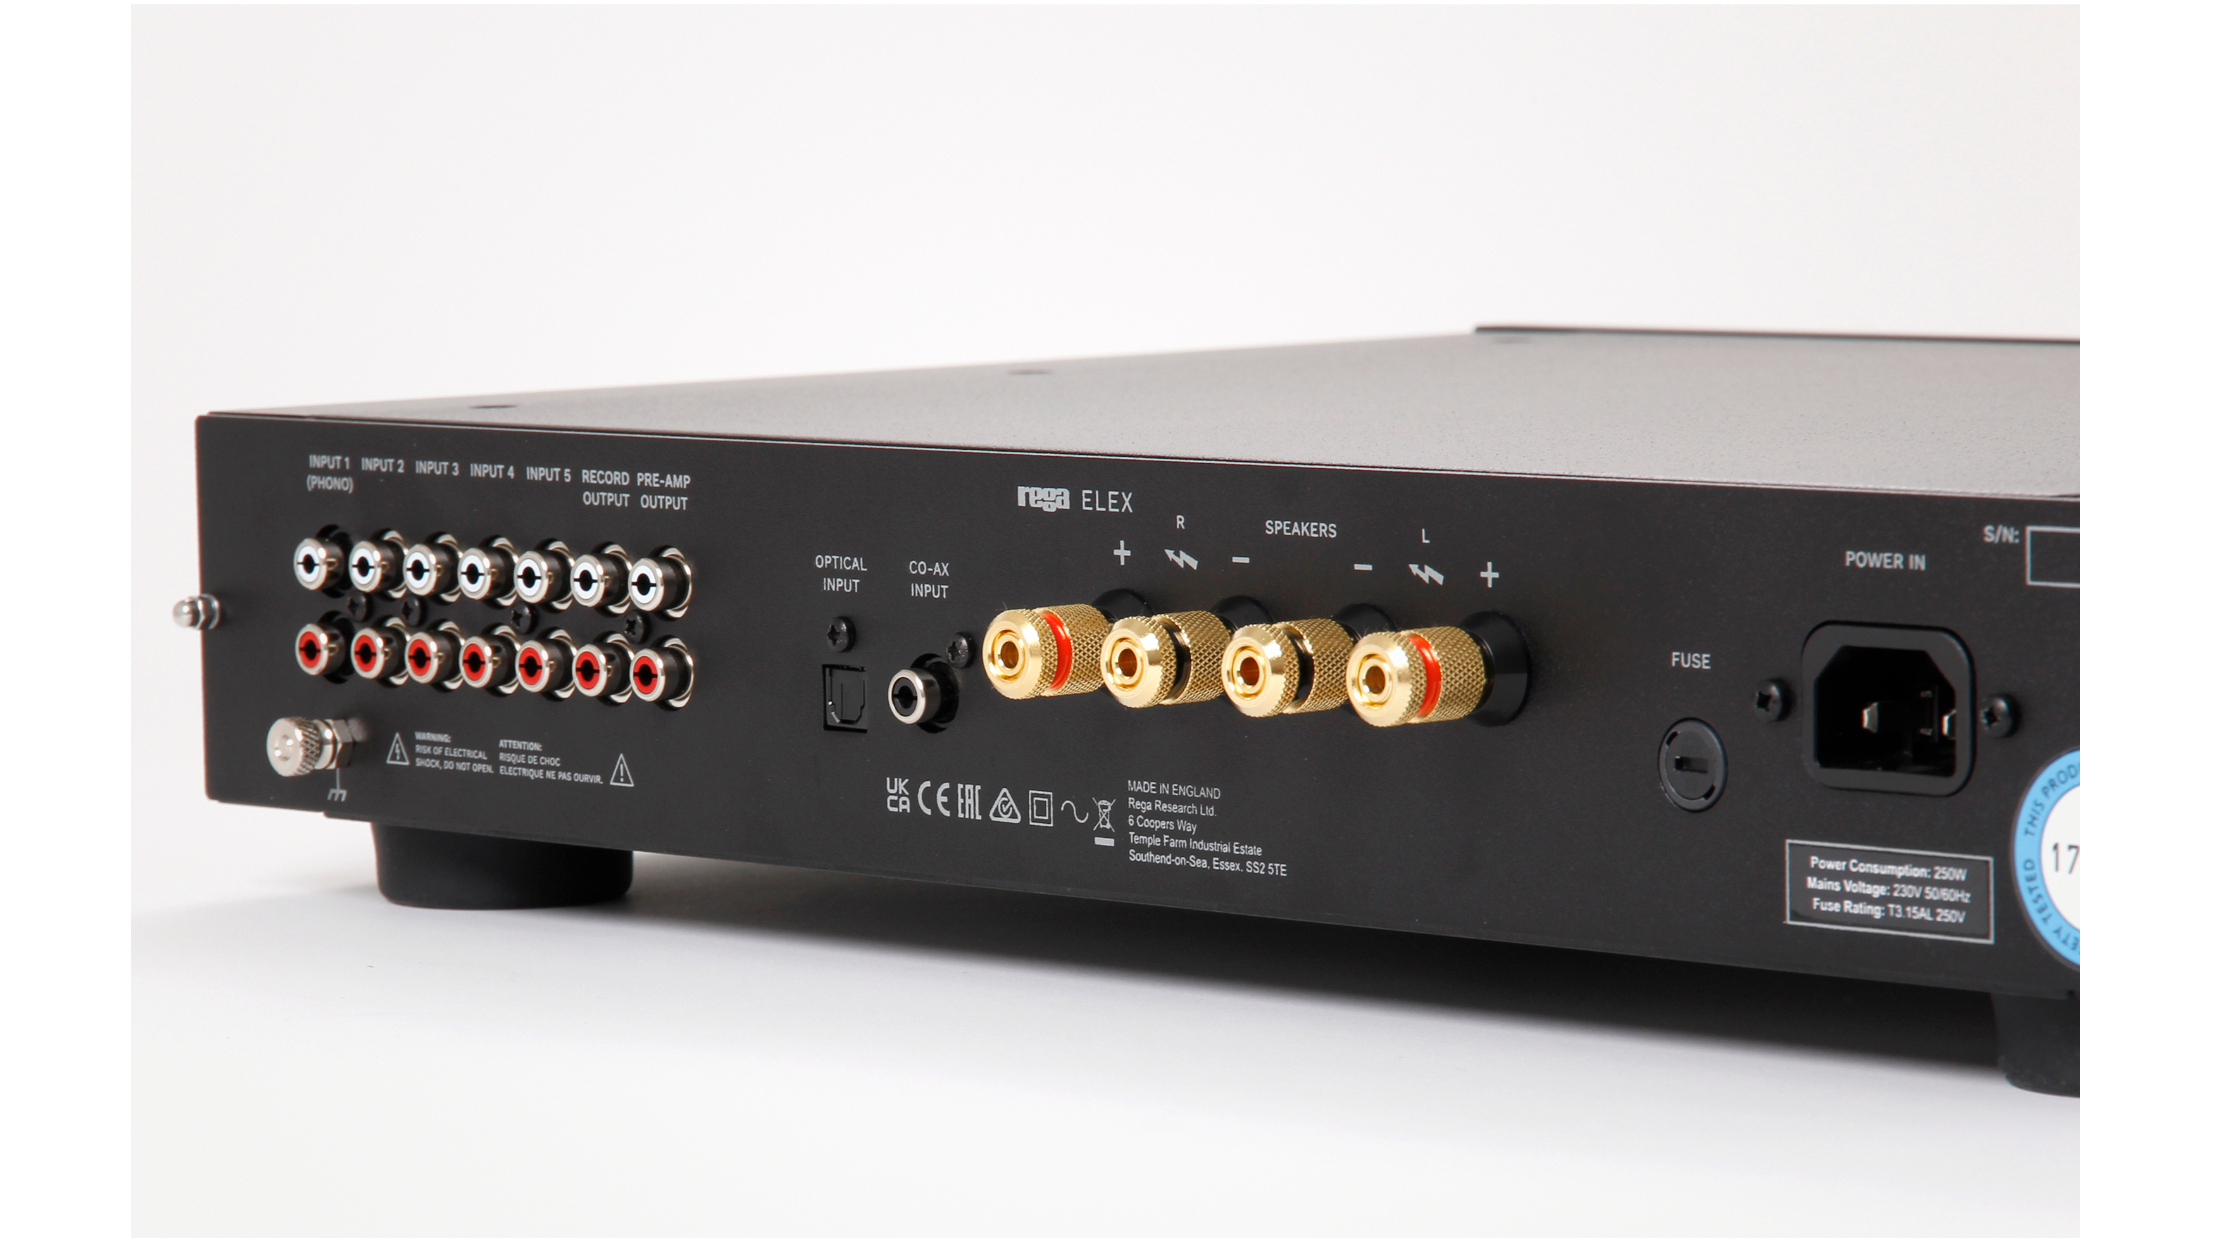
All electrical connections use metal-to-metal contact, and that goes from the plug that goes into the mains socket right the way through to the interconnects that link your sources to the amplification. Over time these contact points tend to oxidise and tarnish, affecting the quality of the connection.
Once or twice a year, it’s well worth undoing all the system cables – including those for the speakers – and remaking (i.e. disconnecting and reconnecting) them three or four times. This in itself cleans the metal surfaces that make the connection, though any visible tarnish should be wiped clean with an appropriate cloth (lint-free) or cotton swab, with cleaning liquid (deoxidizer) that won't remove metal or corrode the connector.
The result? A small but significant improvement to the sound, and most importantly it doesn't cost a penny or take much time.
MORE:
Check out these affordable ways to upgrade your hi-fi system
The very best speakers and best stereo amplifiers you can buy in 2023
Need a source? Here are our pick of the best music streamers, best CD players and best record players on the market

Ketan Bharadia is the Technical Editor of What Hi-Fi? He has been reviewing hi-fi, TV and home cinema equipment for almost three decades and has covered thousands of products over that time. Ketan works across the What Hi-Fi? brand including the website and magazine. His background is based in electronic and mechanical engineering.
- Becky RobertsFreelance contributor
