I tried this Nintendo Switch 4K upscaler and I’m never going back
Marseille's mClassic is a great way to upgrade your Switch's image quality, but it has some drawbacks
The Nintendo Switch is beloved for its suite of excellent games you can play anywhere, on your own terms, like the dream device of all the kids who grew up playing with Game Boys. However, for the AV crowd, it’s more likely they’ll be bothered by the relatively bad image quality and performance games on Switch have in comparison with games running on more powerful hardware. I am among these infamous, joyless few put off by pixilation, and it’s harder and harder to play games below 60 FPS with the PS5 and Xbox Series X out.
But I still love some Switch games, Animal Crossing: New Horizons in particular. So, what is an AV snob to do outside of tending to his virtual flowers? Well, I got myself a 4K HDMI upscaler, the mClassic, courtesy of Marseille – and now my Animal Crossing island has never looked better, my flowers have never looked prettier, and my villagers look happier than ever. Suffice it to say I’m not going back to life without the mClassic.
There are definitely drawbacks to the mClassic, and it’s inevitably not going to be for everyone, depending on what kind of gamer you are, but if you appreciate image quality and still want to play Switch games (especially if you’ve got a 4K TV), you’re going to want to hear about the mClassic. Here’s how I upgraded my Switch’s graphics and how you can too…
What is the mClassic and what does it do?
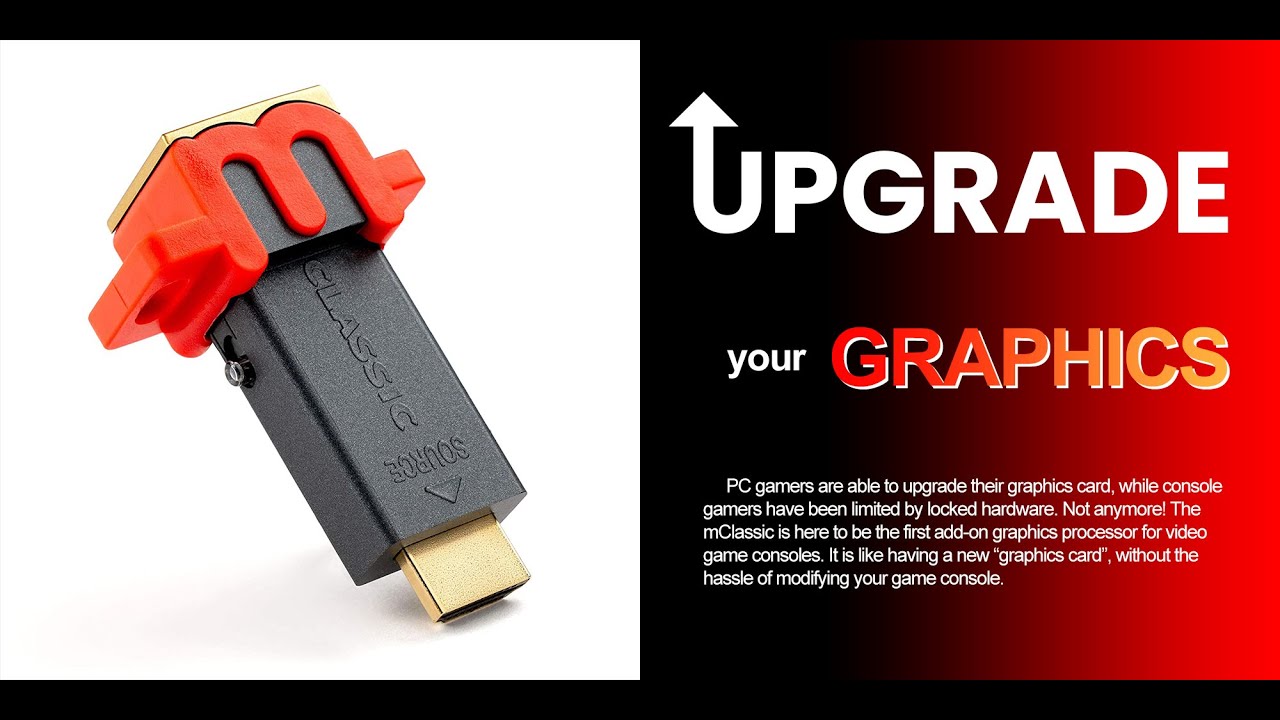
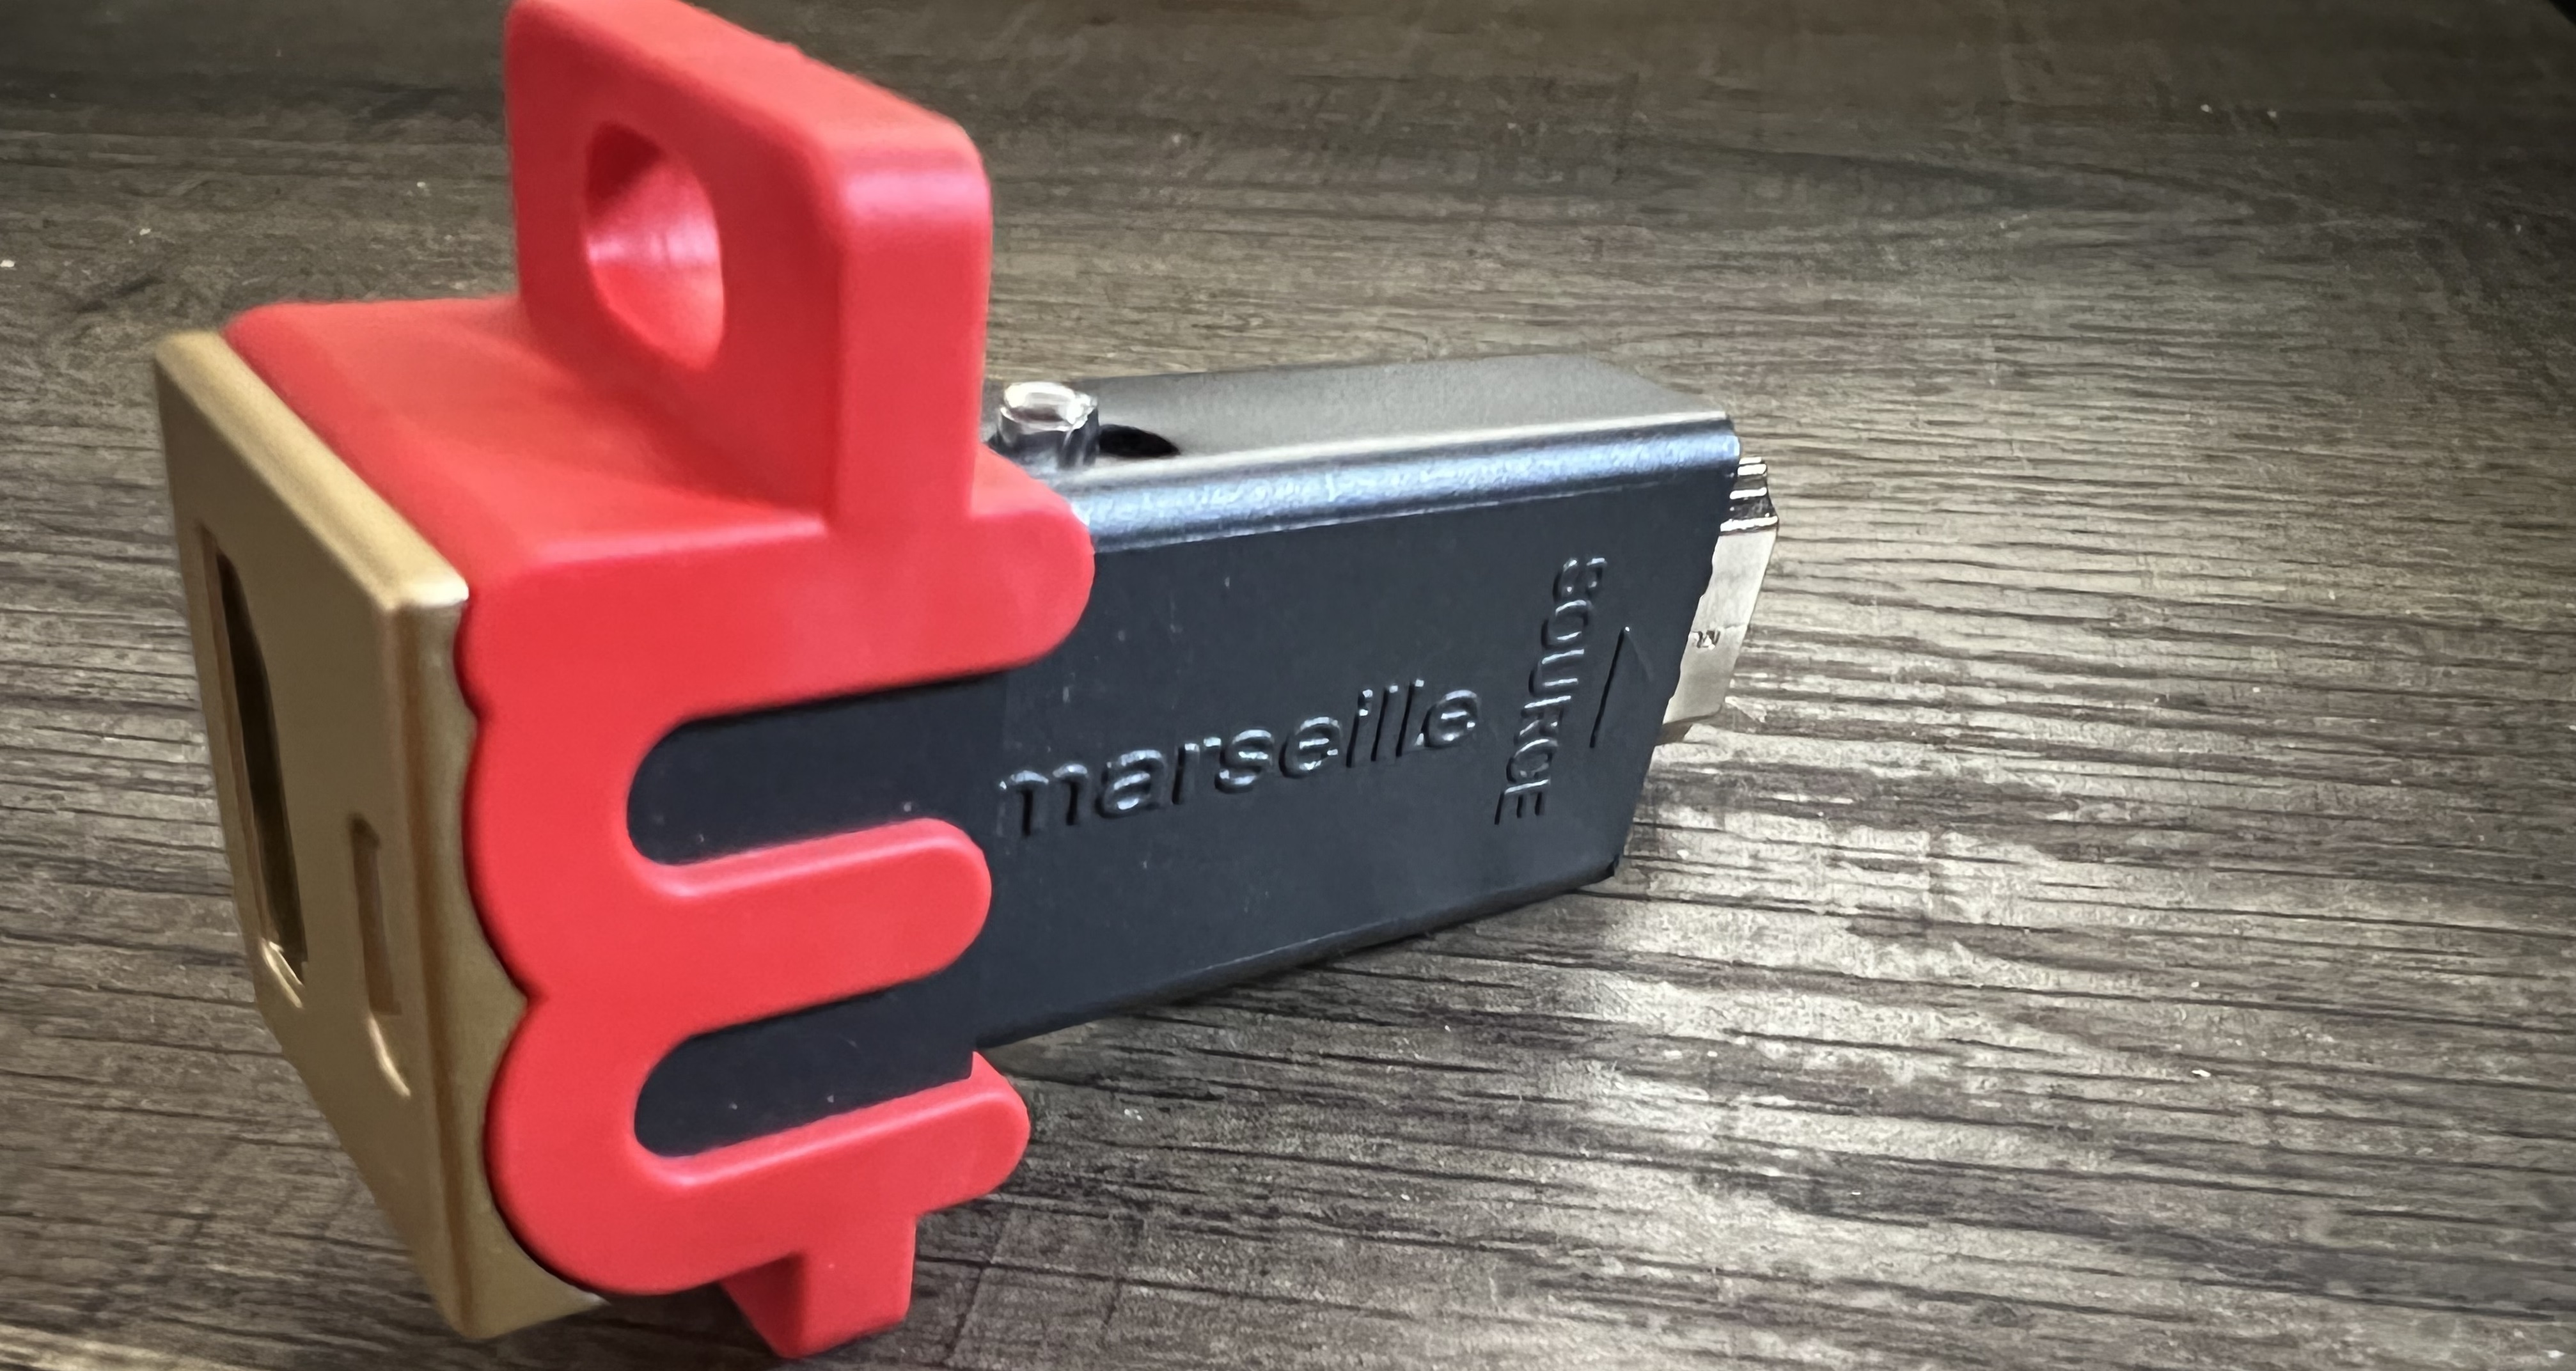
Marseille’s mClassic is a compact little HDMI device a bit larger than a flash drive that costs £100 ($100). It supports HDMI 1.4 as well as provides lossless audio passthrough (i.e. no processing is done to the audio signal), and it advertises itself as adding no lag, clocking in (on average) at a 0.2 millisecond increase in latency that won’t be perceptible to humans.
The mClassic takes in a 2D frame and then adds a variety of postprocessing effects to it before upscaling the image and sending it off to your TV. Effects include anti-aliasing, boosts to colour saturation and vibrance, and sharpening. Depending on the input resolution and framerate as well as the connected display, the mClassic will output different resolutions and framerates. This doesn’t matter much for Switch but can be more of a factor for other devices.
Switch mostly plays games at 720p or 1080p and 30 FPS. For resolutions and framerates like these, the mClassic can upscale them to 4K at 30 FPS; although, the device can’t handle 4K upscaling at 60 FPS, since it’s only an HDMI 1.4 device. Also, the mClassic does not support HDR, so you won’t be able to use HDR when the mClassic is active. Again, not much of a problem for Switch, which doesn’t do HDR anyway. Plus, for me, this works great, because Animal Crossing is a 1080p 30 FPS game with absolutely no anti-aliasing.
The mClassic also comes with a number of different ‘modes’ you can engage. You can turn it off, of course, and you can turn it on, but you can also engage a “Retro’ mode best for, you guessed it, retro games. This sometimes applies to Switch, which does offer up some retro games, but this is pretty far from the average use case of the mClassic. Largely, this device is intended to be used with something like Switch running relatively modern 3D games at lower resolutions, and you’ll see the greatest improvements to image quality there, too.
Get the What Hi-Fi? Newsletter
The latest hi-fi, home cinema and tech news, reviews, buying advice and deals, direct to your inbox.
Okay, so how does it work? Does it do what it claims?
In short, it works and it does. Most spectacularly, I noticed no increase to latency or lag, which is oftentimes the biggest problem with these kinds of external graphics processors. They’ll often increase latency, making it a really tough purchase to justify when the improvements to visual quality are pretty far from night and day. The mClassic does not have this problem.
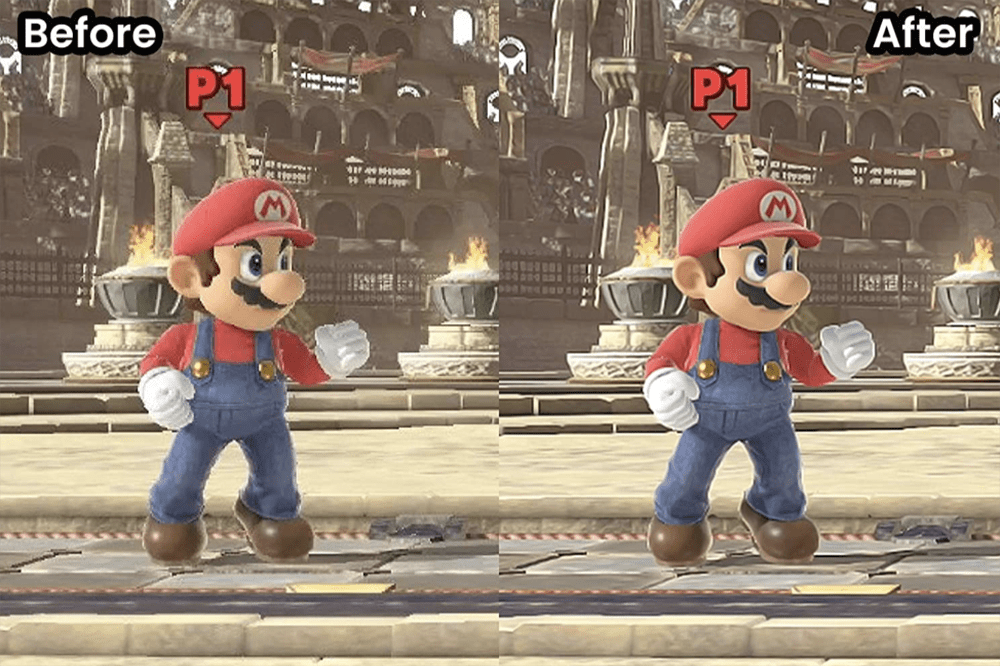
However, the upgrade to visual quality with the mClassic engaged isn’t night and day, either. That isn’t to say it’s not a meaningful, worthwhile upgrade, though. For Animal Crossing, even some relatively light anti-aliasing and upscaling significantly cleans up the image and cuts down on jaggies. Considering the game is generally fairly minimalist aesthetically with lots of clean edges and bright colors, the increase to color vibrancy makes the whole world pop, while sharpening effectively brings out some extra detail from textures.
It’s a nice upgrade, and one I don’t want to play without, but it’s a far cry from actual 4K. The mClassic might output a 4K signal replete with anti-aliasing and upscaling, but the end-result is not at the level of a game actually being rendered at 4K, nor does it look as good as a game being rendered at 1080p and upscaled to 4K via a more advanced upscaling method like NVIDIA’s DLSS. But it is a nice upgrade, you just have to keep your expectations in check.
However, while I did prefer the look of games, especially on my 4K TV, with the mClassic turned on, these kinds of postprocessing effects are inevitably going to come down to personal preference. Maybe anti-aliasing is relatively universal in that most gamers want fewer jagged edges, but you may may feel the colours of a particular game are vibrant enough already or sharp enough already and not want the mClassic to tweak those values. A one-size-fits-all solution does end up working with everything, but it doesn’t work the best for most things.
What I’d like to see in an mClassic 2
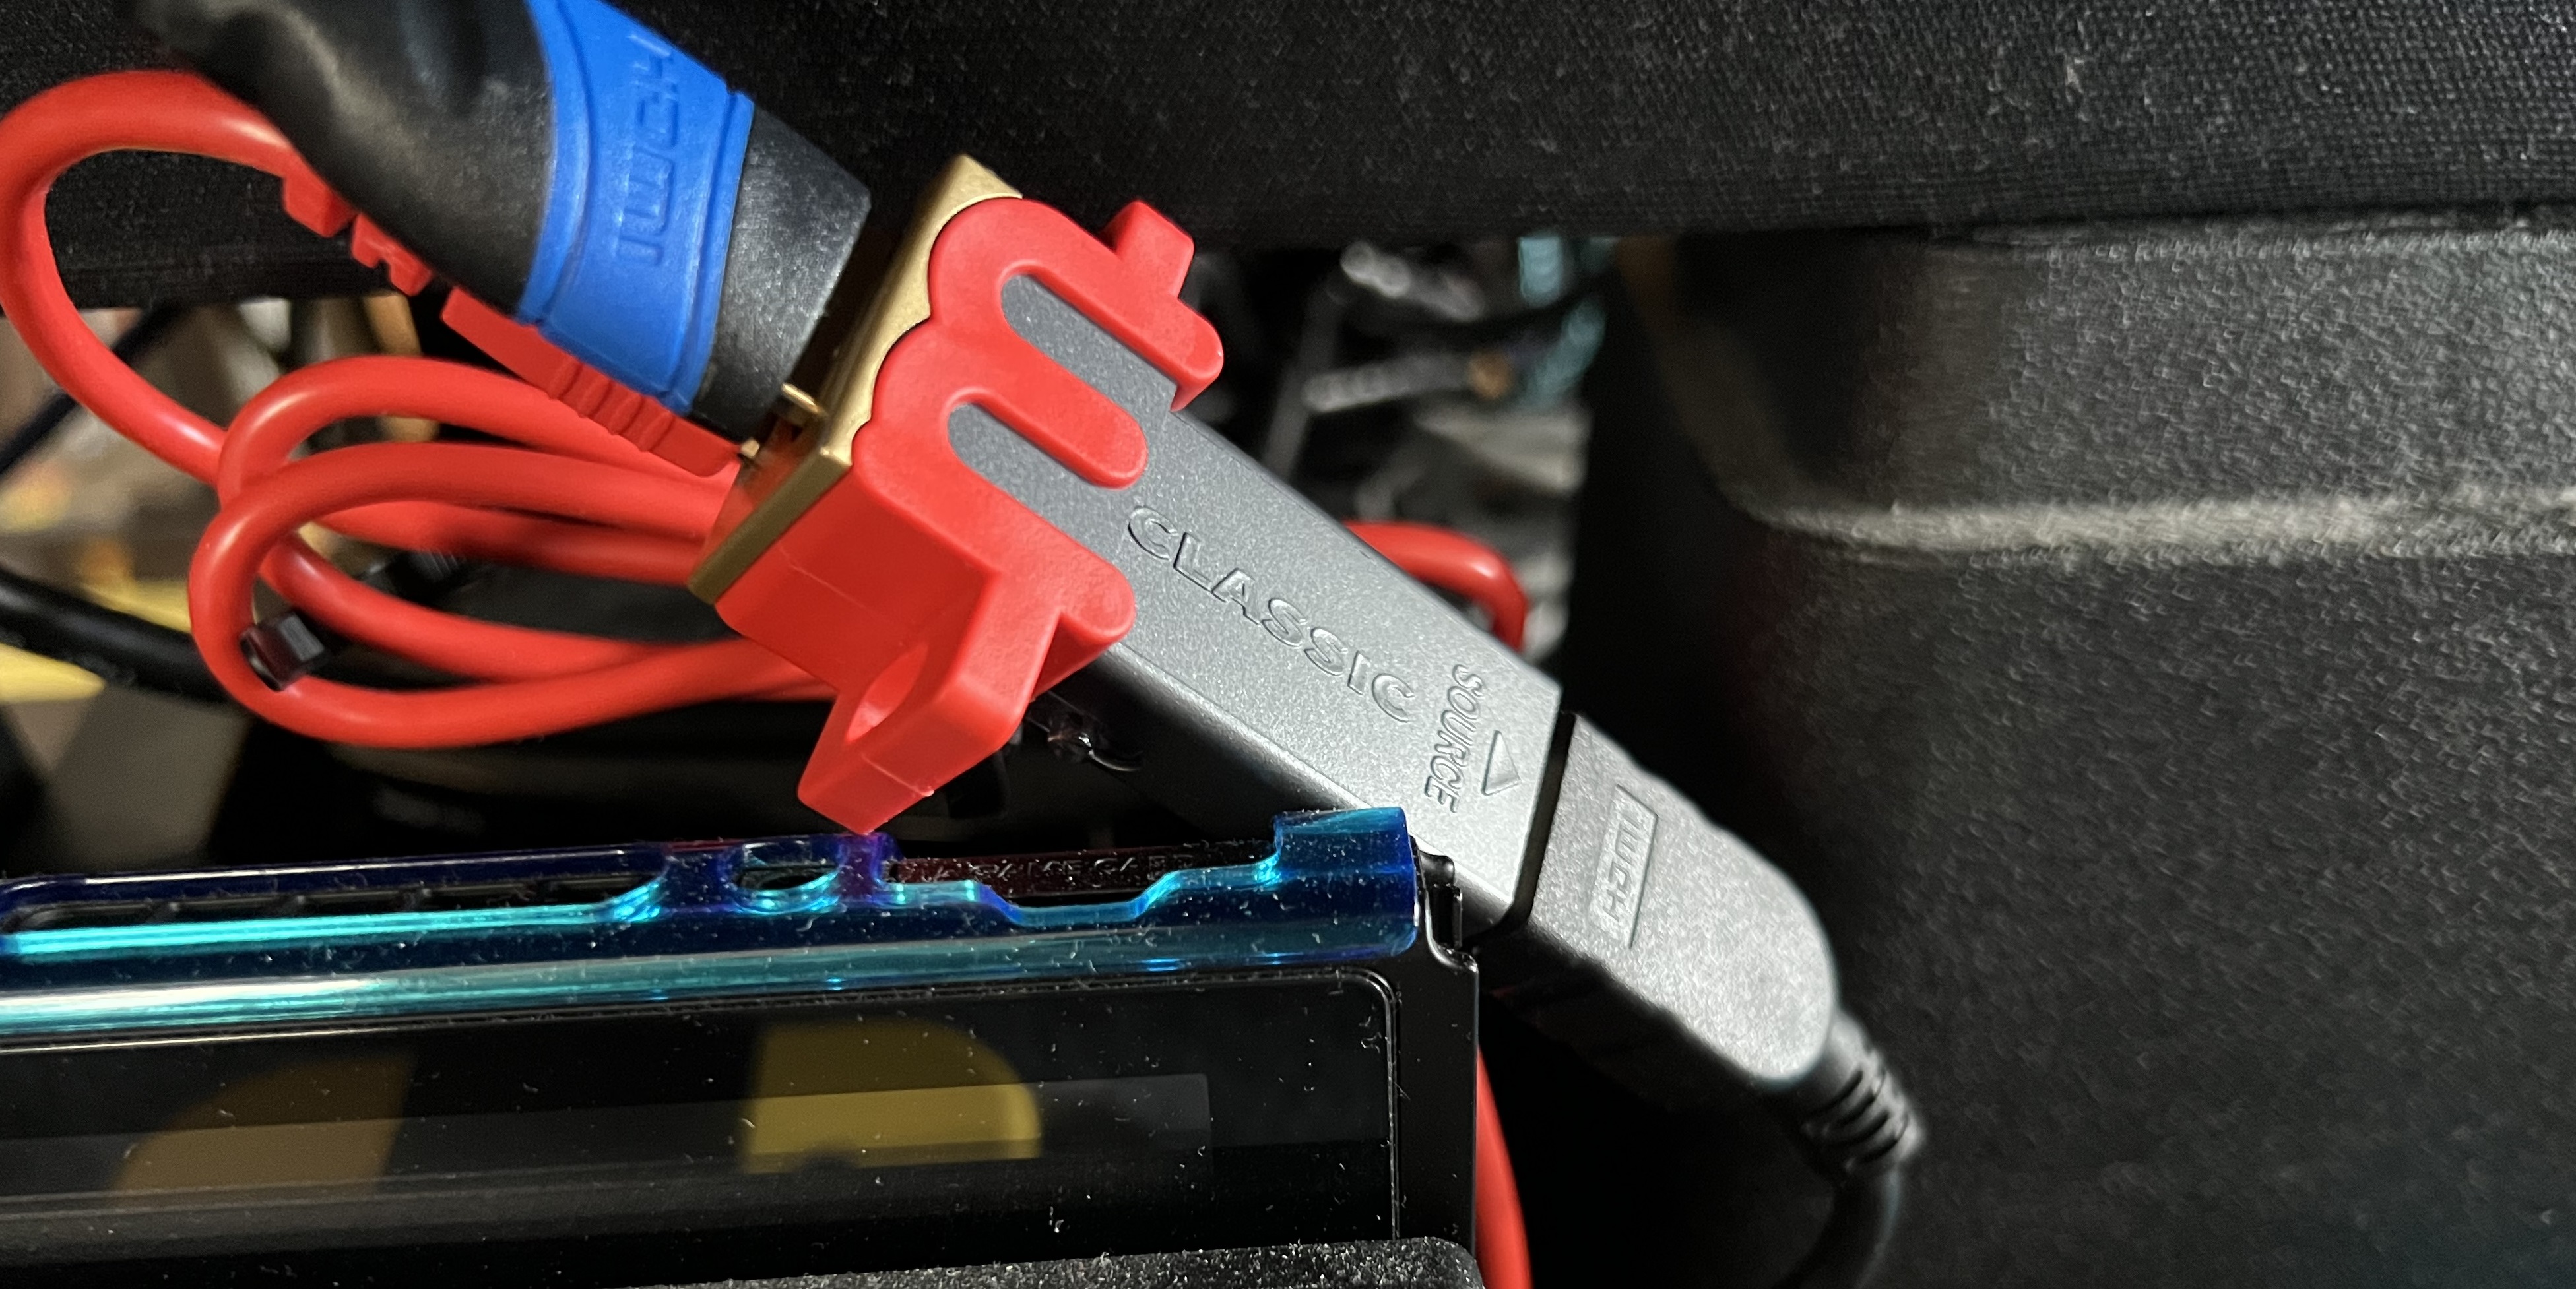
As a bit of a no-brainer, I’d like to see HDMI 2.0+ support come to the mClassic. A newer HDMI spec and more powerful internals that can support the full suite of modern resolutions and framerates will make this device much less specific to a particular set-up, and it will help futureproof it as more and more gamers transition to higher resolutions and framerates in time. Also, as another no-brainer, HDR support would be excellent. Sure, it may not help a device like the Switch, but it would make using this thing more realistic for other consoles.
But most importantly, I want tweakable settings. On PC, there’s a piece of software called ReShade that does what the mClassic does: adds post-processing effects to games. The thing is, though, with ReShade, you can choose from a huge list of effects, tweak their settings to an extremely fine degree, and get access through a convenient on-screen display to a ton of different performance metrics. It’s basically an easy way to make any game you’re playing look great, and it’s sort of the third-party, community-led version of NVIDIA Freestyle.
The gold standard for the mClassic would be an onscreen interface you can use to see performance metrics and tweak what effects the mClassic applies and how it applies them. A silver medal would go to the mClassic if you could simply connect it to a PC via USB and change its settings in a piece of software. Either way, having control over your image is what I’m after, and even if the mClassic doesn’t get more effects, just the ability to tweak the ones it already comes with would be a massive win.
Plus, effects like anti-aliasing and upscaling are a lot less useful when working with more powerful hardware like PS4 or PS5, for example, so if you could change a game’s sharpness, colour palette, ambient occlusion, or anything like that, especially if you could have control over these values, that would make the mClassic a much more reasonable purchase for hardware that isn’t the low-powered Switch. Although there’s a large catalogue of devices from the PS1 generation through to the Switch today that can benefit from the upscaling and anti-aliasing of the mClassic.
For me, the mClassic is a good fit, but it won’t be for everyone. If you aren’t a 4K TV-owning Animal Crossing fanatic, maybe it’s less of a slam dunk, but an mClassic with just a few more features would be an easy buy for any gamer.
MORE:
The big problem with 4K gaming
Check out the best Nintendo Switch deals 2022
What new features the Nintendo Switch OLED is missing
Ruben is a long-time freelance consumer technology and gaming journalist, and was previously a Staff Writer at What Hi-Fi?. Since 2014, Ruben has written news, reviews, features, guides, and everything in-between at a huge variety of outlets that include Lifewire, PCGamesN, GamesRadar+, TheGamer, Twinfinite, and many more. Ruben's a dedicated gamer, tech nerd, and the kind of person who misses physical media. In his spare time, you can find Ruben cooking something delicious or, more likely, lying in bed consuming content.

