9 Sonos Beam tips, tricks and features
Bought yourself a Sonos Beam? Now get it working at its best
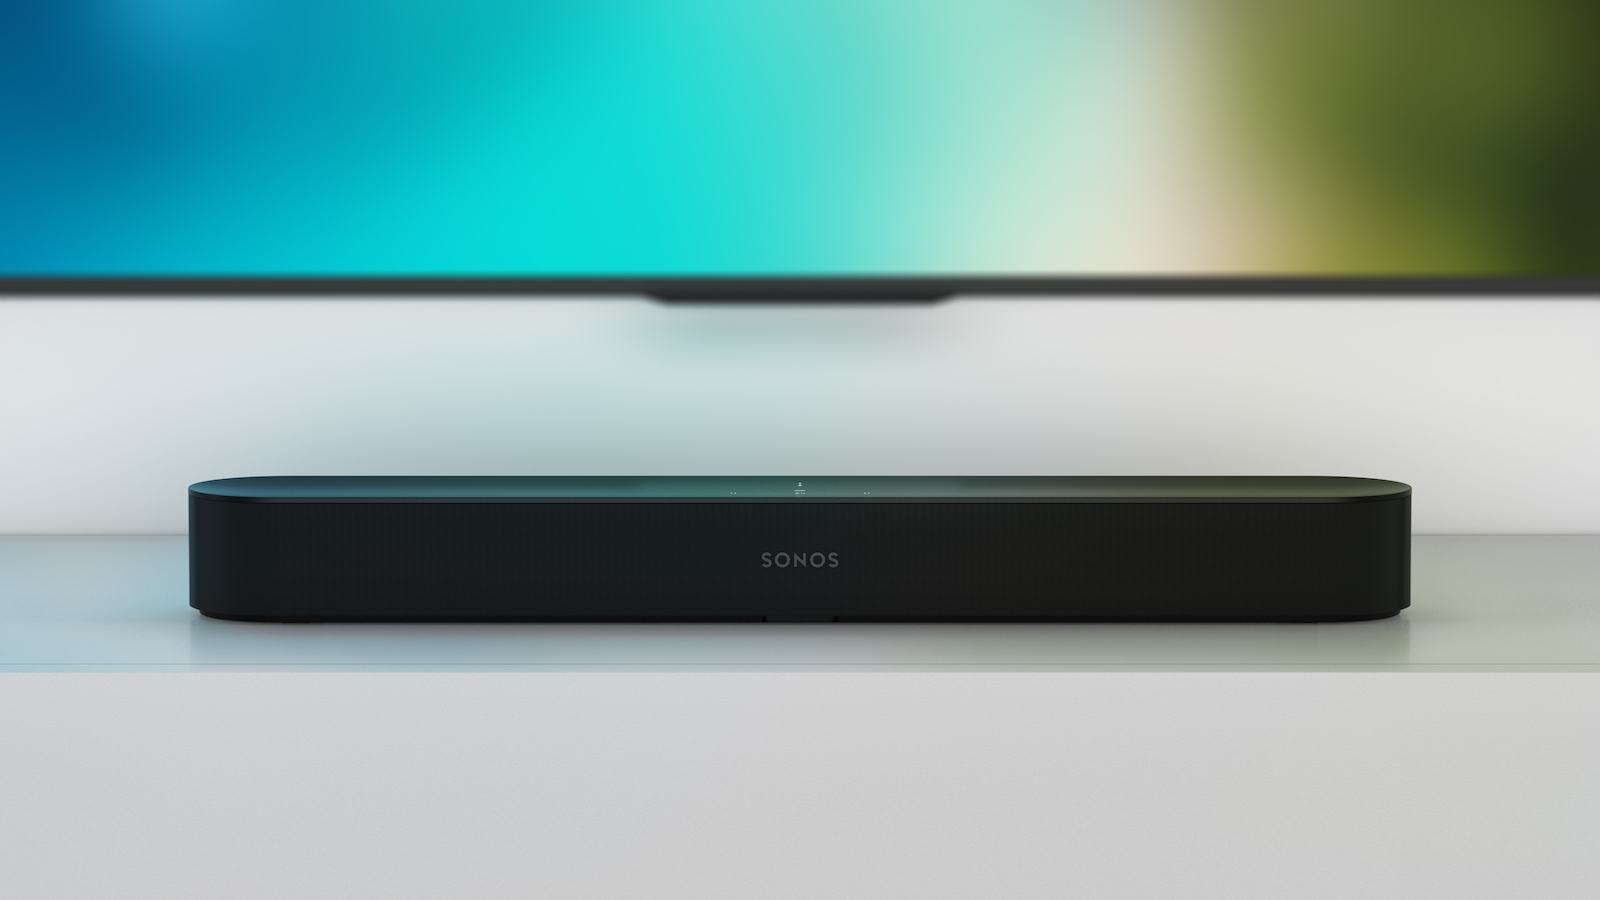
So you’ve read our glowing review and Beam vs Playbar vs Playbase feature, and have decided Sonos’ smallest, most affordable TV speaker is the one for you. Well done! The Beam is an excellent choice.
But now you've got it, are you getting the most out of it? It might be a doddle to set up and use, but that doesn't mean you're using the Beam to its full potential.
Here we'll run down nine of the best tips and tricks to help you get the most out of your new purchase.
MORE: Sonos Beam vs Playbar vs Playbase: which is best?
Check you’re receiving Dolby Digital
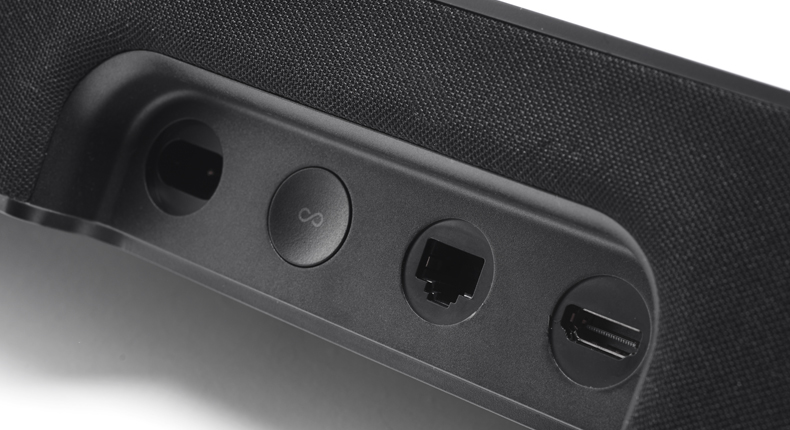
Sonos does a good job of guiding you in making the HDMI connection between your TV and the Beam and enabling the ARC function, even going as far as giving fairly tailored advice by TV brand. What it doesn’t do is give instructions for ensuring the signal the Beam is receiving from your TV is Dolby Digital.
This is a crucial step in ensuring the Beam sounds its best, as it results in a louder, weightier, more spacious sound - even when the Dolby Digital signal is simple stereo.
It’s easy to understand why Sonos wouldn’t get into it during set-up – all of the TVs have different options, and if you throw sources into the mix it adds an extra layer of complexity. For that reason, we’re not going to go into too much detail here. Suffice to say, you need to delve into your TV’s sound menus to make sure it’s outputting audio via the HDMI using Dolby Digital, and doing the same with any sources, whether that be Sky, a PlayStation 4, Blu-ray player or anything else.
To check everything’s working, open the Sonos app on your phone, press the 'More' tab at the bottom-right, and scroll down and tap on the 'About Your Sonos System' option. Here you’ll find a list of your Sonos devices, complete with info such as the IP and MAC addresses of each. Underneath the Beam, you’ll also see a reference to the audio format it’s currently receiving. If it doesn’t say Dolby Digital (5.1 or 2.0, depending on what you’re playing), have another look at your settings.
Bear in mind this screen doesn’t update in realtime, so every time you change a setting in your TV or source, you need to leave the 'About Your Sonos System' menu and reopen it to check if your changes have had the desired effect.
MORE: Sonos - everything you need to know
Do the Trueplay tuning
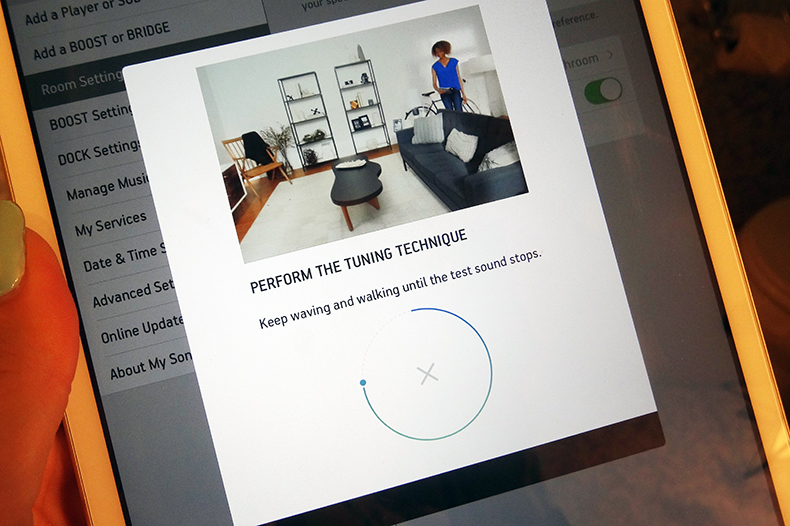
This might sound obvious – Sonos will prompt you to Trueplay the Beam during first-time set-up anyway – but it’s worth highlighting the importance of this feature.
Essentially, Trueplay tunes the sound of the Beam to its position, your position, and the layout of your room in a similar way to the mic-driven set-up of a high-end home cinema amplifier – except here you use your phone.
Unfortunately, it only works with an iPhone (and iPad), so Android users will need to find a friend to come over and assist. But it really is worth it for improved sound quality.
It’s also worth making sure your room is laid out as it usually would be when watching a movie or TV. Clutter in front of the Beam? Move it. An extra chair in there from your last dinner party? Take it out. All of these things will have an impact on the tuning.
Make sure the room is quiet, too - and if there’s noise from outside, shut the windows.
MORE: Sonos Trueplay - What is it? How can you use it?
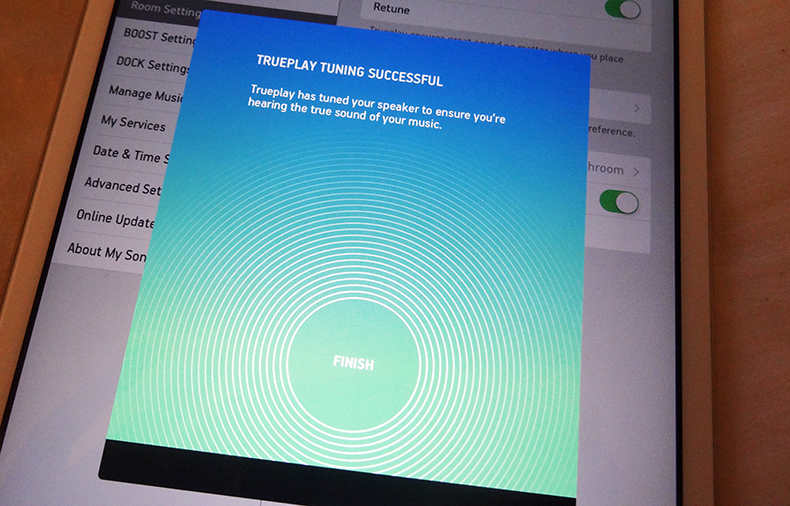
Do the Trueplay tuning (again)
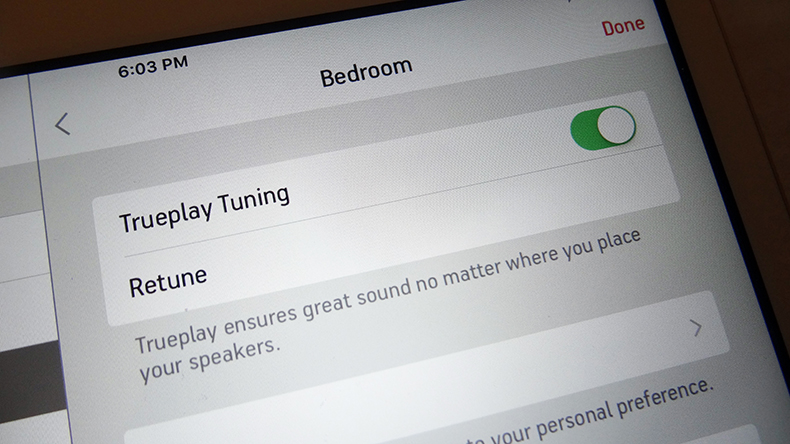
Like any speaker, the Beam sounds different after it has been used for a while, as its parts - particularly the drivers - will have run in. For this reason we’d recommend going through the Trueplay process again about a month after the initial set-up.
Over time it’s also likely that your room will change, from the furniture to the placement of the Beam itself, which is why it’s probably worth setting a reminder and running the Trueplay tuning every six months or so.
You’ll find the option in 'Room Settings', and it only takes a couple of minutes.
MORE: Which Sonos speaker is best for you?
Use the Loudness feature
All of Sonos’ speakers have a 'Loudness' feature that’s enabled by default. In some cases it’s sensible to turn it off, but not in the case of the Beam.
It acts like an old-fashioned bass-boost function and, while that is more often the kind of thing that brings us out in hives, on the Beam it is more sophisticated and results in a weightier, fuller, more authoritative and downright engaging performance.
MORE: Sonos multi-room system review
Consider adding two Ikea Symfonisk speakers (or Play:1s)
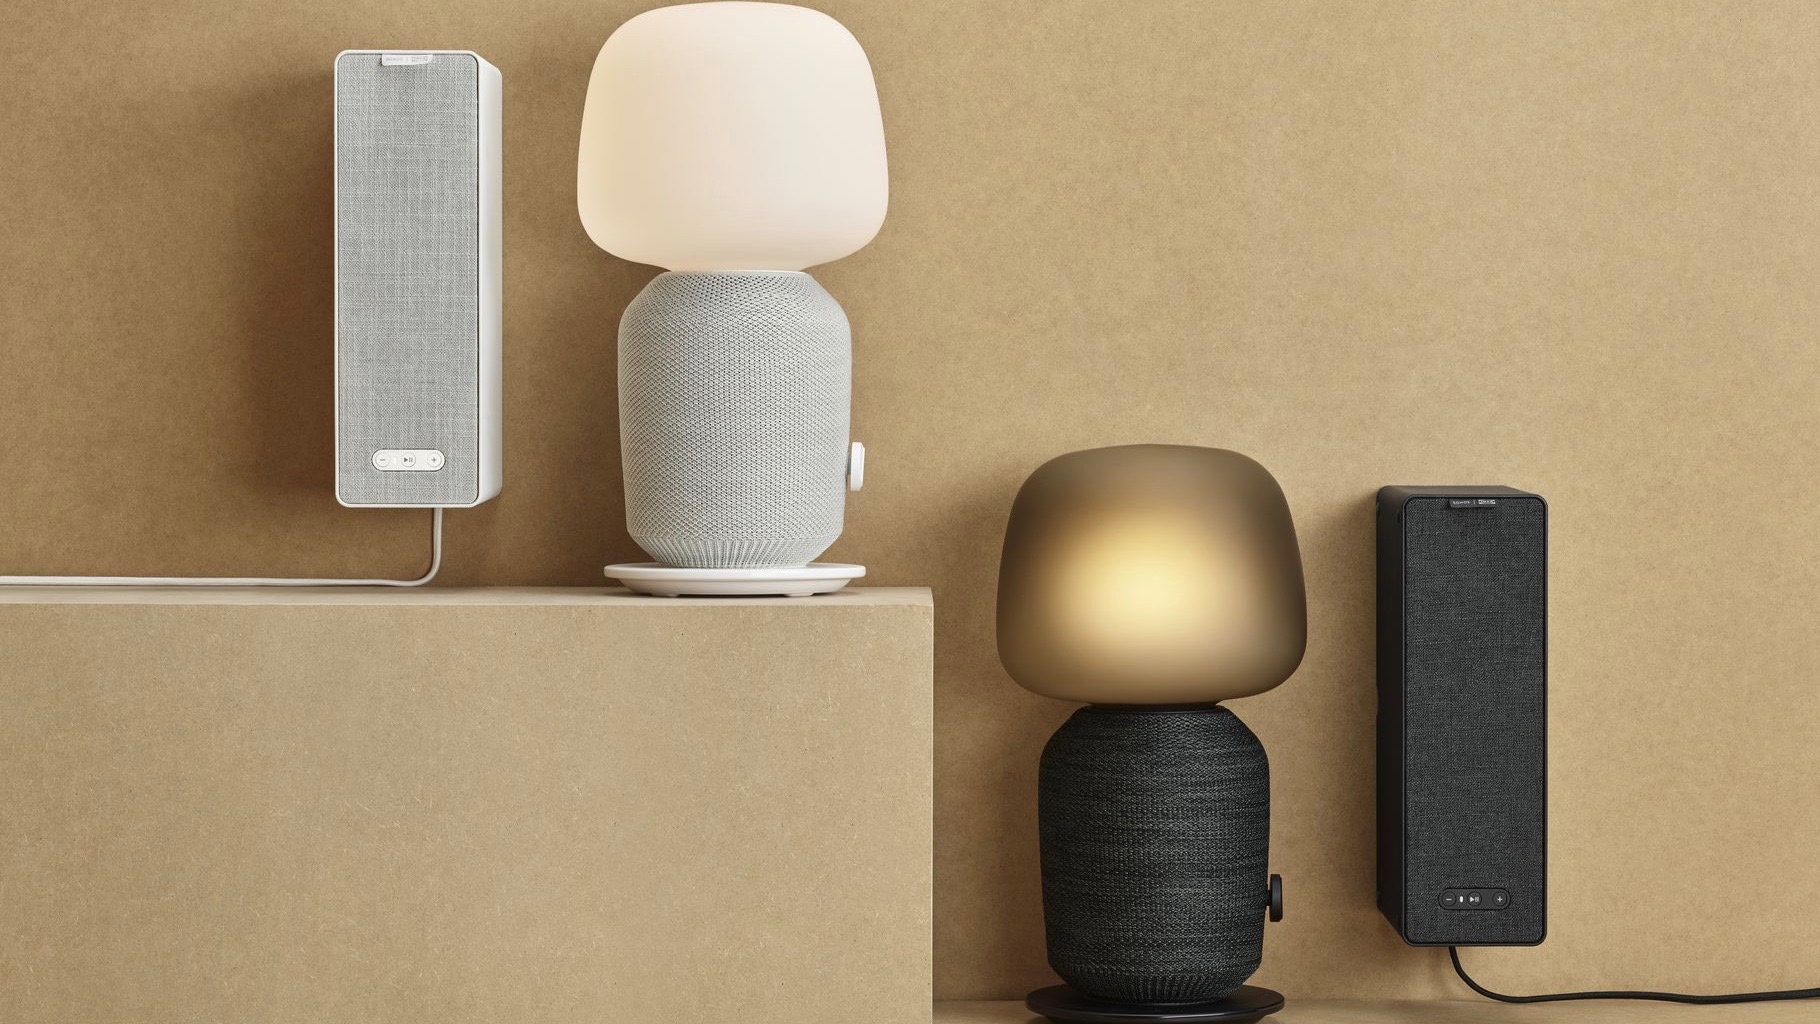
As is the case with Sonos’ other TV speakers, the Playbar and Playbase, the Beam can be upgraded from 3.0 to proper surround sound through the addition of two of the company’s smaller, music-first speakers, the Play:1, One, Play:3 or Play:5, Move, or indeed one of the new Symfonisk speakers recently released in collaboration with Ikea.
If you don't already have one of these spare (in which case it's probably sensible to simply add another), buying two Symfonisk bookshelf speakers is probably the most sensible option. It's the most affordable (at £99) and compact speaker Sonos has ever produced, so the one most suited to life as a satellite speaker. The Symfonisk lamp speaker, meanwhile, is a great option if you want to disguise your satellite speakers as lamps.
The Play:1 remains an excellent choice as a satellite speaker, too, as it sounds better than both of the Ikea Symfonisk speakers, but it's more expensive than the bookshelf speaker and has now been discontinued so is hard to find.
Should you go down the Sonos surround sound route at all? We think so. A dedicated AV amp and full speaker package clearly beats it for sound quality but, for a total outlay of £600 (if you go with the Symfonisk bookshelf speakers), this is an enjoyable and supremely neat surround sound solution.
MORE: Sonos Ikea Symfonisk bookshelf speaker review
Think twice before adding a Sub
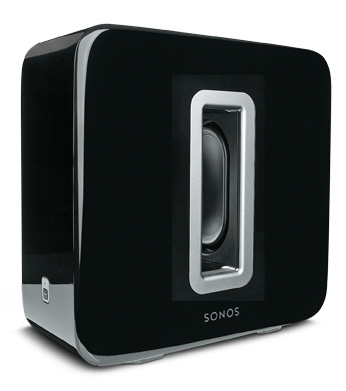
Adding surrounds to the Beam gives you a 5.0 set-up, rather than 5.1, but Sonos offers the option of adding the .1 via the company’s inventively named Sub.
However, we wouldn’t recommend doing so. The Sub is overkill in the context of the Beam, both in terms of price (it costs £300 more than the Beam) and power.
We find the Sub to be something of a blunt instrument in terms of its delivery, to the extent we’re not convinced it’s a worthy purchase, even partnered with the Playbar or Playbase. With the Beam, it makes even less sense.
Choose your wall-mount
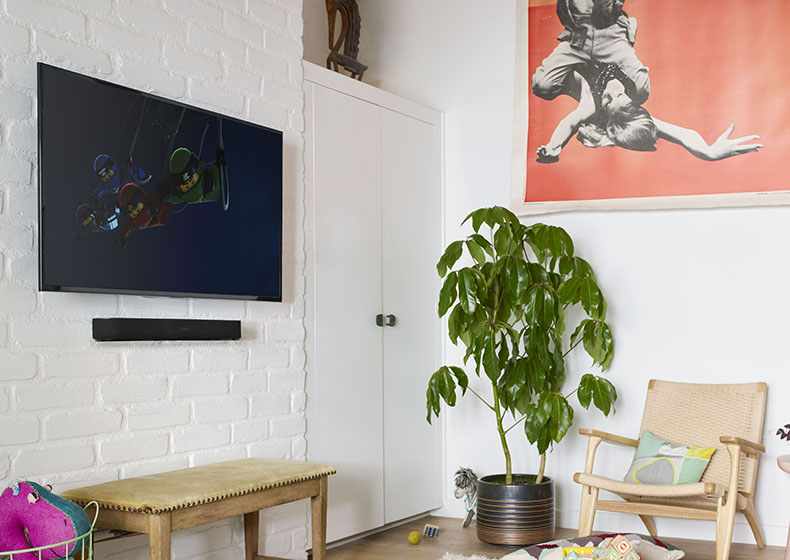
If your TV is wall-mounted, you probably want to mount the Beam too. If you were the adventurous type, you could mount the Playbar with just two screws, but there’s no such option with the Beam.
The official Beam mount will set you back £59, but it is a rather neat, almost invisible solution.
Flexson has a more advanced mount. Costing £90, it can be adjusted up or down (particularly useful if your Beam is mounted above your TV). There is also another full cantilever mount (£150) that can accommodate both the Beam and your TV.
Of course, you could just plonk it on a £10 Ikea shelf, but that won’t look as neat, nor potentially sound as good.
Add a Fire TV Stick 4K
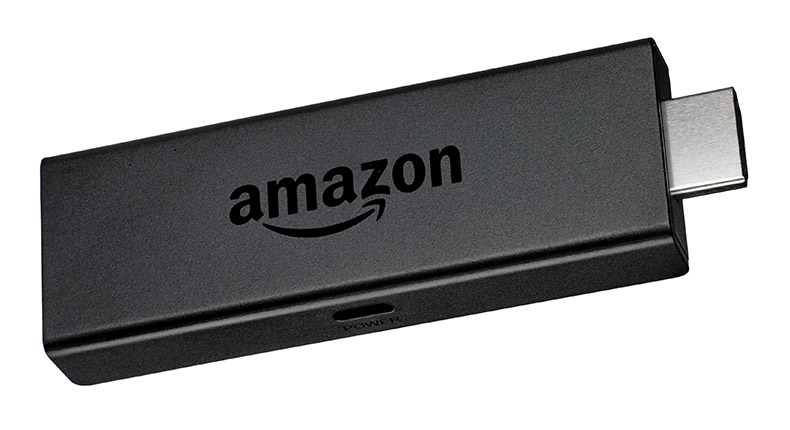
The Beam supports Alexa, which brings with it all of the features of Amazon’s Echo, but with added ability to turn your TV on or off using your voice.
If you want to take the voice control further (and why wouldn’t you?), you can add a Fire TV Stick 4K or Fire TV Stick. Once connected, you can issue commands such as “watch Stranger Things” and, if you’re a Netflix subscriber, the show will start playing.
MORE: Amazon Fire TV Stick 4K review
Try out AirPlay 2
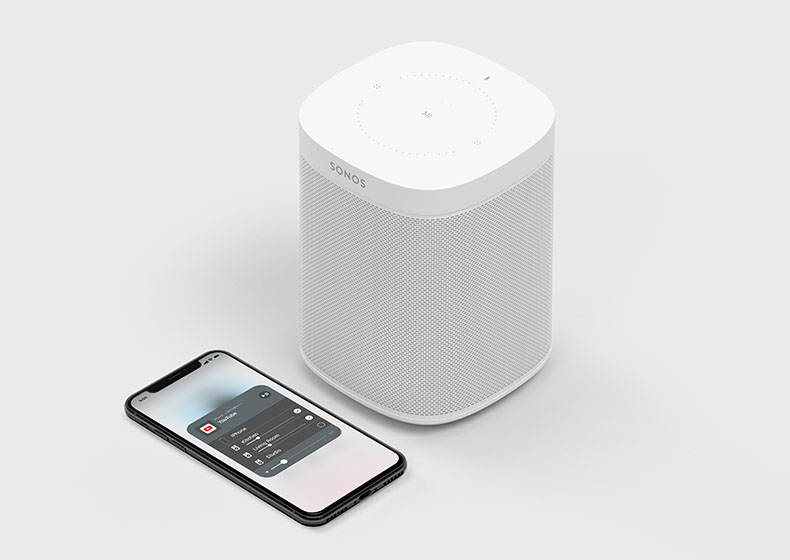
Some of Sonos’ speakers, including the Beam, are now compatible with Apple’s AirPlay 2 protocol.
In some ways, it’s not a huge deal – just another way of sending audio directly from a phone to a speaker.
However, it also adds the option of creating a mix-and-match multi-room system containing Sonos speakers and those from other manufacturers.
MORE: Sonos Beam Gen 3 preview: 4 things we want from the next budget Dolby Atmos soundbar
Get the What Hi-Fi? Newsletter
The latest hi-fi, home cinema and tech news, reviews, buying advice and deals, direct to your inbox.
Tom Parsons has been writing about TV, AV and hi-fi products (not to mention plenty of other 'gadgets' and even cars) for over 15 years. He began his career as What Hi-Fi?'s Staff Writer and is now the TV and AV Editor. In between, he worked as Reviews Editor and then Deputy Editor at Stuff, and over the years has had his work featured in publications such as T3, The Telegraph and Louder. He's also appeared on BBC News, BBC World Service, BBC Radio 4 and Sky Swipe. In his spare time Tom is a runner and gamer.
-
Scotttomo Good evening.Reply
In this helpful article, it’s mentioned that the addition of the Sonos sub to a system with a beam as a central channel is overkill and unnecessary, yet in the review of the sub itself, it states the sub is a welcome addition to any Sonos music or cinema system.
I‘m currently in limbo about buying a beam and sub entertainment set from the Sonos website, which will be paired with my ones as my rears to make a 5.1 system.
I‘m confused about what to do, based on your slightly conflicting views.
Given that I have a 30% off discount from the trade up program and wanted to get the best deal for my money while I can, can someone please advise?
Yours, a slightly baffled AV novice.
Scott -
amuse ReplyScotttomo said:Good evening.
In this helpful article, it’s mentioned that the addition of the Sonos sub to a system with a beam as a central channel is overkill and unnecessary, yet in the review of the sub itself, it states the sub is a welcome addition to any Sonos music or cinema system.
I‘m currently in limbo about buying a beam and sub entertainment set from the Sonos website, which will be paired with my ones as my rears to make a 5.1 system.
I‘m confused about what to do, based on your slightly conflicting views.
Given that I have a 30% off discount from the trade up program and wanted to get the best deal for my money while I can, can someone please advise?
Yours, a slightly baffled AV novice.
Scott
I'm in the same boat. We have a Beam with 2x Play1 and it produces a nice surround sound. However, I've just ordered the Sub to complement the set-up. From the different reviews I'm reading, the Sub helps the Beam to produce clearer conversations in movies / TV, whilst at the same time of course adding the "oompf" for a true 5.1 experience.
The Sub (and Playbar) are both discounted 150 (Euro in my case) right now on the Sonos website.
And they offer 100 days no questions asked return policy. So in the worst case scenario, where I possibly don't like the addition of the Sub (I doubt it :), I can simply return it. -
SteveR750 I have the sub, and swap it between music system (with 2 x Play 5 in stereo pair) and home cinema. It's an odd comment to say it's a blunt instrument, as it's not an especially large or powerful sub by any means, and you can tune it's sound independently anyway so it's effect can easily be modulated. It doesn't quite have the same effect on the Beam as it does with the Play 5, as in removing some of the heavy lifting and freeing up the units to deliver mid and high frequency with greater clarity; but it certainly adds a significant amount of heft to explosive sound tracks. I'd argue that you really do need the Sub with a Beam, there is a reason why most small soundbar systems from the likes of yamaha, samsung and Denon all have wireless subs. I should add that unsurprisingly it's really easy to swap the sub between my two systems.Reply

