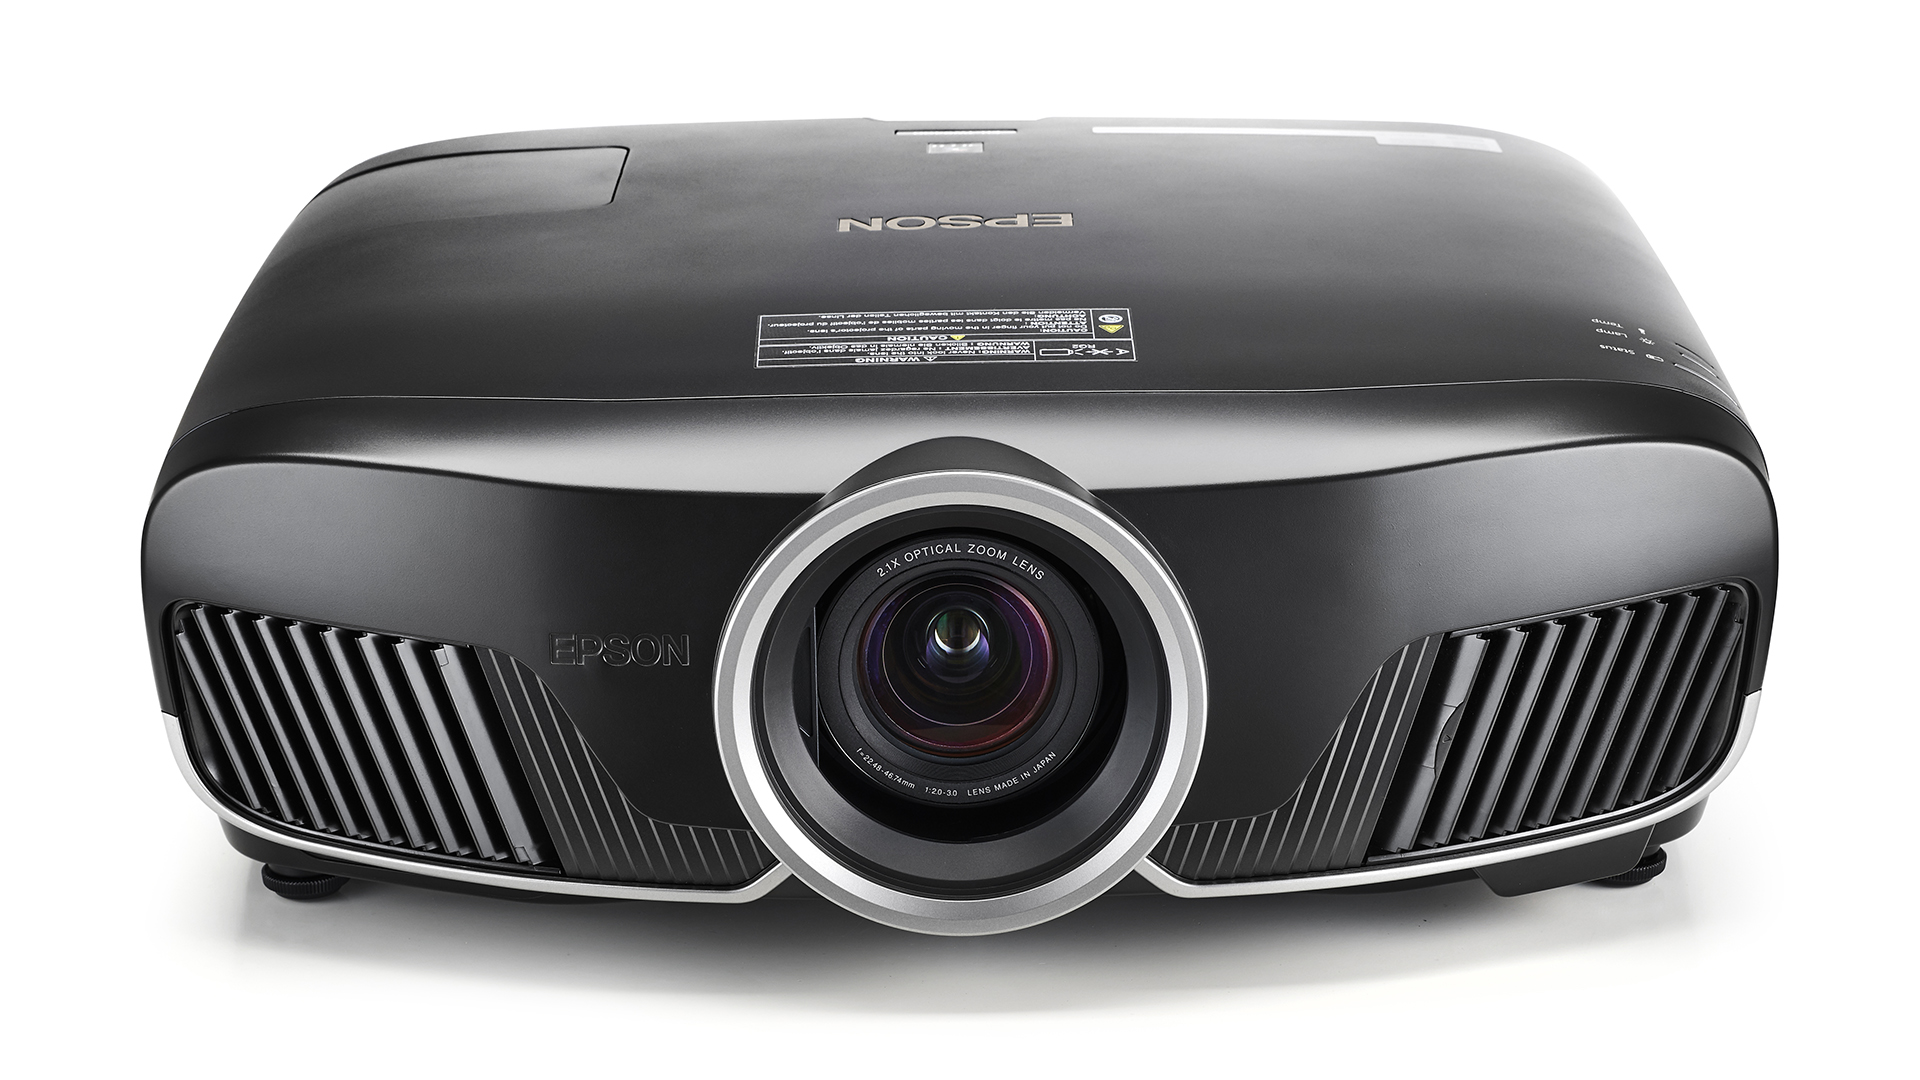
While the flickering film reel is a thing of the past, the best projectors can turn any room into a little slice of home cinema heaven. If you're in the market for one, there are plenty of options and lots of tempting projector deals competing for your attention. If you want to watch movies outside, don't forget to check out our best outdoor projectors page for inspiration too!
Thanks to many years of testing projectors, we have become extremely accustomed to the setup process. It is usually a three-part process made up of knowledge, trial and error and extreme patience – however, once it's done, it's done. While it can be a fiddly and involved process, it is worth setting up your projector correctly to ensure you get the best possible picture out of it – after all, you are probably shelling out plenty of money for your big-screen thrills.
The vast range of prices adds its own degree of complexity, alongside all the different projector types and technologies to choose from. It can be difficult to decide which is best for you.
So, rather than jump into a purchase blind, take a moment to do a little research. Sit comfortably. Grab some popcorn. We’ll guide you through how to set up your projector and get the picture.
What kind of projector should you get?
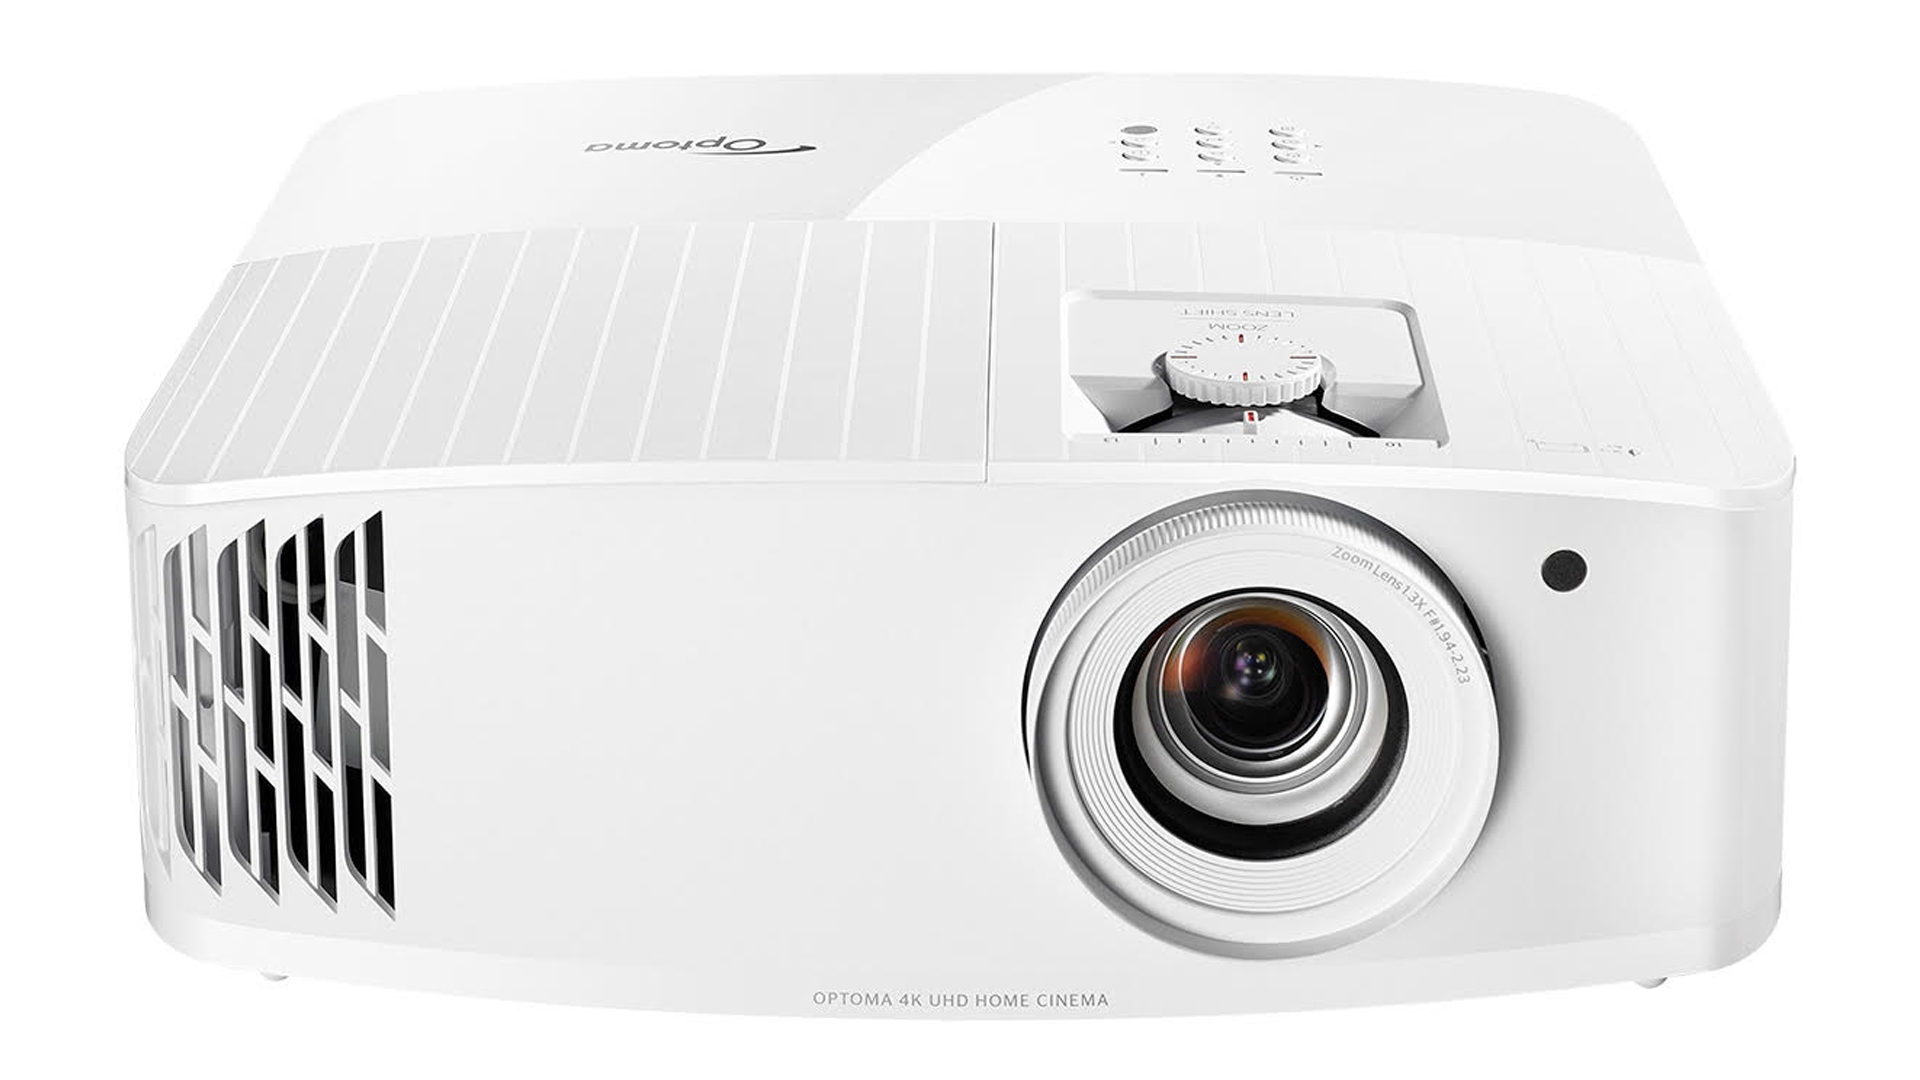
Let’s start by breaking down the different kinds of projector. Most are one of two varieties: DLP (Digital Light Processor) and LCD (Liquid Crystal Display).
LCD projectors use three liquid crystal displays – each of which handles a primary colour – to project three images, tinted red, green and blue. These images are then recombined in a glass prism to show the full colour spectrum, before they are beamed onto the screen.
A DLP projector uses a single chip made up of millions of microscopic mirrors. Each individual mirror can be angled, directing light towards the projector screen or away from it, with each mirror effectively working like a pixel in a television. A spinning colour wheel sits in front of the light source and determines what colour is shown. Alternatively, three-chip DLP solutions also exist where the light is split and recombined, as with LCD technology, and the need for a colour wheel is eliminated.
There is also LCoS projection – 'Liquid crystal on silicon'. This works in a similar way to DLP, but instead of mirrors it uses liquid crystals to control the light. Both Sony and JVC use this technology, under the names of SXRD and D-ILA respectively.
All of these technologies have their benefits and drawbacks. DLP projectors are generally brighter and sharper, but can suffer from a ‘rainbow effect’ (where you can see the individual red, green, and blue colours) if the panels aren’t perfectly aligned. LCD projectors are usually cheaper and don’t suffer from the rainbow effect but can sometimes struggle with motion and have trouble achieving the same depth of blacks as other technologies.
LCoS, meanwhile, doesn’t suffer the rainbow effects DLP projectors do and aren’t prone to screen burn-in like LCD projectors. On the other hand, black depth is not as easy to create as with DLPs. They tend to be bulkier devices and more expensive too.
While each technology is different, don’t let that become the be-all and end-all when looking for a new projector. Your best bet is to research reviews of the projector you want to buy before making any decisions.
4K or Full HD: What resolution should you get?
Projectors are echoing TVs when it comes to the transition from 1080p to 4K. A few short years ago, 1080p projectors were still coming hot off the press from some of our favourite manufacturers. However, with practically all home cinema sets coming with either native or pixel-shifted 4K these days, 1080p is now reserved for budget or portable options, such as the Samsung Freestyle.
Projectors sitting between around £1000-£3000 can bring you to 4K levels, four times the resolution of HD. These aren’t natively 4K, but have resolutions of 4.15 million pixels (or fewer) – half that of Ultra HD’s 8 million. Through a form of pixel shifting, which rapidly fires two lower-resolution images at the screen to create a higher-resolution image, the projectors can call themselves 4K – and get certification from the Consumer Technology Association (CTA) in the USA.
Right at the top of the price range, meanwhile, are the native 4K projectors. These can cost anywhere from £4500 onwards, but come with the peace of mind that your picture is as naturally, natively sharp as it can be. The best-ever picture we have laid our eyes upon has been from the superb JVC DLA-Z1 - but it does cost an eye-watering £35,000.
Ultimately, price and projector size will be the two factors that decide what resolution you get – it’s just a matter of picking the best one.
Can I get HDR too?
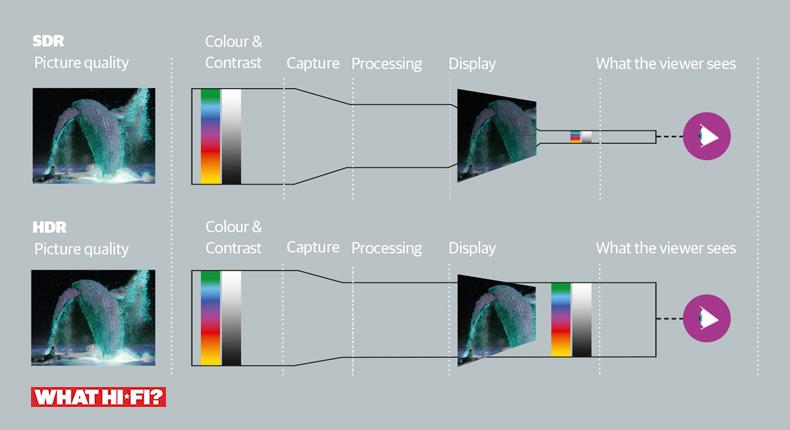
These days you would be mad to have a 4K TV without HDR (High Dynamic Range). With projectors, however, it’s trickier and a little less common.
Most of the time, HD projectors won’t come with HDR support. Many lower-cost 4K projectors are capable of accepting an HDR10 picture (the standard version of HDR) from Blu-rays or streaming services, but cannot recreate the full range of colours.
BenQ's W1800 for example certainly accepts HDR10 signals, and even processes them in unique ways via a Filmmaker mode picture preset. But it's not as cut and dried as the situation with most TVs, which accept and output an HDR signal with minimal fuss.
While accepting an HDR signal is certainly better than not accepting one, you can get true HDR from a projector; as is the way with such things, however, you have to pay significantly more for the feature. The Award-winning £6000 Sony VPL-XW5000ES is a good starting point for a proper HDR10 picture; the more you spend the better a picture you will get.
What about 3D?
3D in TVs may have fallen from fashion but it remains prominent in the projector space. Portable projectors from as little as £300 will support the third dimension, so your 3D Blu-ray collection can still be enjoyed.
How to set up your projector
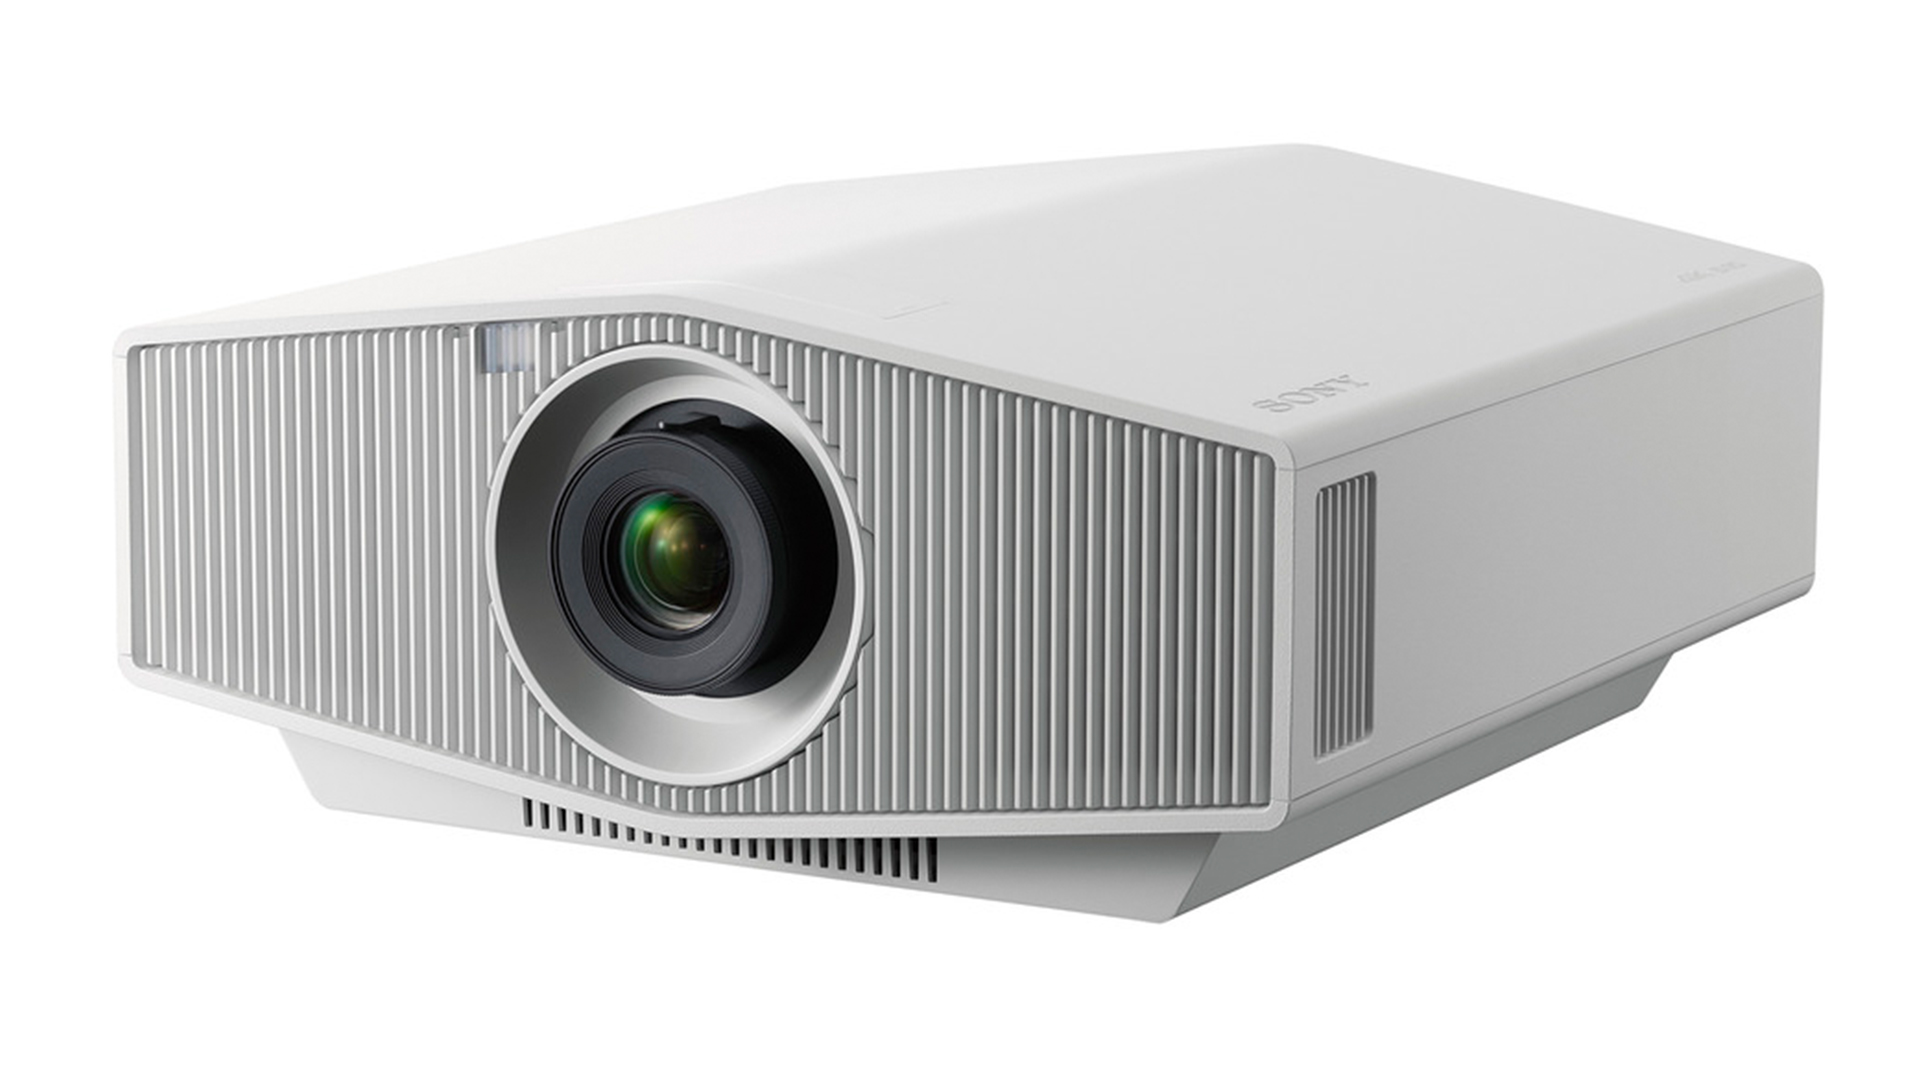
Setting up your new projector properly is vital. One of the first things you will want to consider is the throw ratio: that is, how far the projector needs to be from the screen to get a particular image size.
You can work this out by looking at your projector’s manual (or, usually, on the manufacturer’s website). It's a number, followed by a colon, and then another number. For example, if the number is '1.15:1', then for a one-metre wide picture your projector needs to be 1.15 metres back, for two metres it's 2.3 metres back, and so on.
Most projectors are ‘long-throw’, so they need to be relatively far from the screen; but ‘short-throw’ projectors can be positioned quite close to the wall and still project a large image. Whether you want a short-throw or long-throw projector should be taken into consideration before buying – it’s a lot easier to buy a different projector than it is to buy a new home cinema room!
You will also want to consider investing in a projector screen. In fact, we would go so far as to say a screen is vital if you want the best out of your new projector. While you can certainly use a blank wall if you want to, projector screens are specifically designed to be more reflective, so you can get a sharper, more colourful picture using one instead of your standard wall.
Also, having a solid black frame around your video that the screen provides can significantly improve contrast levels.
Positioning
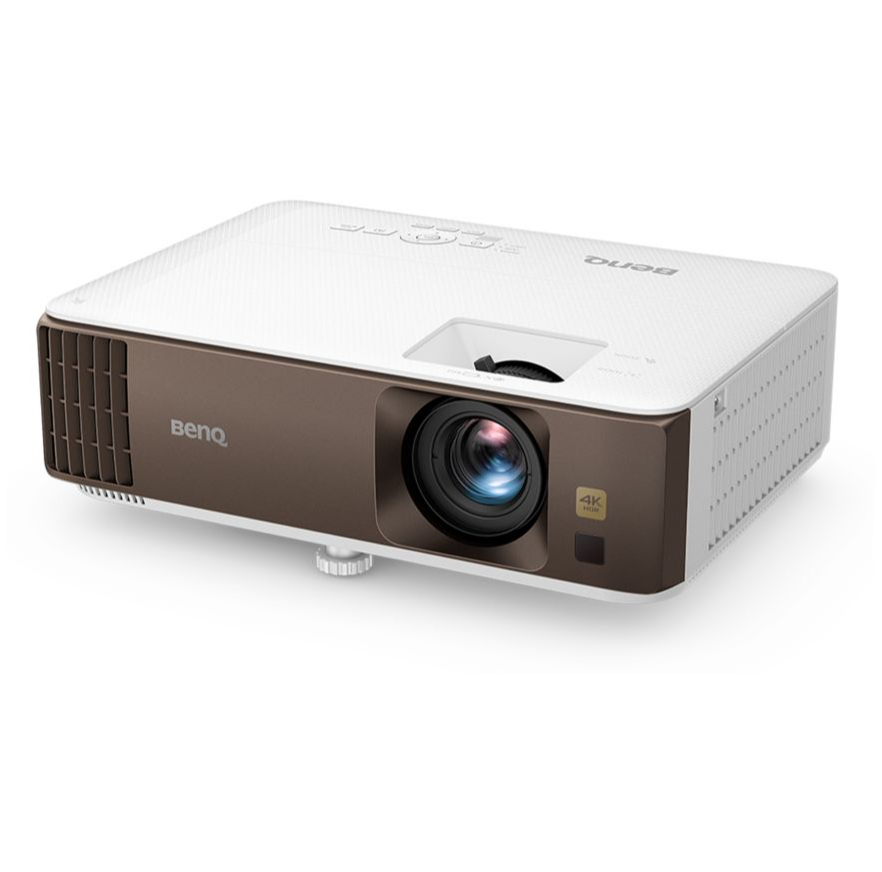
Positioning is equally important: ideally, you want the projector level with the middle of the screen so you get as little distortion as possible. It’s always best to put the projector on a flat surface – most units come with adjustable feet to help with levelling.
Changing the physical positioning of the projector is always a better option over using software-based picture adjustment, as this is where distortion can occur. Before you attempt to tweak any settings, try to get the projector as level as possible, and facing the screen or wall as straight-on as possible.
If you have to use the legs, you should hold the projector in place and then unscrew the legs (to make them longer) until the image is level.
At this point, you should be close to getting your projected image to its ideal state. Many projectors will also have dials (more expensive units might have electronic controls on their remotes) to zoom the picture in or out so you can make it fit your screen.
If you have had to place your projector up high (or too low) so the picture ends up looking skewed or angled oddly – e.g. it looks more like a trapezoid than a rectangle – you can deploy keystone corrections.
Keystone stretches out the picture (either horizontally or vertically where needed) so you get a perfectly rectangular output on the screen. It can be useful - but extra scaling affects image quality, so it should be used only as a last resort. When setting up a projector, you want as little distortion as possible for the best image.
You can of course ignore most of the above if you have an ultra-short throw (UST) projector such as the LG HU715Q; these are much more straightforward. You simply need to place the projector near the wall you will be projecting onto. You will, however, still need to adjust the position and likely the feet slightly in order to avoid a crooked picture. USTs also usually lack picture shifting, so physical positioning is key here.
Focus
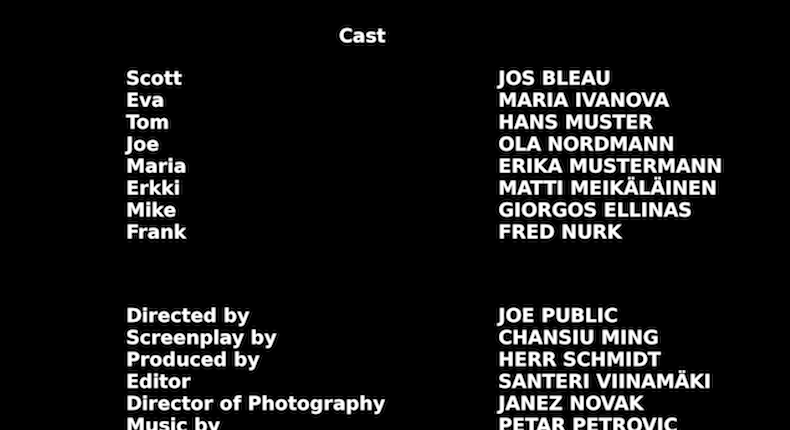
Once you have got the position of your projector sorted out, you can adjust for focus. The best way to do this is to get your projector displaying some words – the end credits of a movie are a good choice – and while you sit by the projector controls, get someone else to stand by the image so they can see the pixels.
Slowly adjust the focus back and forth until it’s as sharp as can be, with your friend giving you guidance on whether the pixels are blurry or not.
Some projectors may require you to push up the sharpness by an increment or two, but be careful not to go too far – it can make the picture over-edgy.
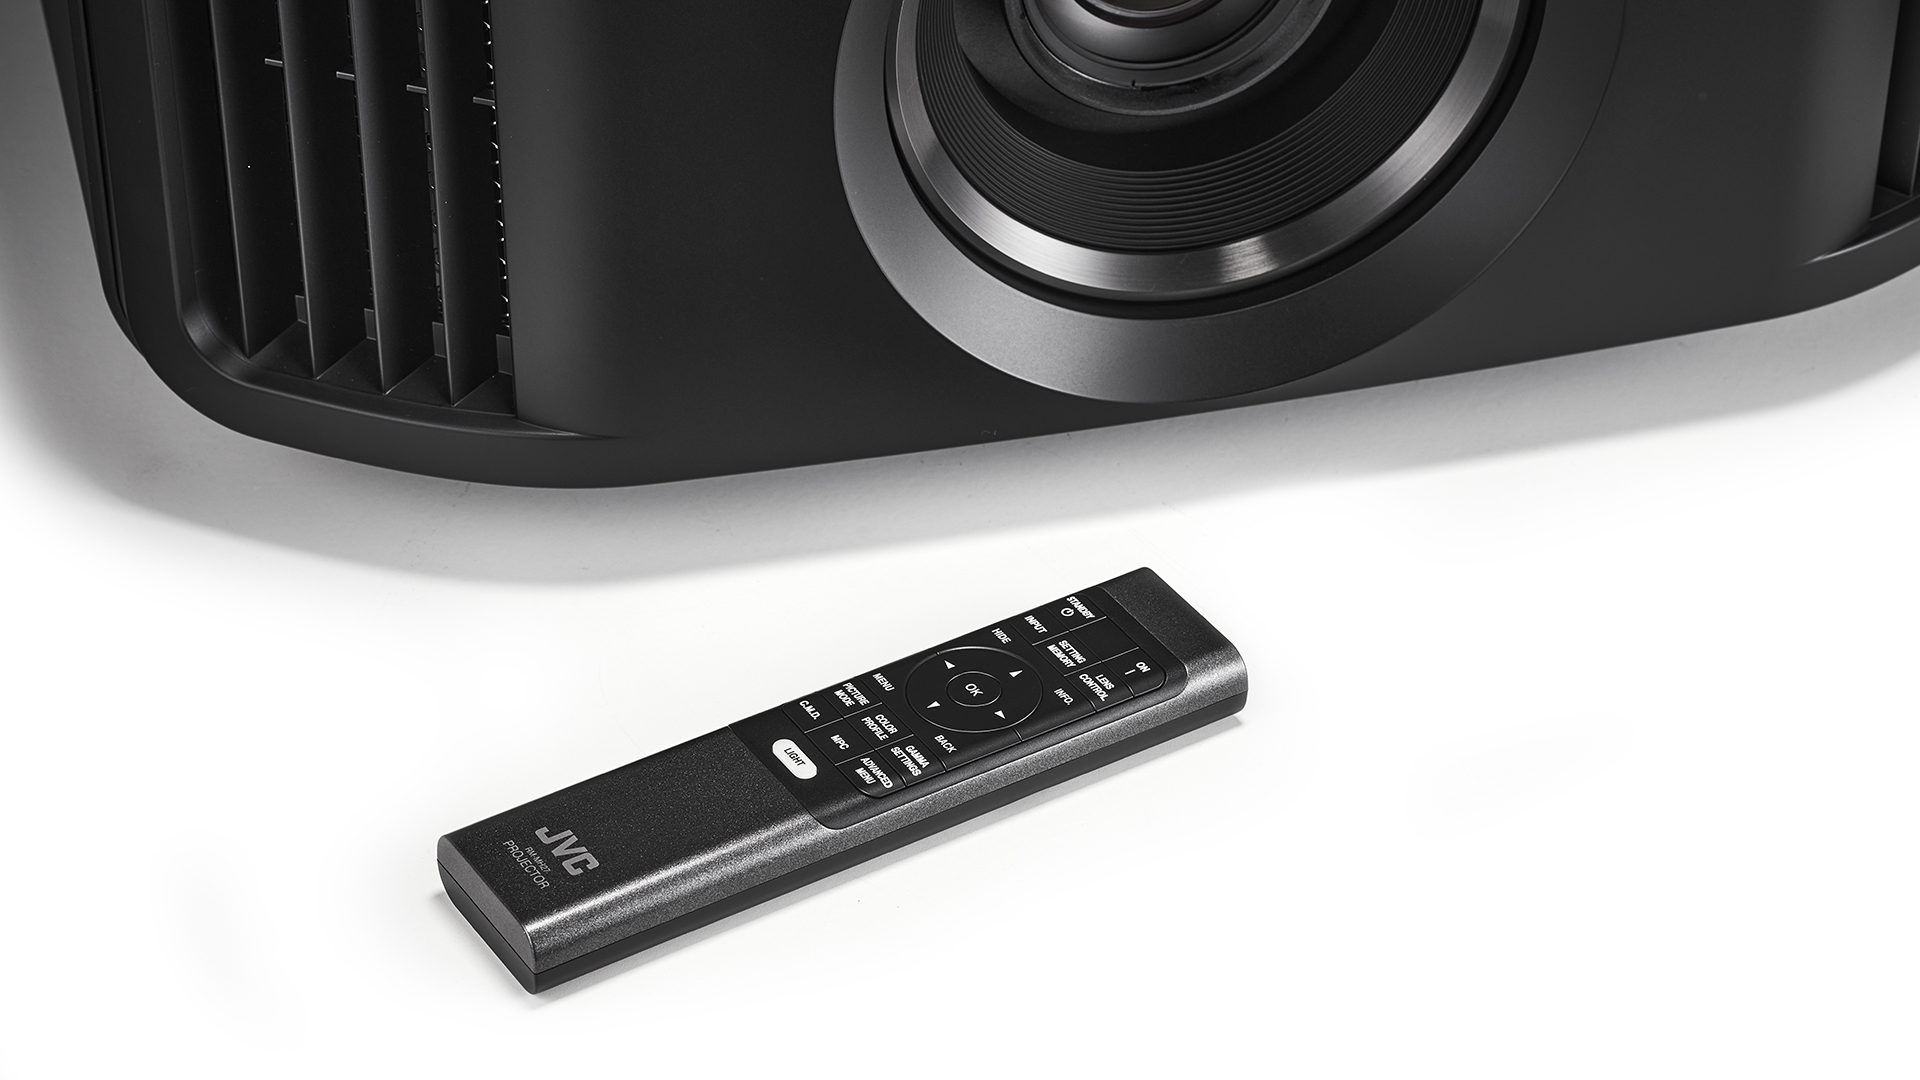
Some projectors have motorised focus adjustments that can be controlled via the remote control, while others have manual focus wheels near the lens of the device. More expensive projectors usually offer the remote option, which is great for finer adjustments and is much more convenient for getting up close and personal with the screen to make sure you get the sharpest image possible.
It's not the end of the world if you have manual lens adjustment, as enough trial and error will eventually get you there; it just might require some back and forth between the projector and the screen to make sure the picture is sharp.
It is important to make sure your image is consistently sharp throughout, which means in the centre and all four corners - most projectors include test patterns to use while you are tweaking the focus on your projector.
Picture perfect
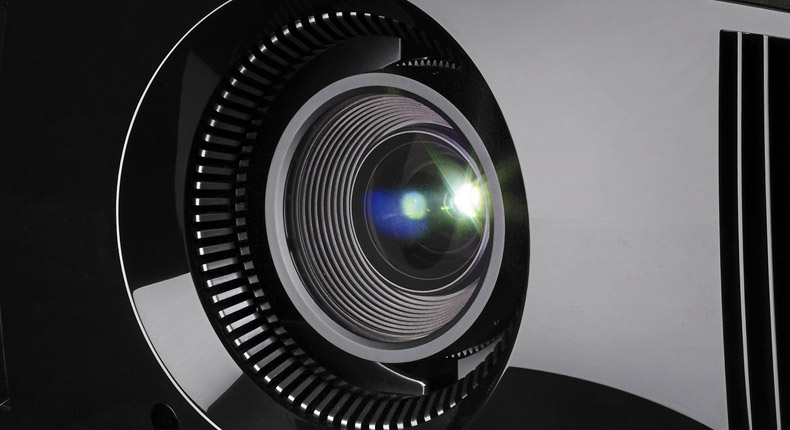
More often than not, a projector’s settings will be factory default, but we recommend starting with either 'standard' or 'cinema' presets and then adjusting brightness and contrast from there. Have a couple of familiar films at hand to play when tweaking your picture, too.
For contrast, we like to pause on a scene with fluffy clouds: crank up the contrast to the top, and then turn it down incrementally until you start to see the detail rather than just a white blob.
When it comes to brightness, choose something dark, such as an overcoat or jacket, and keep going as low as possible until you start to lose insight in the creases and folds.
You might not need to do much to the colour controls, but if you do then you should stick on a brightly coloured scene and push the controls up if you think they need more punch, or down if they are overblown. A scene with human faces will also be a good measure of skin tones.
Also, while an Eco mode can be good for keeping the projector’s fan quiet, it will also negatively impact the punch of the picture. Most projectors have one, so it’s worth digging into the settings and turning it off.
Now add speakers…
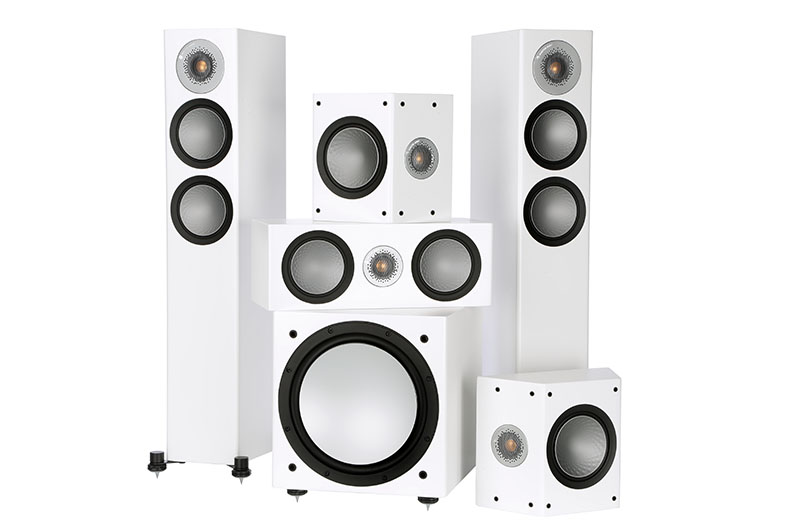
Once you are all set up, we would recommend pairing your projector with a capable AV receiver and suitable sound system. While many projectors come with speakers built in, they are usually small tinny ones that are – at times – worse than cheap Bluetooth speakers. You will get a much better (incomparable) performance from a dedicated 5.1 speaker package.
Then, of course, get a good source – any of our five-star rated Blu-ray players will go down a treat – and you can watch all the latest 4K Blu-ray discs in full cinematic glory. Happy viewing!
MORE:
Get the What Hi-Fi? Newsletter
The latest hi-fi, home cinema and tech news, reviews, buying advice and deals, direct to your inbox.
Dan is a staff writer at What Hi-Fi? and his job is with product reviews as well as news, feature and advice articles too. He works across both the hi-fi and AV parts of the site and magazine and has a particular interest in home cinema. Dan joined What Hi-Fi? in 2019 and has worked in tech journalism for over a decade, writing for Tech Digest, Pocket-lint, MSN Tech and Wareable as well as freelancing for T3, Metro and the Independent. Dan has a keen interest in playing and watching football. He has also written about it for the Observer and FourFourTwo and ghost authored John Toshack's autobiography, Toshack's Way.

