How to find the right eartip size for you: get the perfect fit for your earbuds
Top tips for your eartips
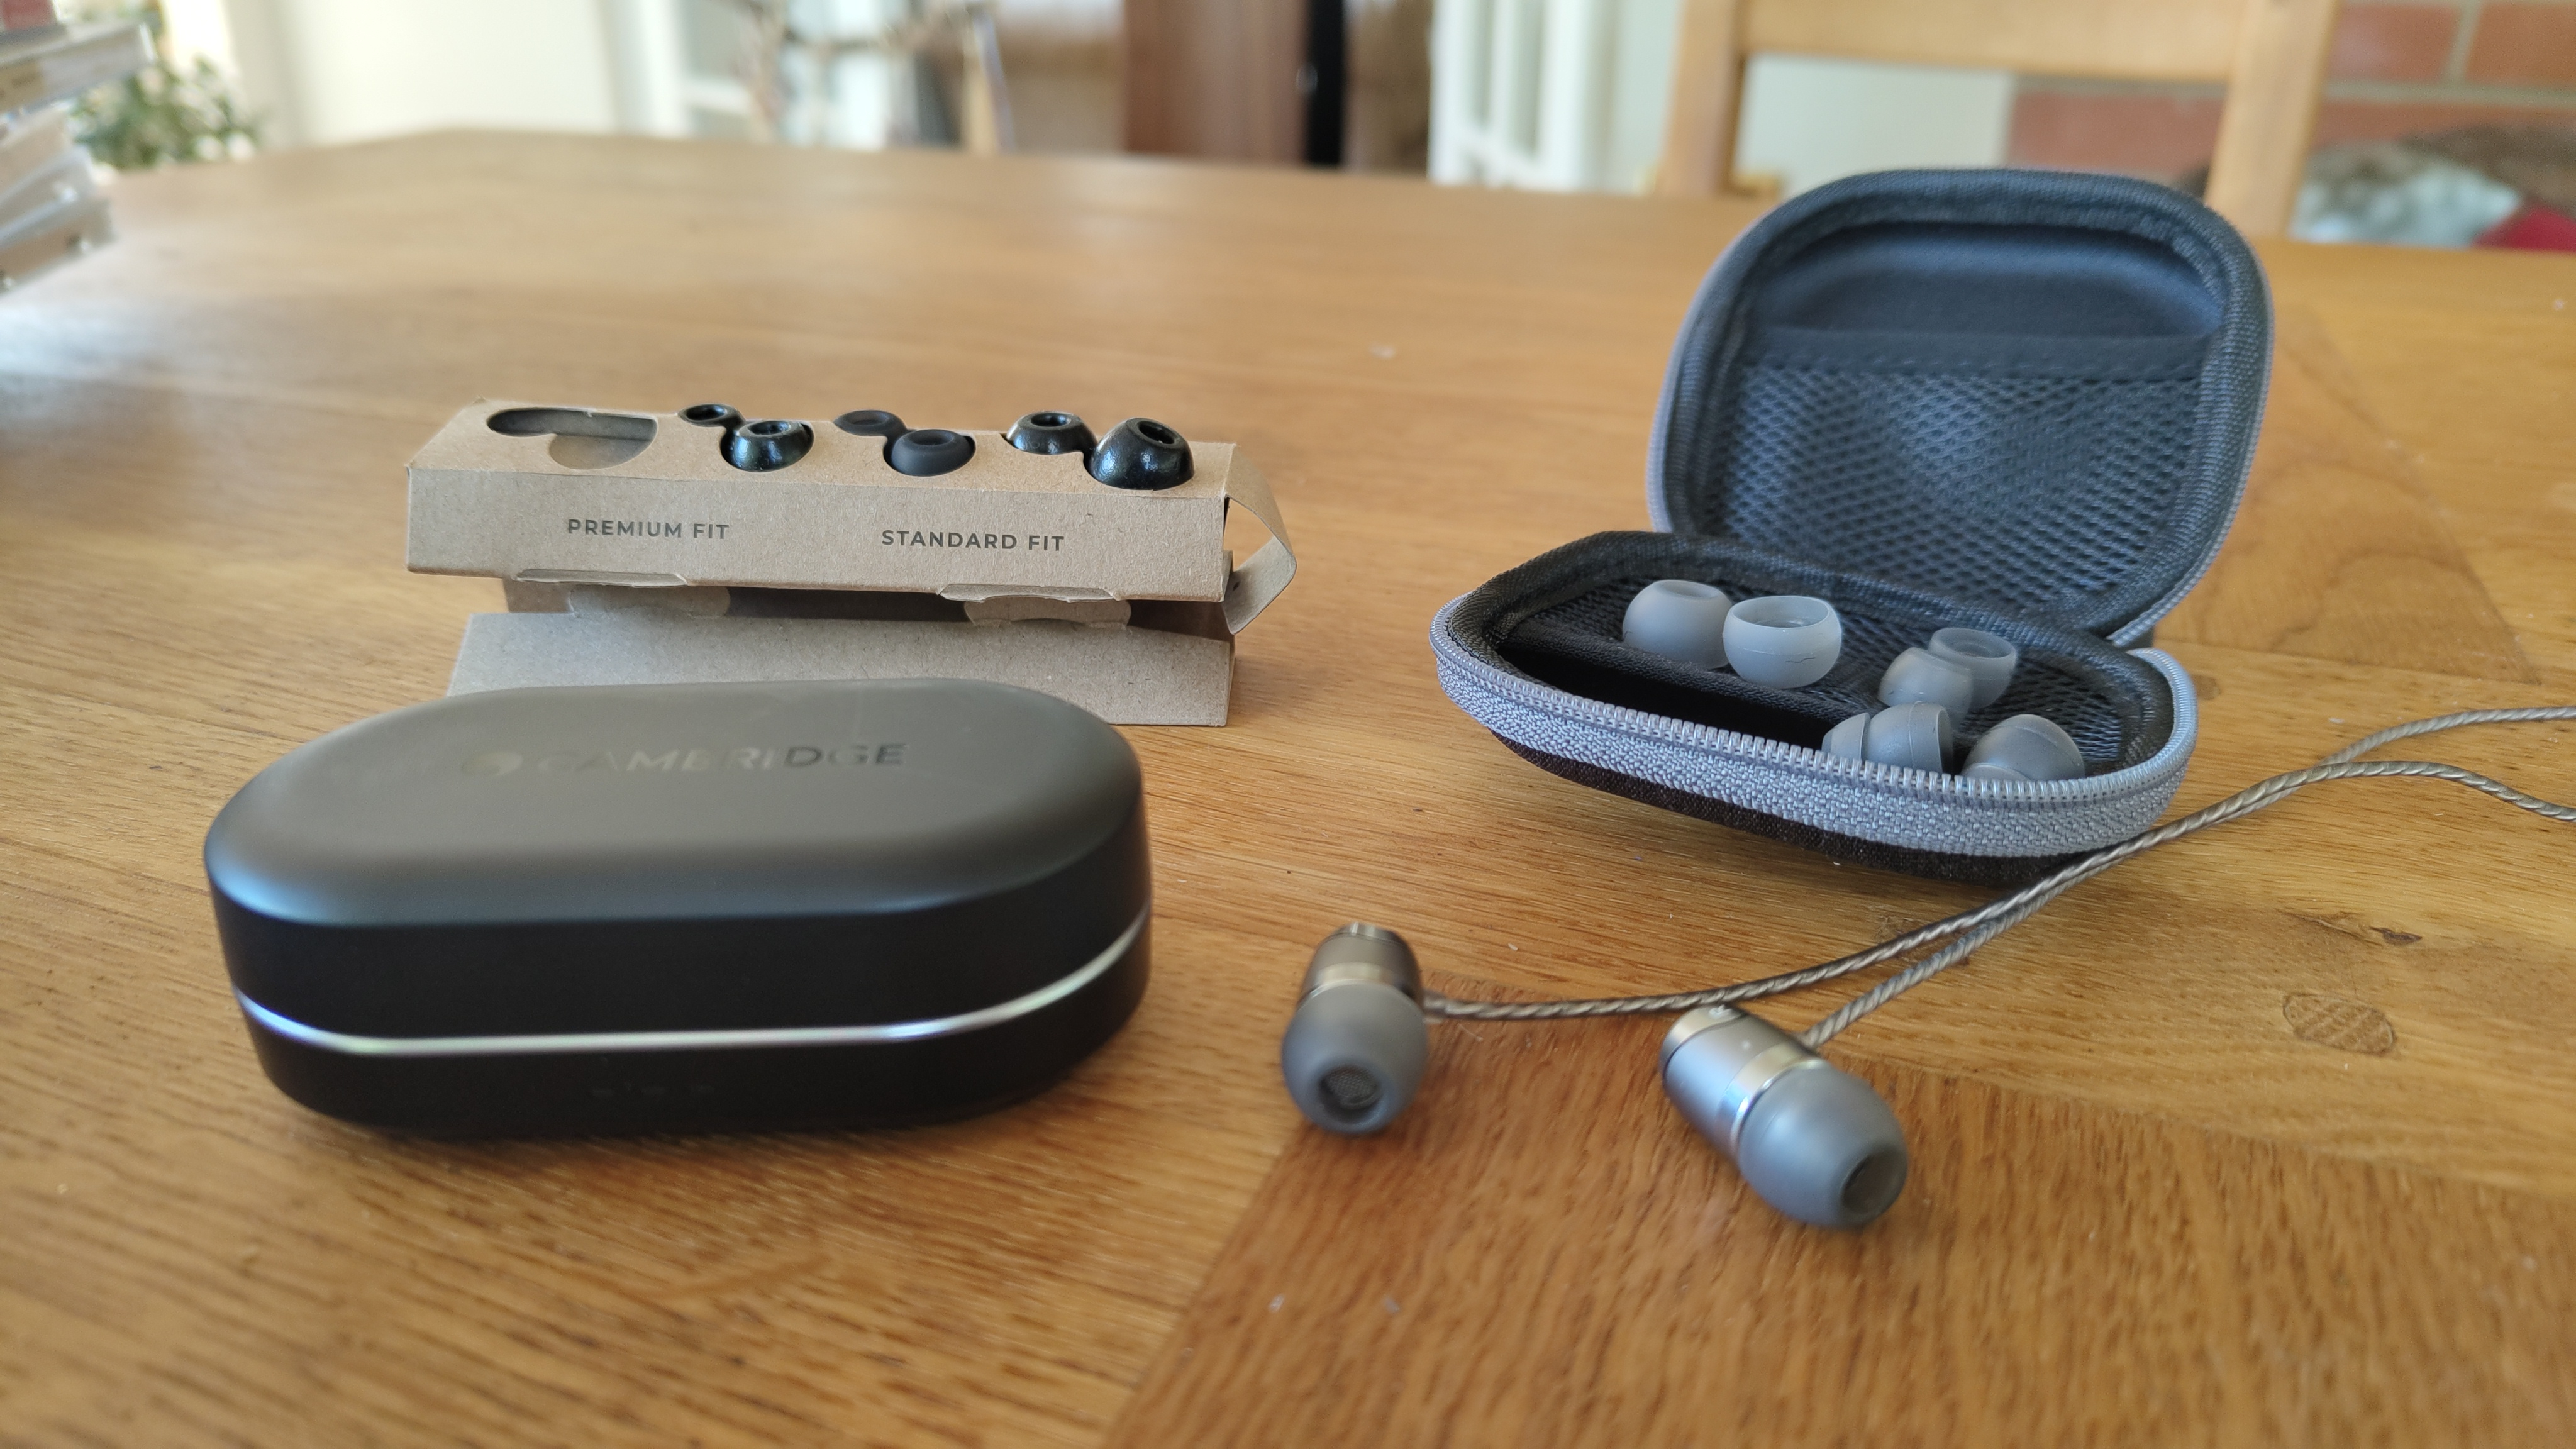
Listening to music through a pair of in-ear headphones or wireless earbuds has never been more popular. Unlike over-ear headphones, in-ear models naturally sit within the ear cavity itself, with most designs using a pair of removable eartips which sit in the ear and, if properly fitted, provide a seal that grants comfort, stability and the best sound possible.
A good fit goes beyond merely getting a pair of buds into your ears. A pair of in-ear headphones or wireless earbuds need to fit correctly in order to provide you with the optimal sound quality that the manufacturer intended. Many’s the time users, even seasoned testers, have complained about issues with sonic delivery, only to find that the problem lay with how the eartips were fitting rather than how the headphones themselves were performing.
This handy guide, then, goes far beyond the basics of 'find buds, put buds into ears, listen to music'. Instead, we have compiled an in-depth rundown of every stage you will need to go through so as to benefit from the best sound possible from your in-ears. And while some of this might sound obvious, they are all fundamental steps in ensuring you are getting the best performance and comfort possible. Every day’s a school day, after all.
Step one: starting out
First things first, identify how many eartip sizes and types you have at your disposal. If possible, this should actually be done before you purchase the product in question, as it can be a determining factor in which model you opt for – almost all manufacturers’ specification sheets, product listings and reviews will make mention of how many tip sizes are available, with more premium products granting at least five sizes (XS, S, M, L, XL) over the standard three (S, M, L) offered by more affordable options.
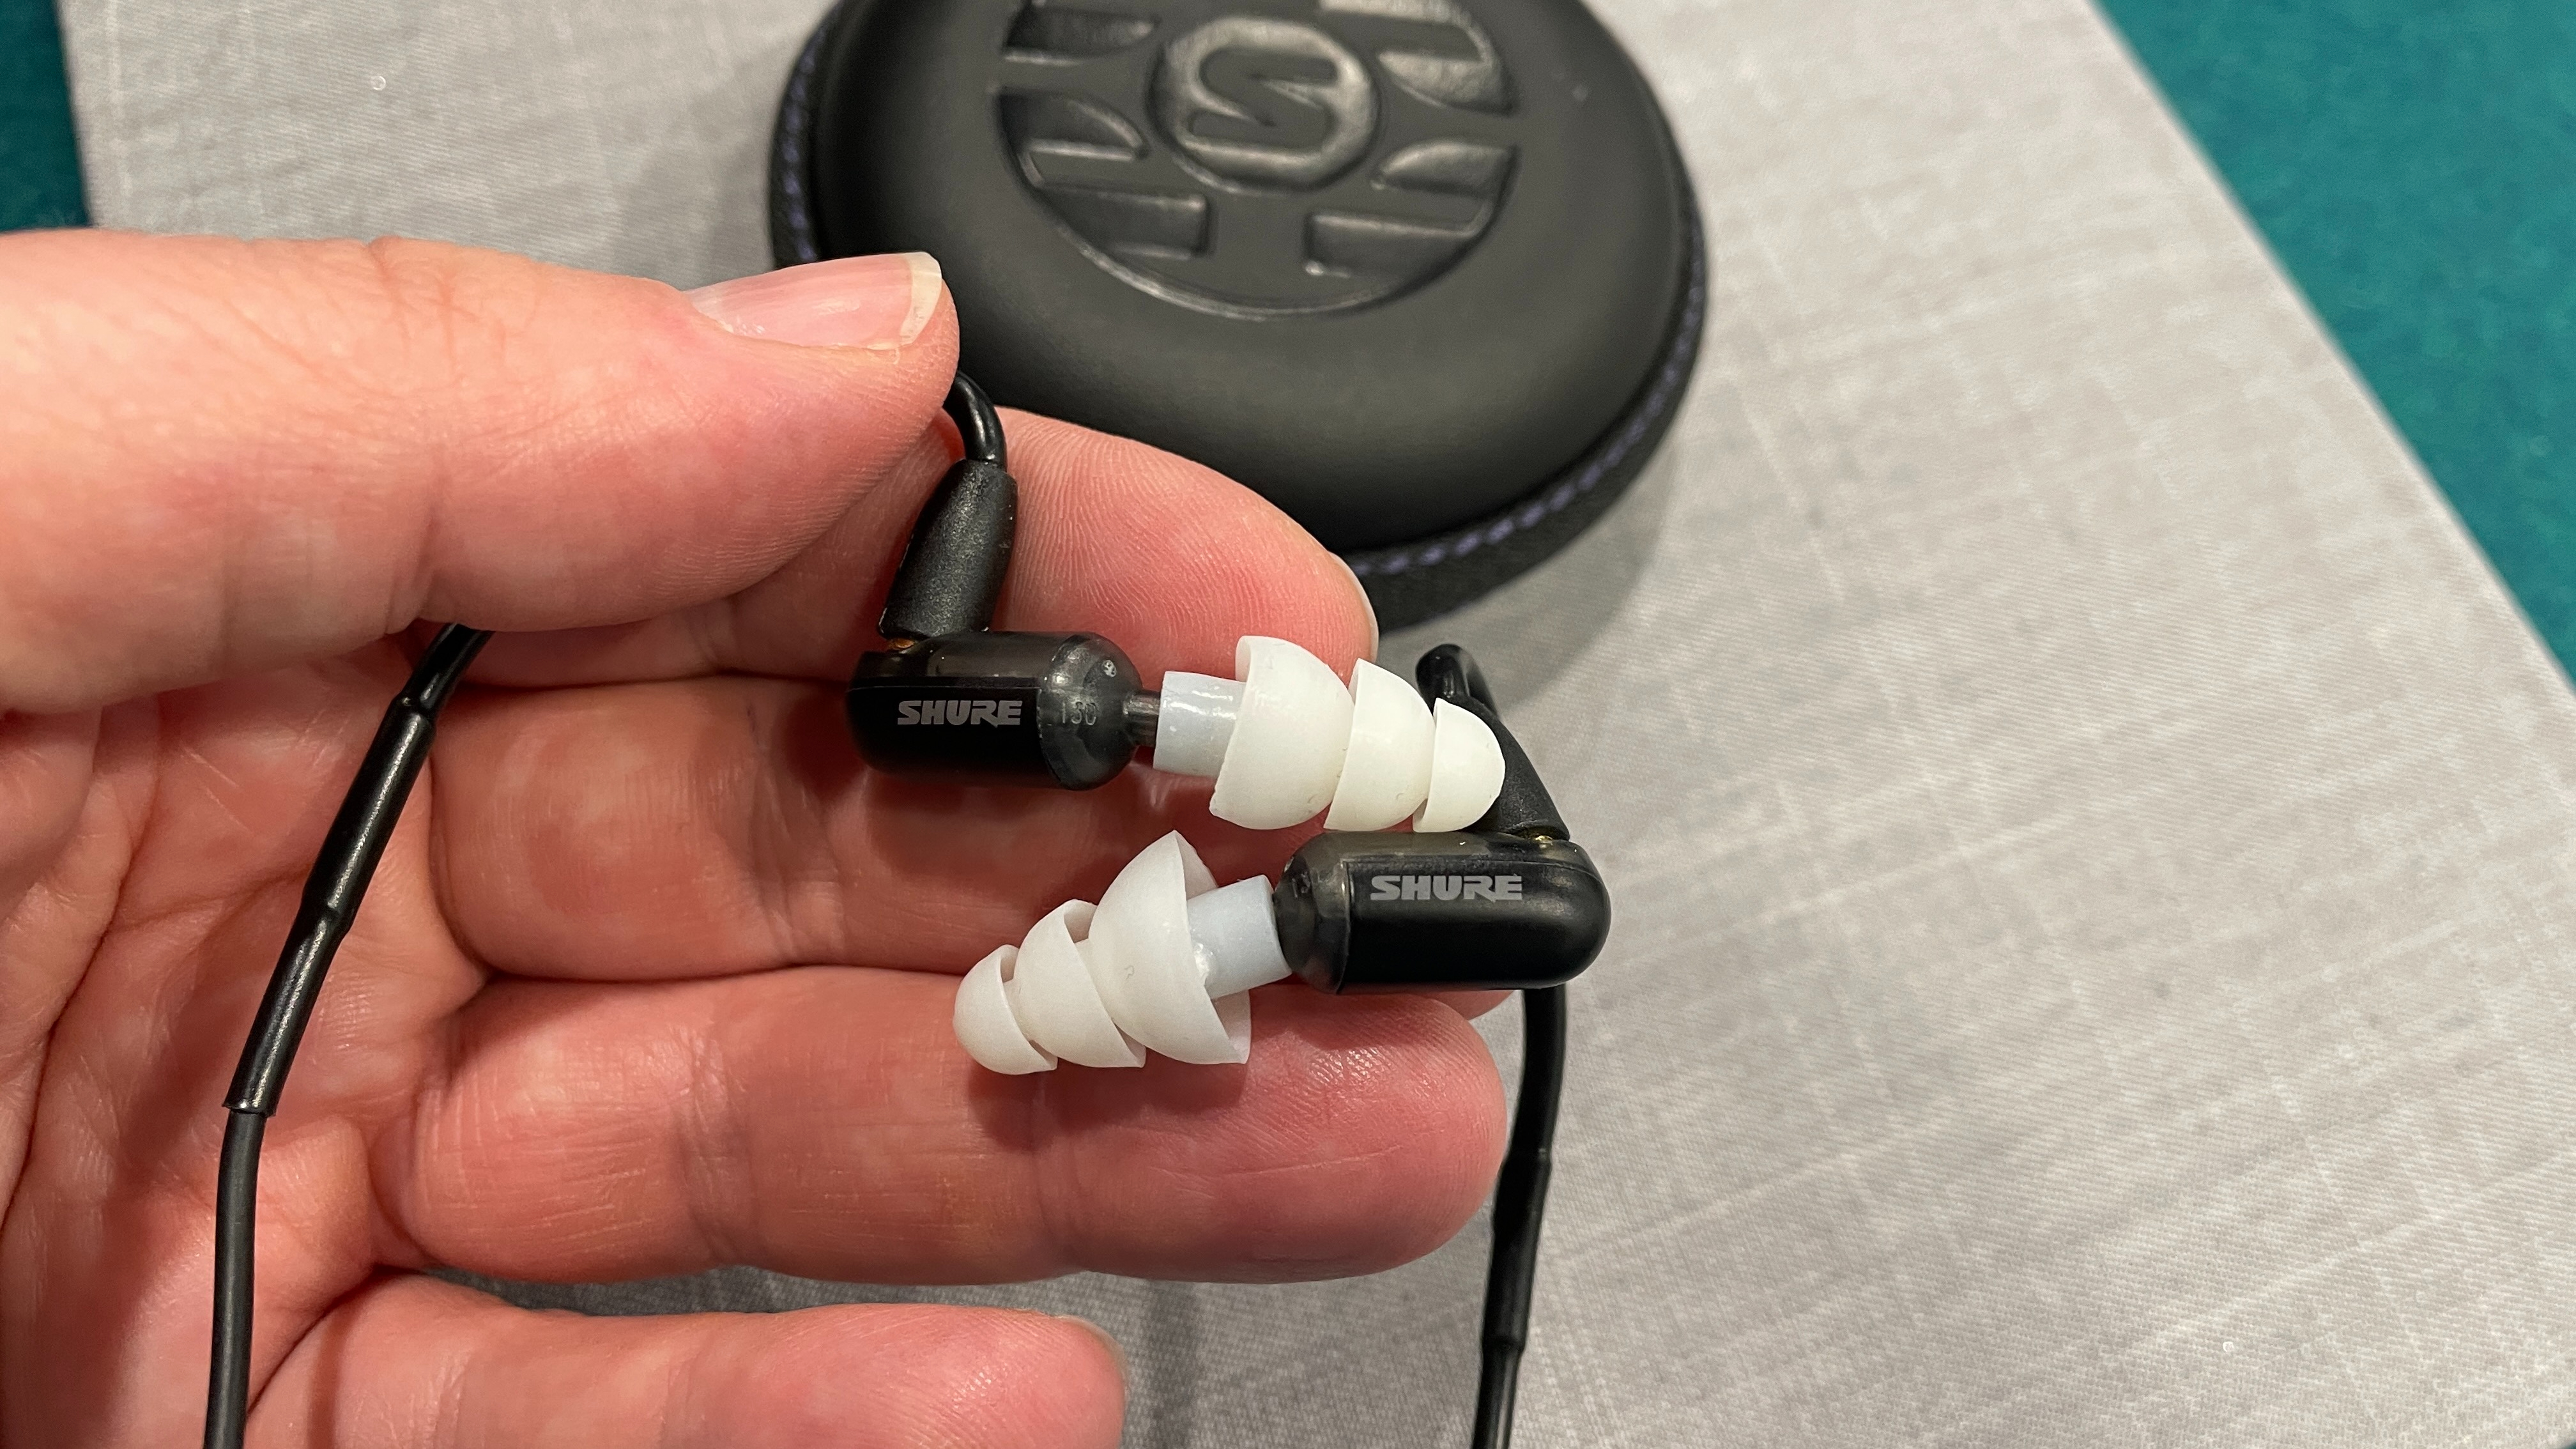
The higher up the price scale you go, and the more audiophile-centric the headphones, the greater the chance you will also be given the choice of different tip materials, such as a set of memory-foam tips and a set made of soft silicone. Premium products billing themselves as in-ear monitors (or IEMs), such as the Shure Aonic 3, will almost certainly offer a wider range of tip sizes and types to ensure a more bespoke fit.
Silicone eartips are the most common for both wired in-ear headphones and wireless earbuds, offering solid levels of comfort, durability and security. Foam tips are often used for more high-end or audiophile-centric models, and while getting a decent fit can be trickier, many find that the comfort and stability they provide once in place are unsurpassed. You will occasionally find rubber options available, although they are pretty rare, offering a firm fit that some may find a little hard on the ears.
Step two: finding your fit
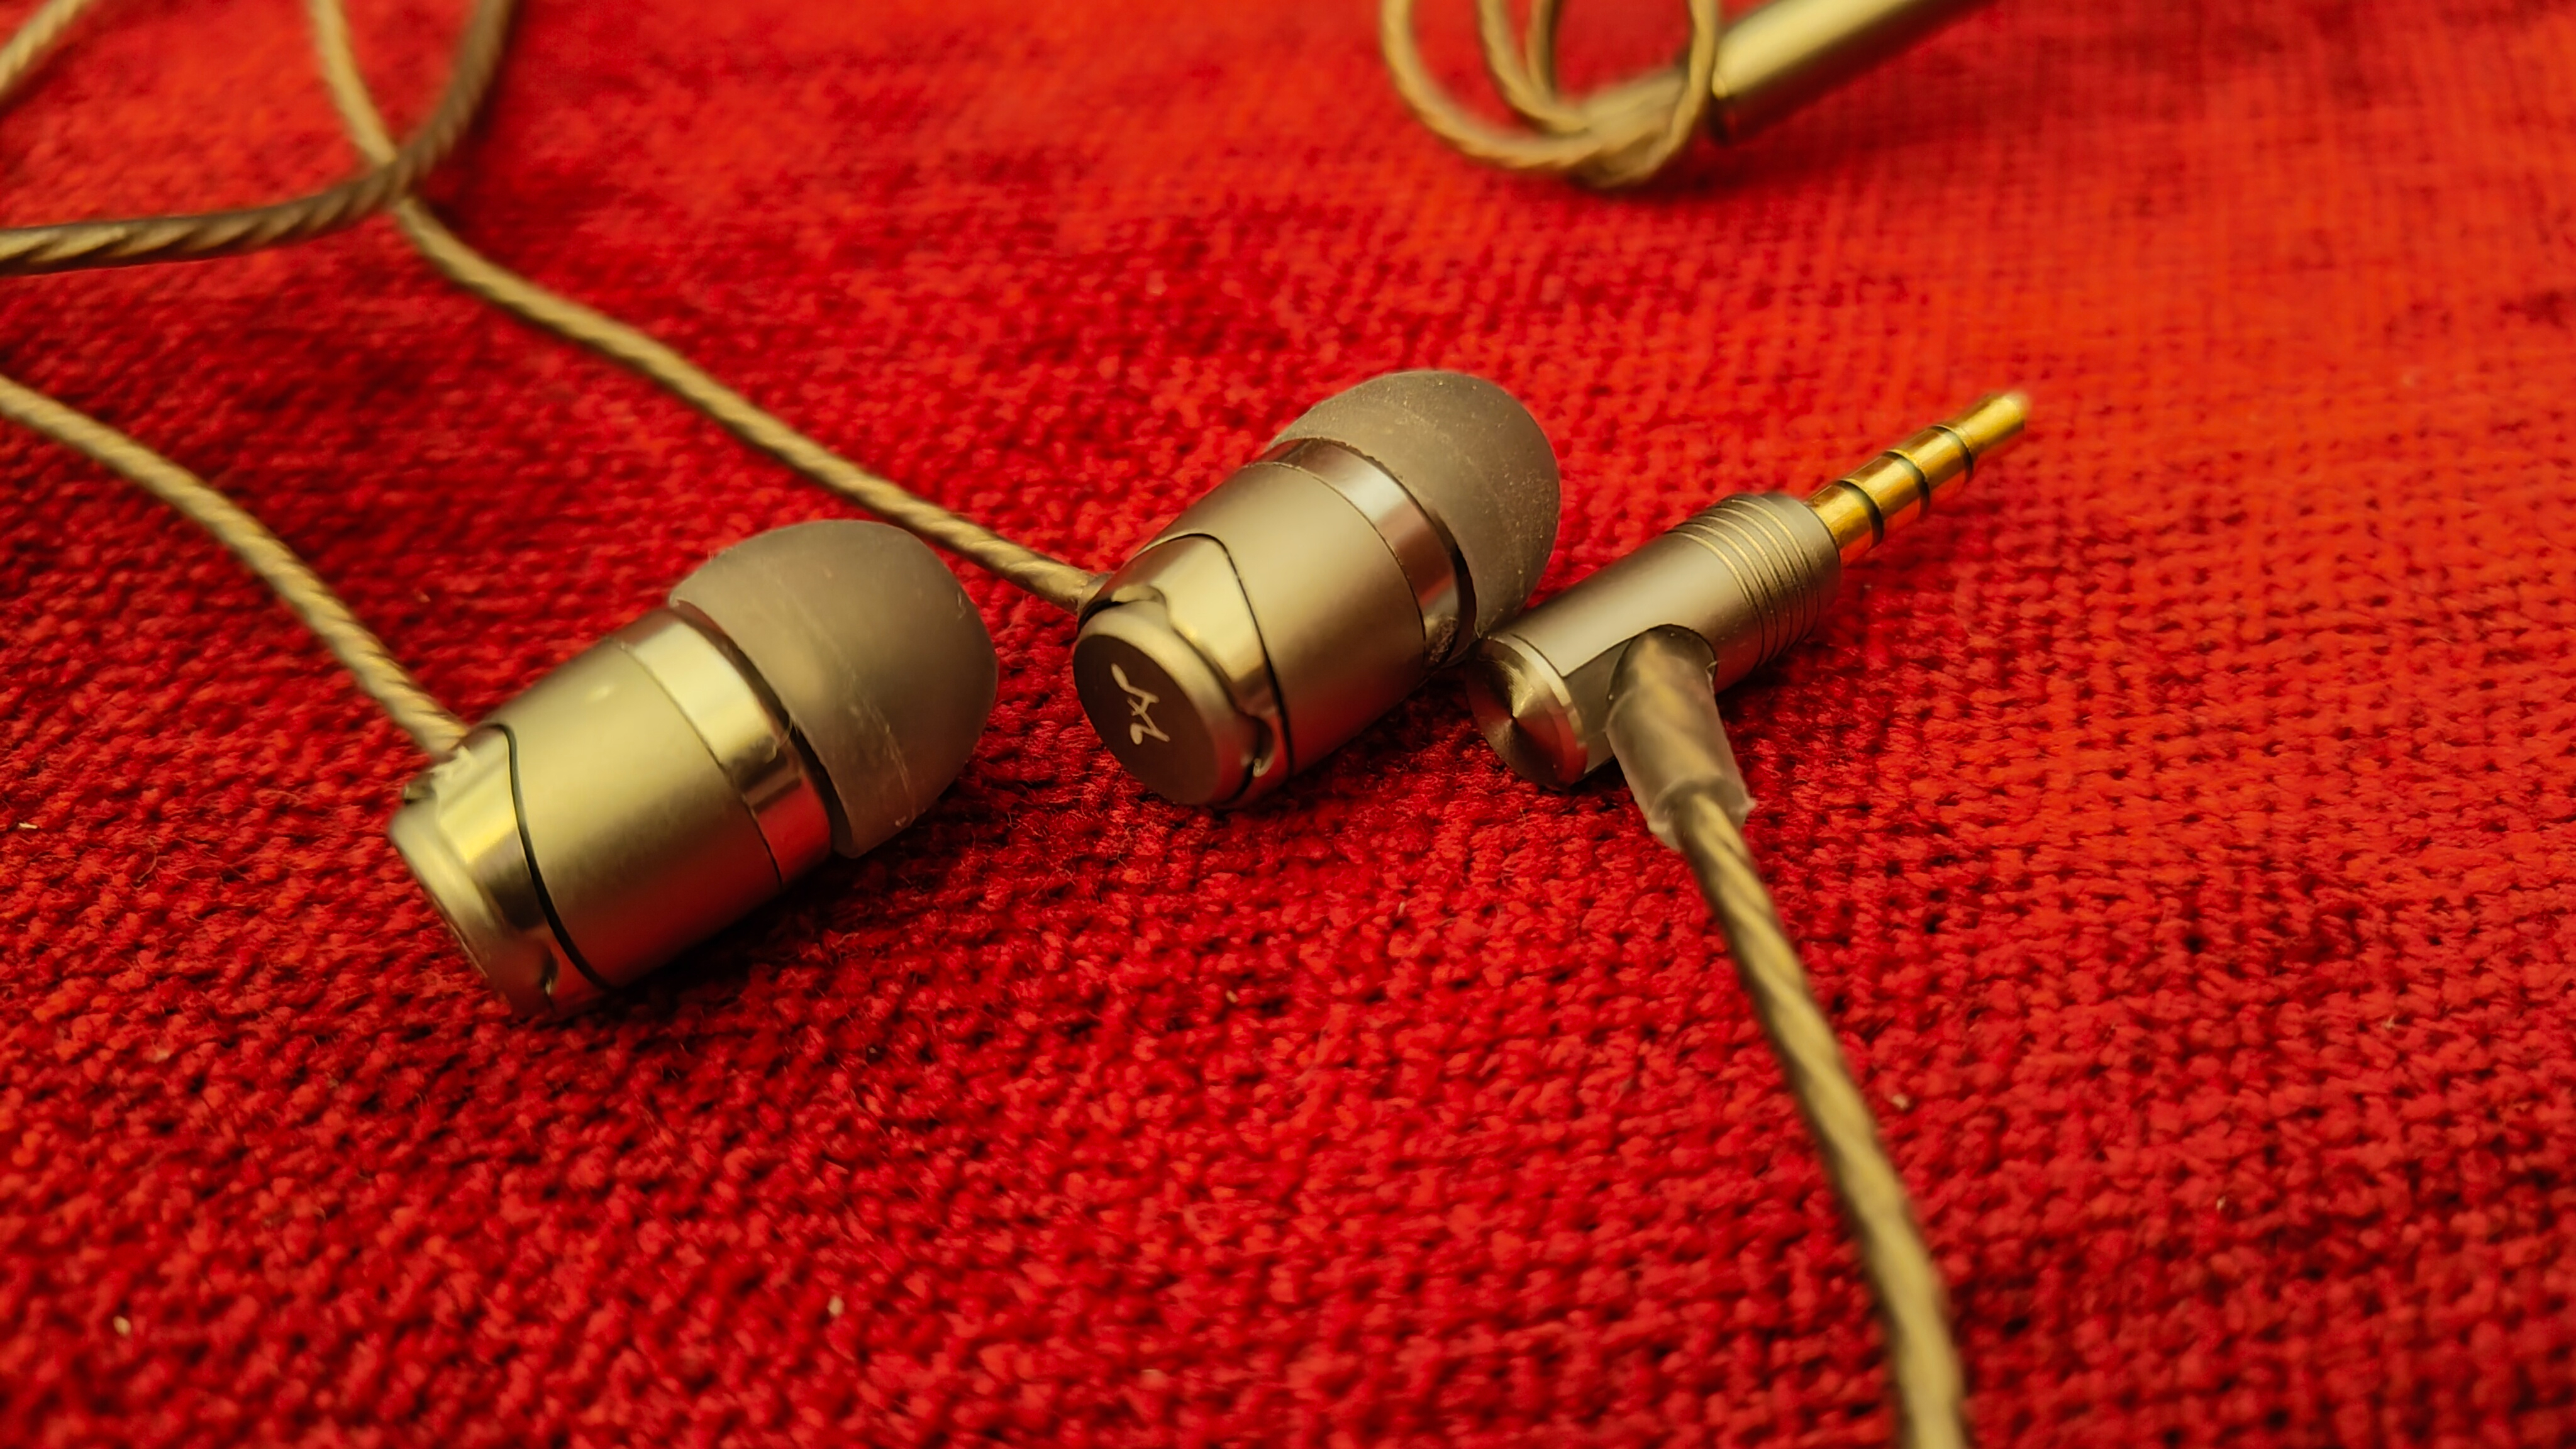
Start with the medium-sized eartip choice and then work out from there – although if you’re concerned about forcing the buds into your ear canals, simply start small and move up size by size. The medium tips are usually the ones you will find paired with your new wireless earbuds or in-ear headphones out of the box, and while they act as a good starting point, don’t simply hedge your bets and assume they are the right ones for you.
The latest hi-fi, home cinema and tech news, reviews, buying advice and deals, direct to your inbox.
There are two main methods for finding the correct fit. The first involves simply inserting the earbud with its tip attached, playing audio and then seeing if you have a good seal, while the second involves gently placing your fingers in your ears until you find the one that fits and then matching the finger to the provided tip size.
Whichever you choose, you’re going to have to insert your tips at some point. Insert a single earbud at a time, angling the eartip slightly downward so that it enters the ear canal more easily. Gently twist the earbud so that it fits with the contour of your ear, and then repeat the process on the other side. The buds should feel securely nestled without digging down too far into your ear canal and causing discomfort, and you should be able to walk, move, smile and even yawn without anything coming loose or feeling as though it has become dislodged.
This process can differ slightly depending on the type of tips you use. For memory foam versions rather than standard silicone, try rolling them between your fingers until they are more compressed and then inserting the earphones and holding them in place for at least 15 seconds so that the foam can expand to fill your ear cavity. Don’t push any materials further than they want to go and don't try to force a larger adapter into your ears. Just keep experimenting until you find something that feels steady and secure rather than trying to force in a pair that isn't right for your needs.
Step three: testing your tips
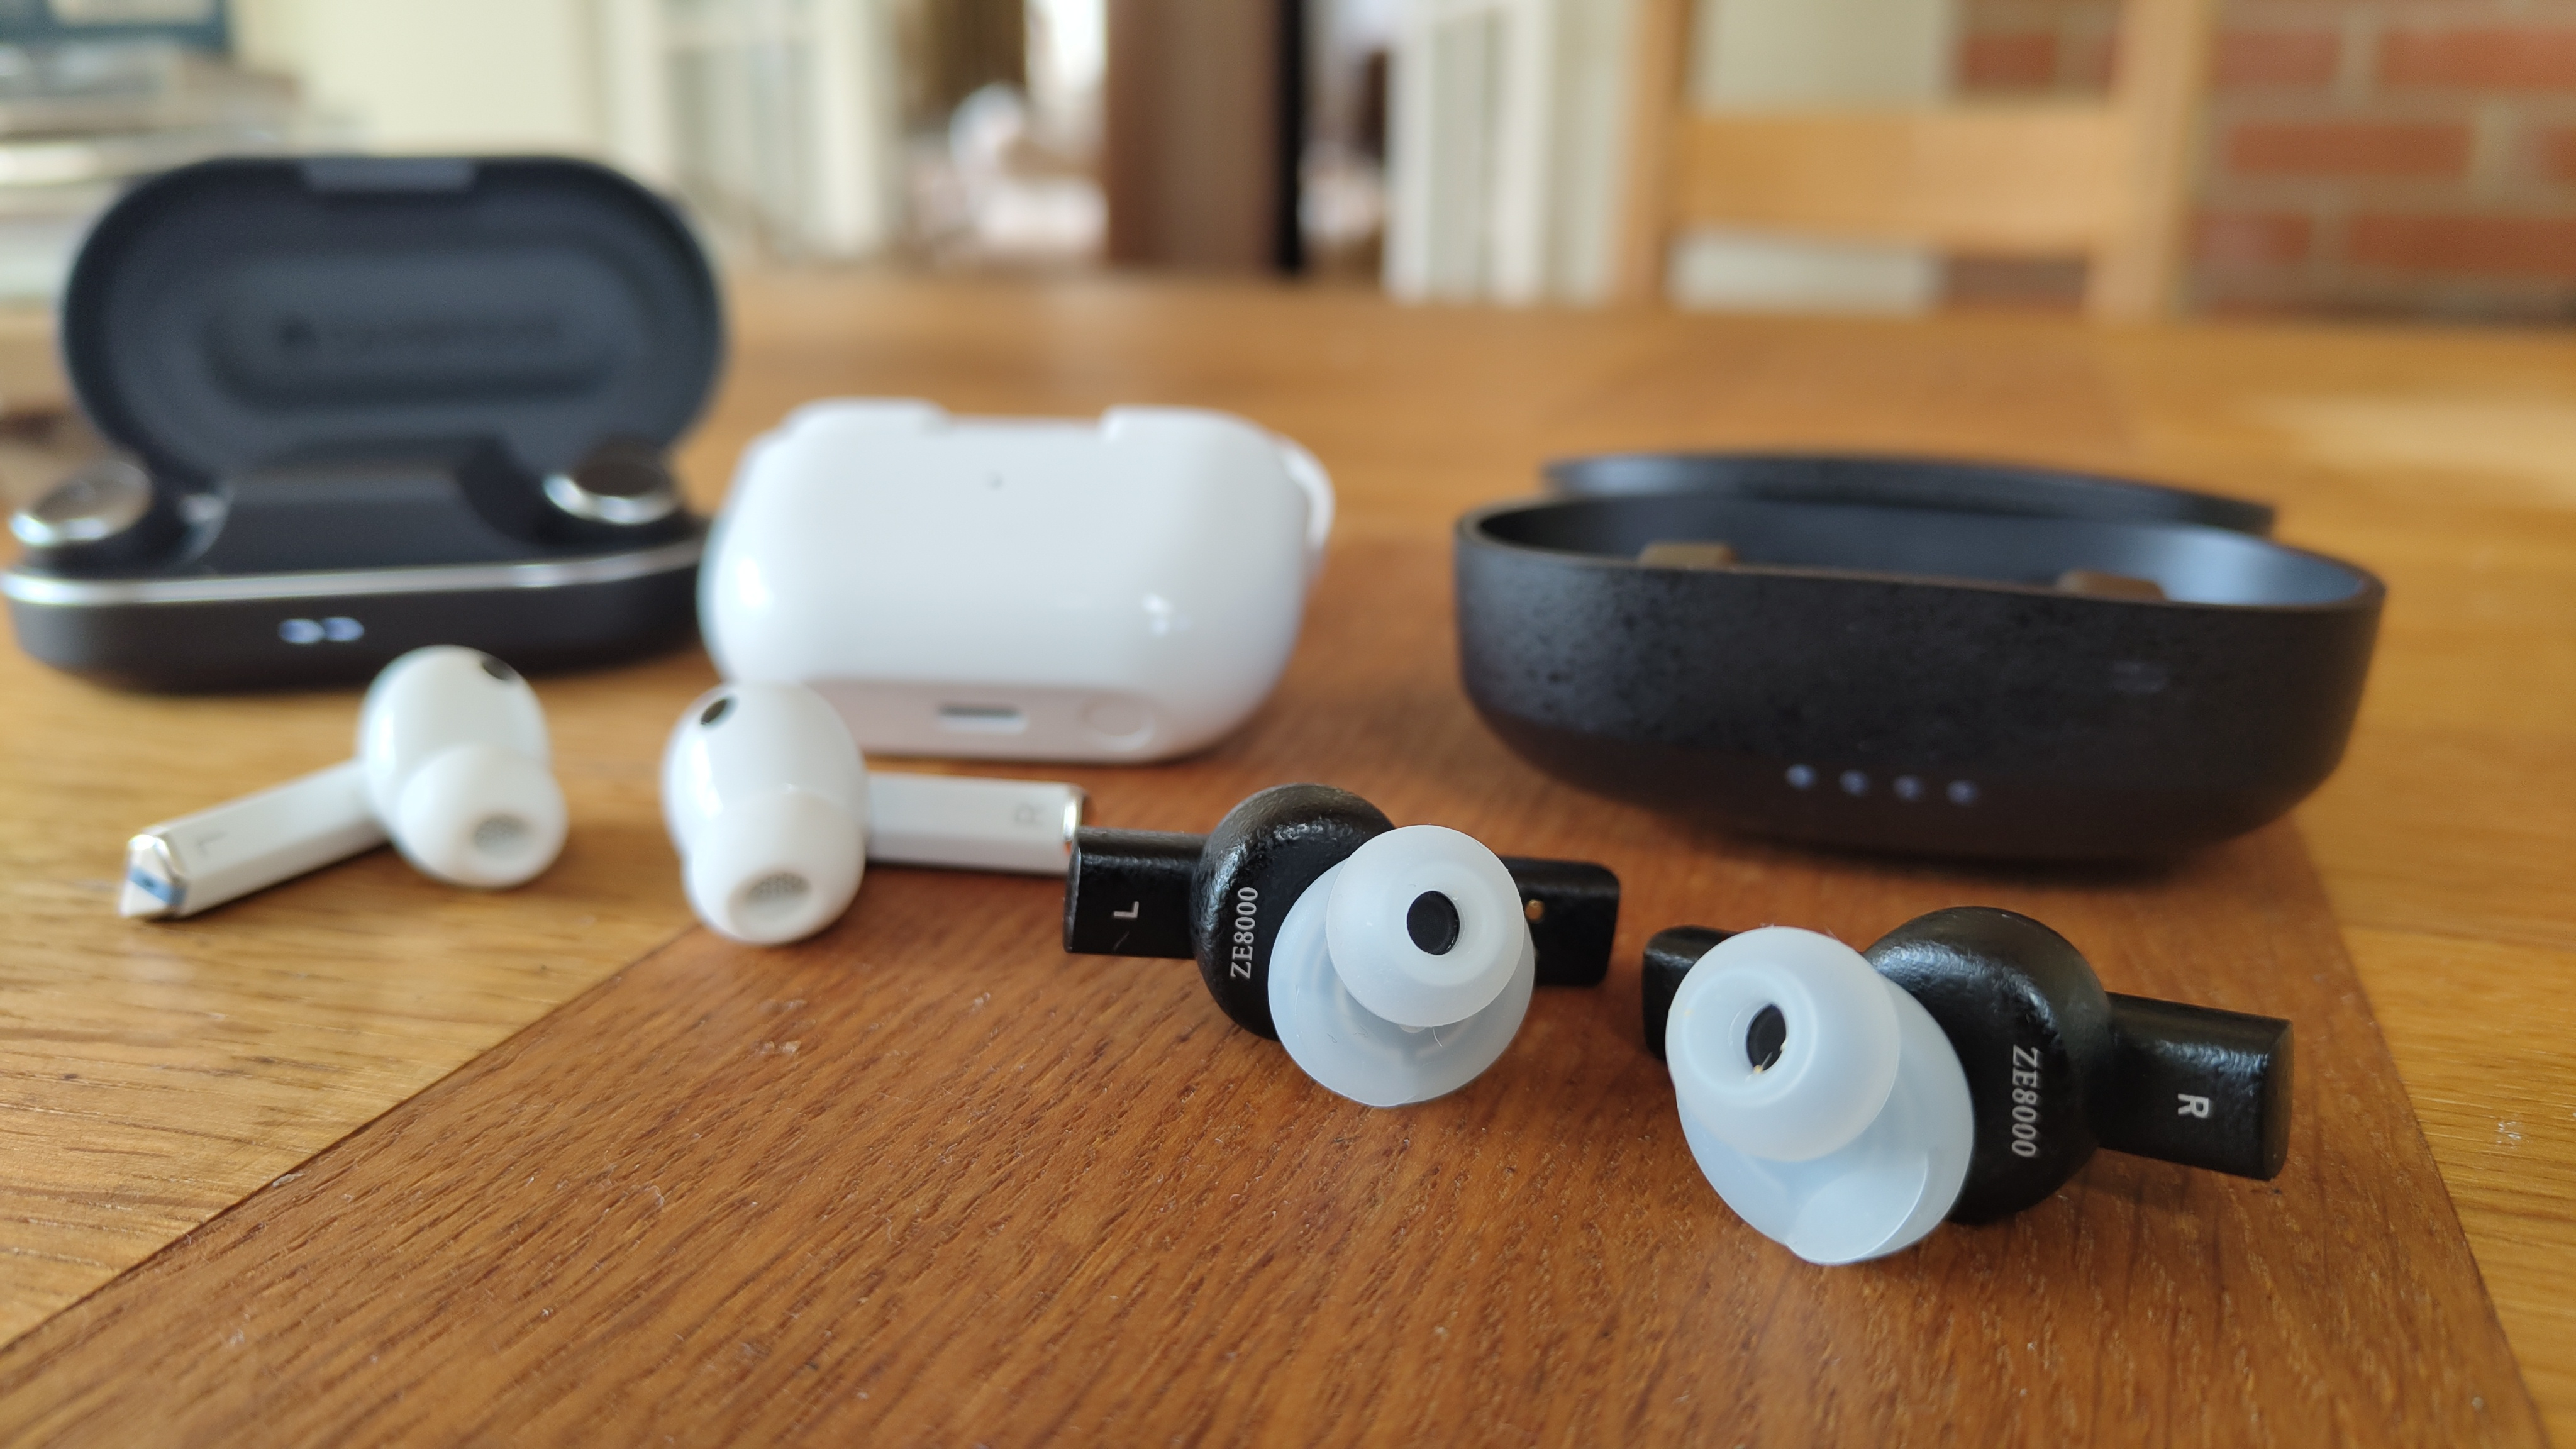
Once security is established, get playing some music with which you are familiar. The benefit of playing tracks you know is that you are aware of how they should sound, so you will be better placed to assess if the seal you have achieved is working for your needs (our list of the best test tracks may come in handy here). If the tips are too big and bulky then that will simply cause discomfort, while a thin, reedy sound is the result of a poor seal and/or tips that are too small. This is the time to start tinkering, so even if you are happy with the sound and comfort levels you have achieved, play around with other sizes to make sure you couldn’t be getting something even better.
For more advanced earbuds (usually wireless models), you’ll want to test that noise cancelling is working, too. Again, do this in the same way as you would test sound, putting the buds into their standard active noise cancelling mode and assessing performance for each tip size. If you're not getting the levels of performance you would expect, chances are the tips are too loose and there is no seal, negating the noise-cancelling effect or stopping it from working at its best.
Make sure that you are wearing your in-ear headphones for enough time. You may think you have achieved the seal and fit that you want, but that might start to change as the minutes mount up and you realise that longer periods of wearing are leading to discomfort or even pain. For sporting headphones and earbuds, testing your fit on the track or in the gym is the perfect way to see if they are up to the task.
Note that more premium pairs will offer an eartip fit test via their app, as seen on the recent Samsung Galaxy Buds 3 Pro, Apple's AirPods Pro 2 and the Sony WF-1000XM5, which essentially scans your internal ear to determine your perfect size. Once you have inserted your earbuds, you can use your brand’s proprietary app to assess the seal achieved, with most platforms revealing to the user that their fit is incorrect. Be wary that what the tip test recommends and what you prefer using may not always correspond exactly as you might expect; you might even find that one of your ears is smaller than the other and requires a different size to its counterpart. These fit tests aren't foolproof either, meaning you should still be guided by the above steps over any other recommendations.
Step four: maintaining your tips
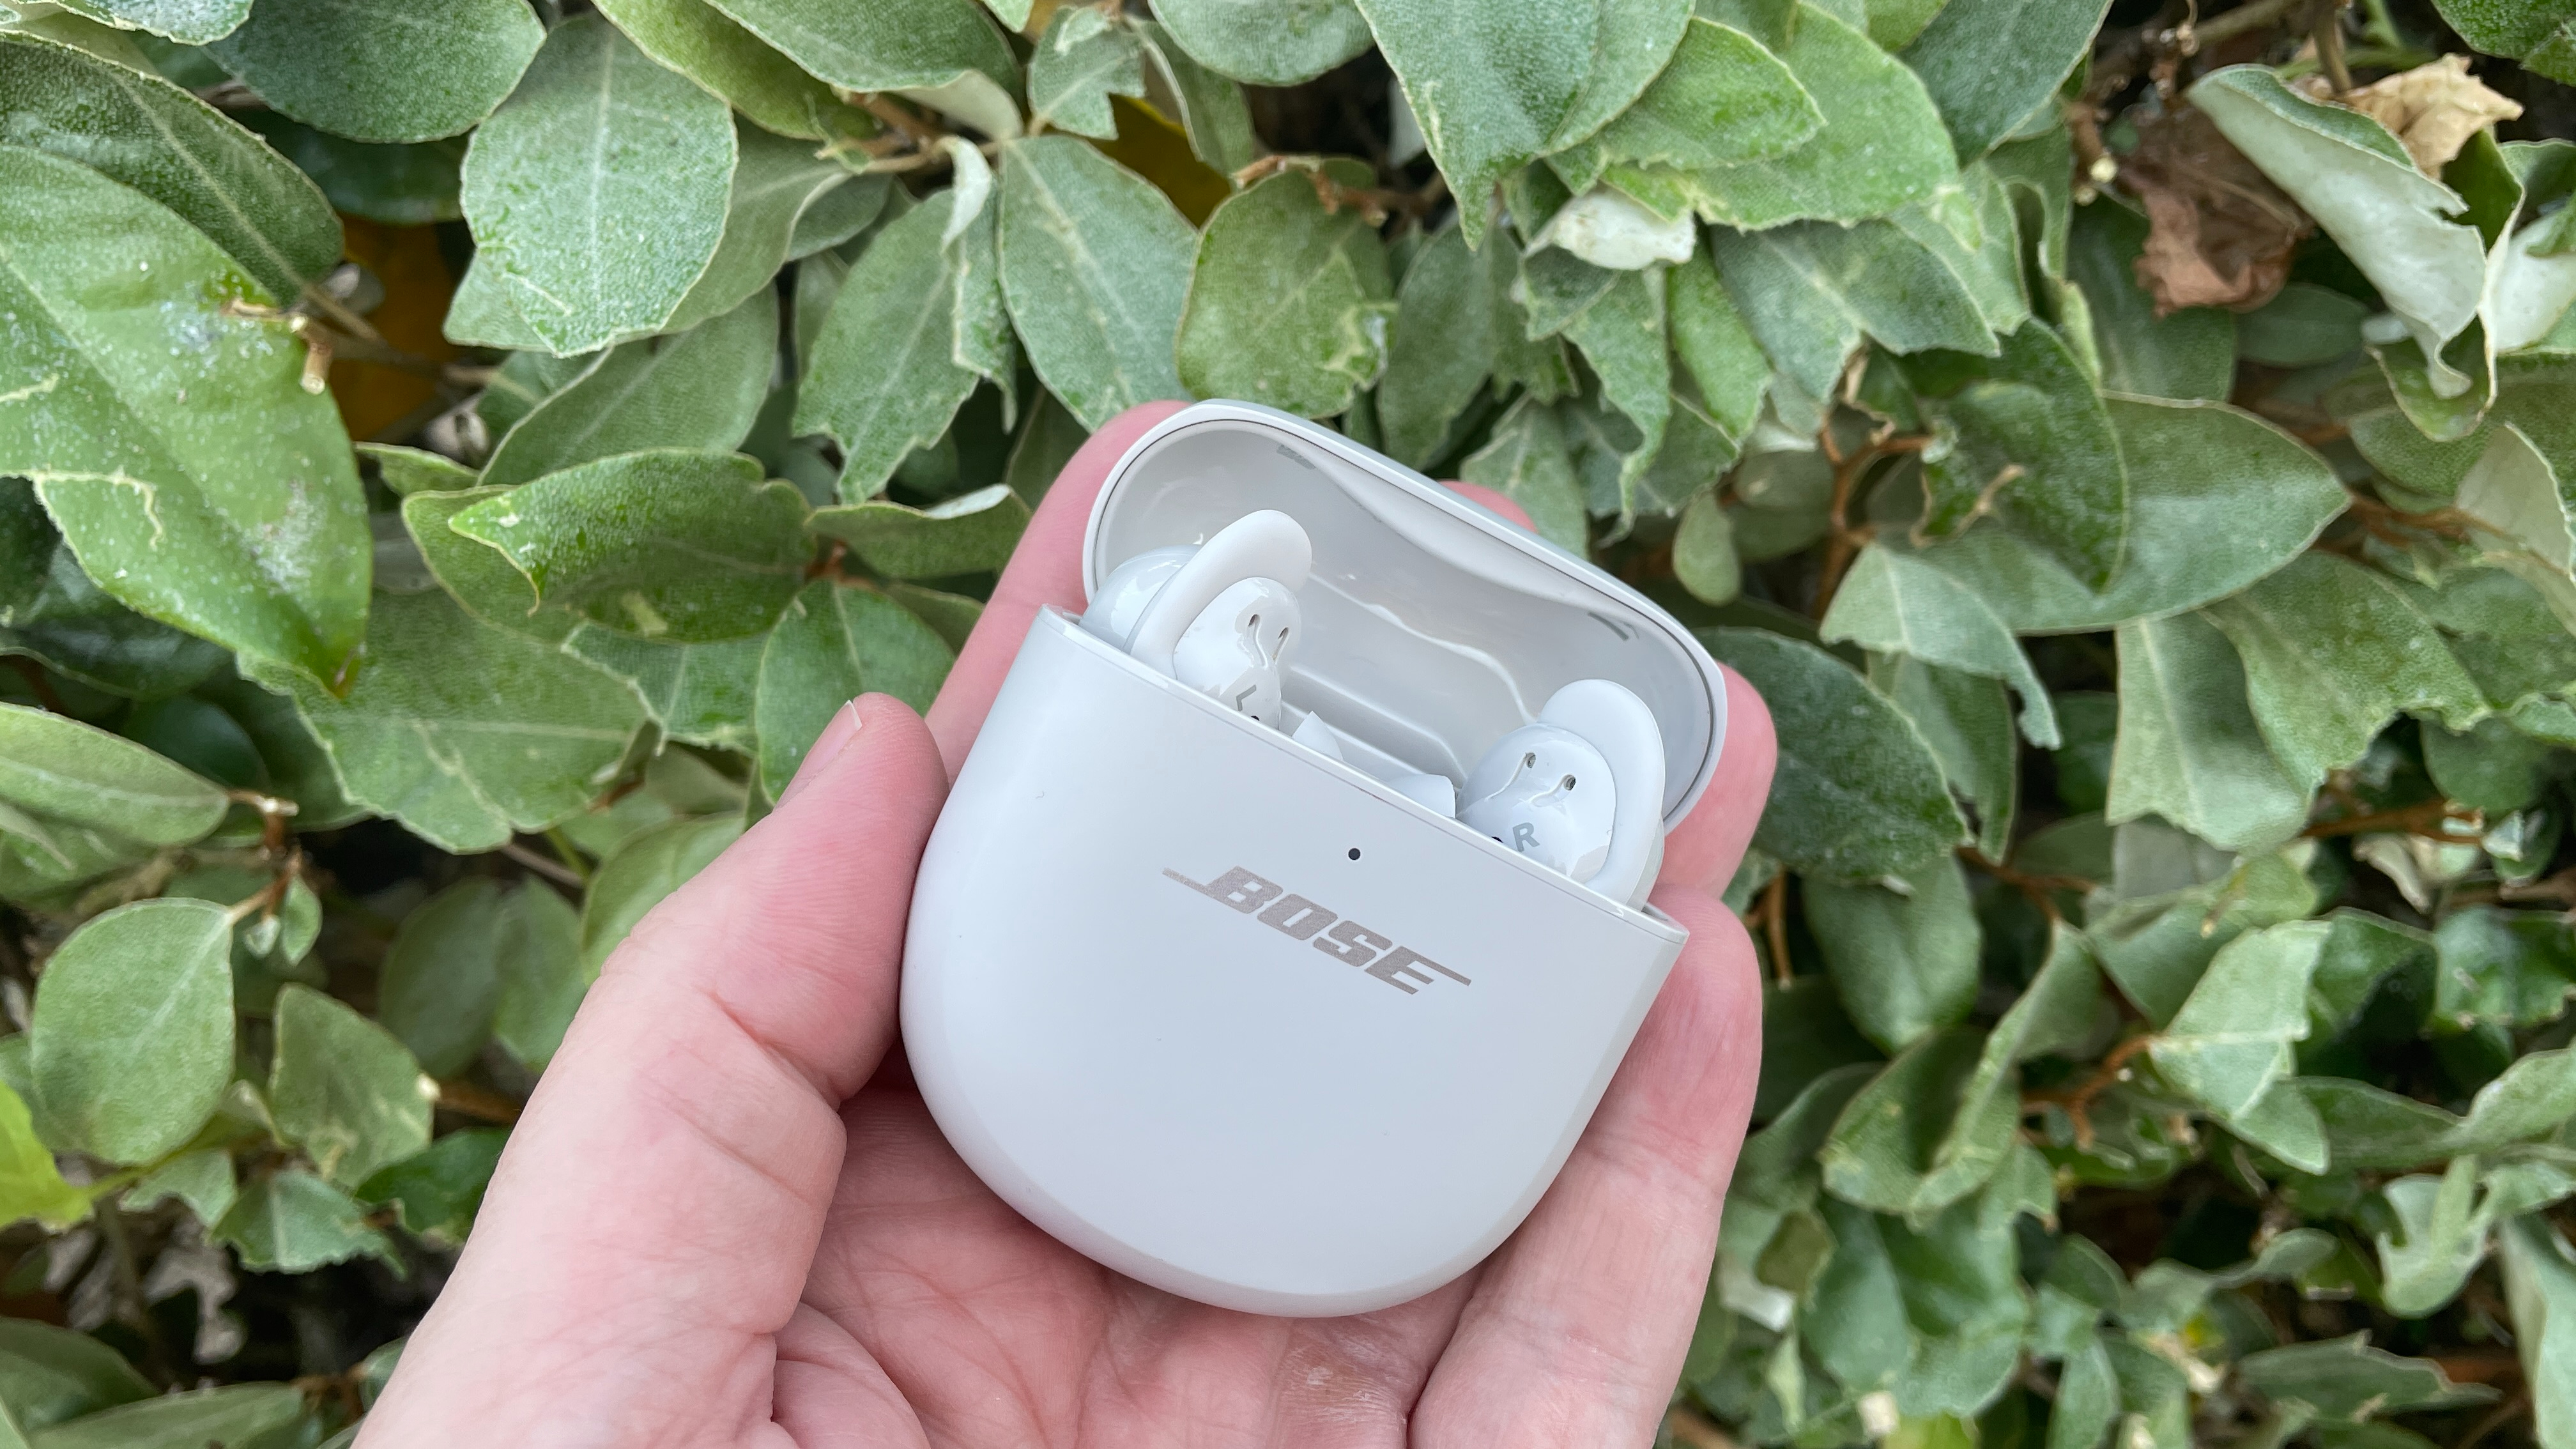
Step four isn’t really a step at all; rather, it’s good housekeeping that ensures your precious tips last for as long as possible. Most manufacturers recommend storing your earbuds with the tips on in their charging case and keeping the spares in the box to avoid damage or loss, as well as keeping them out of direct sunlight.
As and when needed, clean the excess wax and dirt from your buds – we advise a step-by-step process of removing the tips from the earbuds themselves, washing them gently with a mild soap and then rinsing with warm water, with hydrogen peroxide (three per cent concentration) the standard procedure for more stubborn wax build-ups.
Note that eartips can often wear out over time, losing the structure and shape that may have served you well initially. Keep checking that your fit is adequate and, if necessary, seek out replacements if your buds have become worn, damaged or misshapen. Some brands will offer replacements for an extra cost, though this will vary depending on the company and the earbuds themselves. A generic pair of silicone Sennheiser tips, for instance, will set you back just under £10 / $10.
Be careful when you remove the tips from the earbuds themselves, too, as this can cause tearing and structural damage. For most models, pull firmly with your fingers at the base of the eartip, where the tip is attached to the body, to remove the connector from the main unit.
MORE:
What are IEM headphones? How do they compare to earbuds?
These are the best wireless earbuds you can buy
IP ratings explained: how waterproof are your headphones?

Harry McKerrell is a senior staff writer at What Hi-Fi?. During his time at the publication, he has written countless news stories alongside features, advice and reviews of products ranging from floorstanding speakers and music streamers to over-ear headphones, wireless earbuds and portable DACs. He has covered launches from hi-fi and consumer tech brands, and major industry events including IFA, High End Munich and, of course, the Bristol Hi-Fi Show. When not at work he can be found playing hockey, practising the piano or trying to pet strangers' dogs.
