6 sound settings you shouldn’t ignore on the Sonos Ace wireless headphones
Make the most of your Ace new purchase
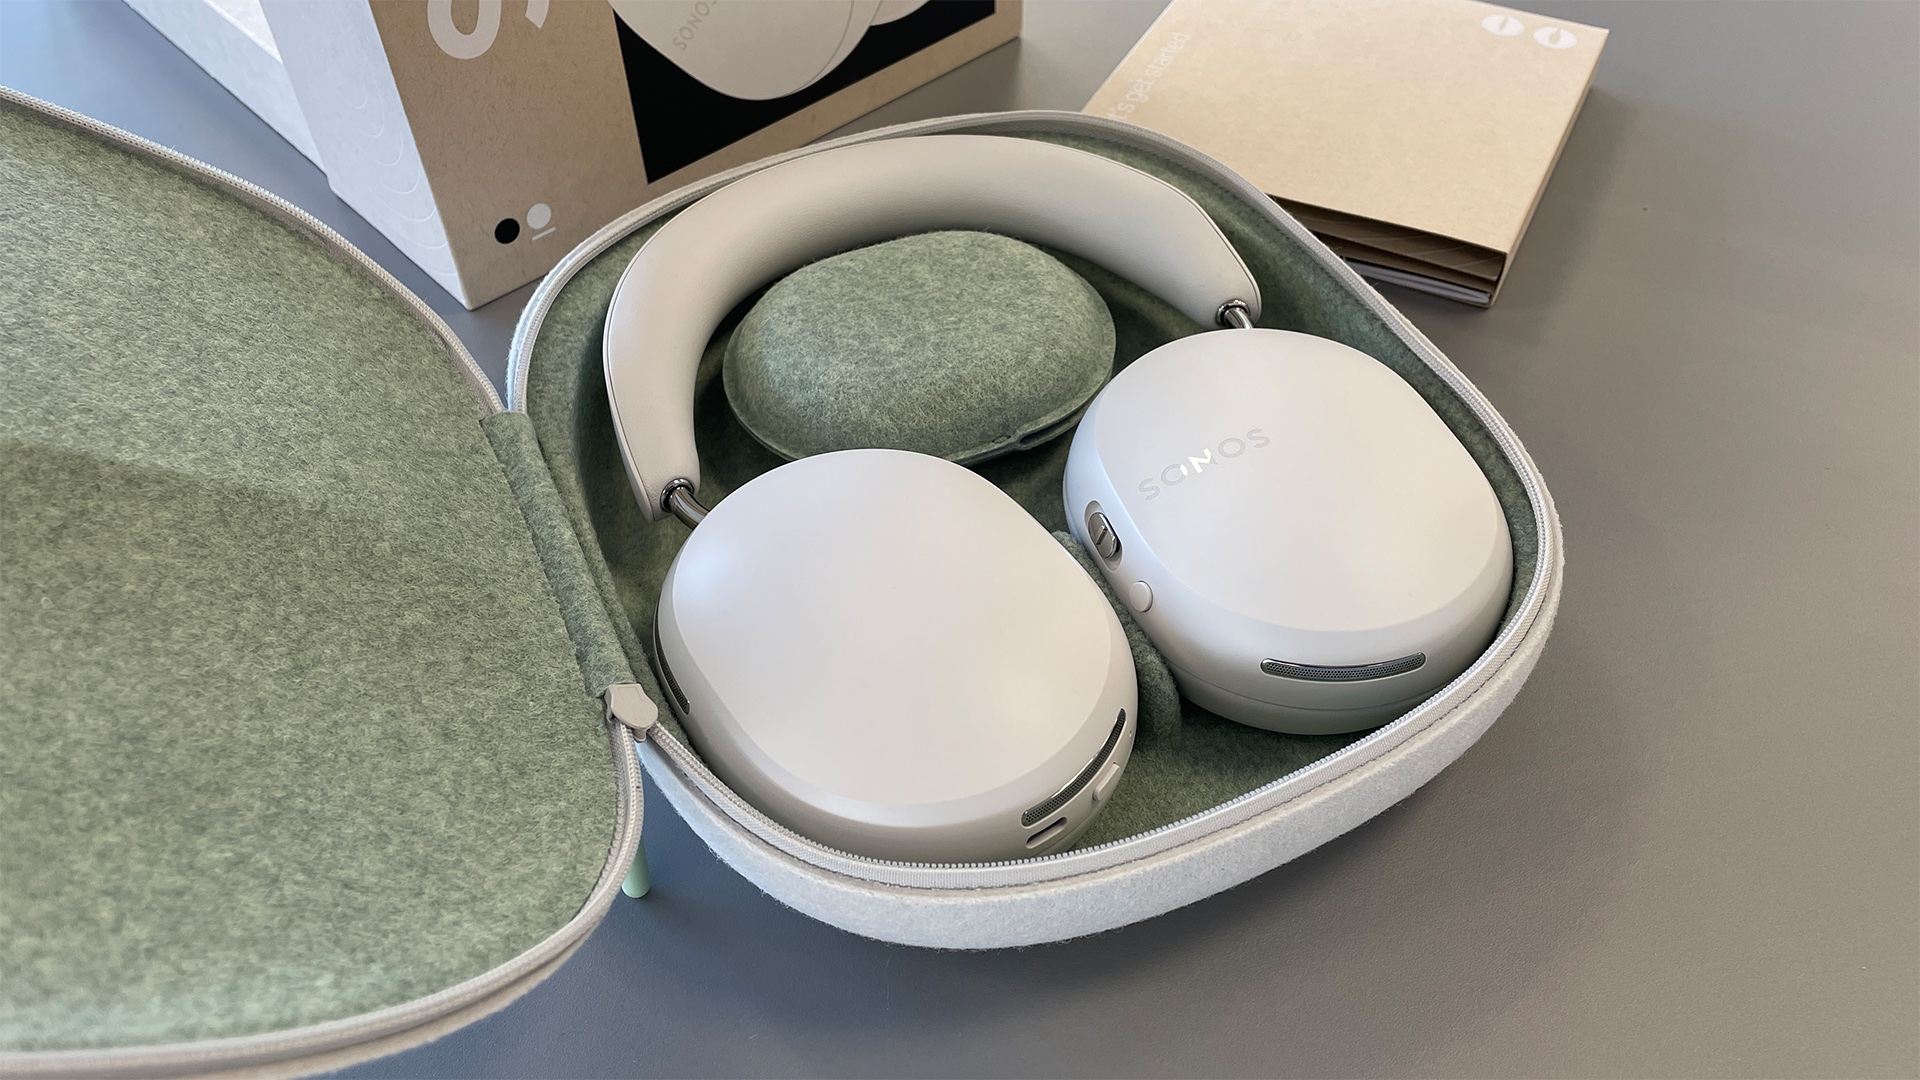
Sonos’ first wireless headphones are here and they have created quite a stir (head over to our Sonos Ace review for our full verdict). They offer features and functionality similar to many rival pairs from Apple, Bose and Sony, but with a couple of extra selling points aimed squarely at Sonos customers.
And if you’ve bought or are considering buying a pair you might be on the lookout for a few tips to help you get set up. This is where we hope this page will come in handy. We’ve rounded up a handful of sound settings you’ll need to access through the Sonos app to help you make the most of all the Ace’s features, especially the more Sonos-centric ones such as connecting to a Sonos Arc soundbar and switching audio between them.
So, without further ado…
Add TV Audio Setup

- Sonos Ace Menu > Home Theatre > Add TV Audio Setup
If you own a Sonos Arc and want your Dolby Atmos soundbar and wireless headphones to talk to each other, this is the setting you’ll need to access to start the set-up process. You’ll be guided through a couple of set-up screens and as long as your Ace is on your home network and powered up you should be ready in just a few seconds. Then you can swap from soundbar to headphones by pressing the content key on the headphones or the swap button on the app.
Spatial Audio
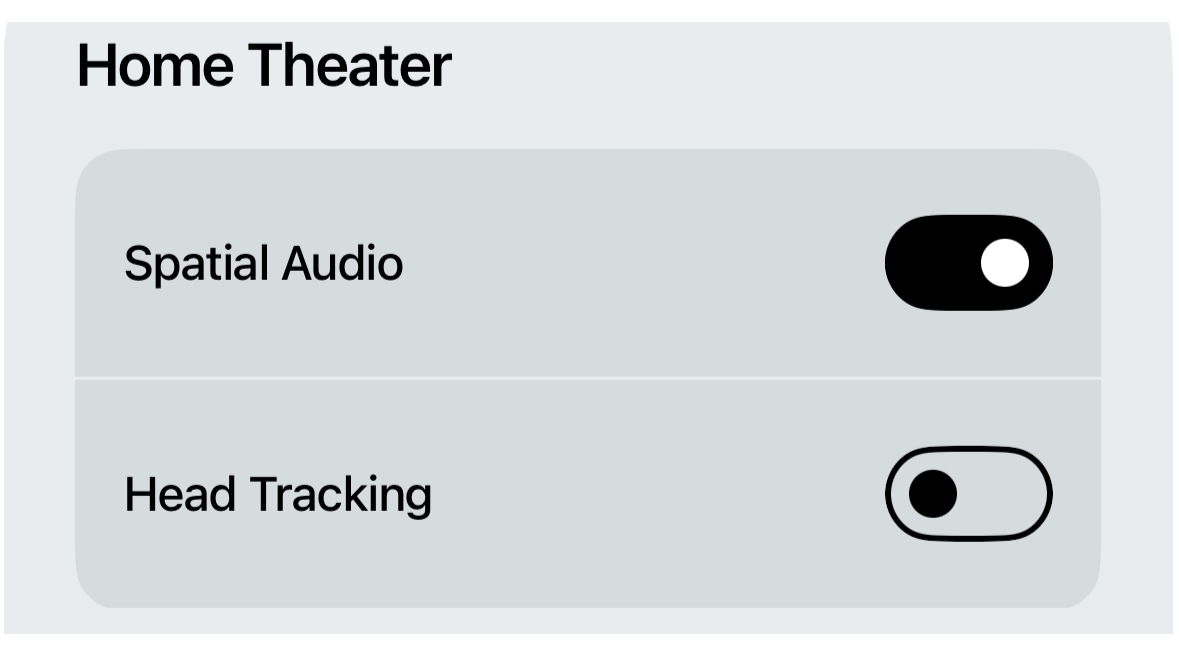
- Sonos Ace Menu > Home Theatre > Spatial Audio
Once your Sonos Arc is hooked up to the Sonos Ace and it is beaming a movie soundtrack to your ears, we’d recommend experimenting with the Spatial Audio setting in the app. During testing, we found it added an extra layer of immersion with Dolby Atmos soundtracks and gave more of a feeling of being positioned in a bubble of sound. As part of the home theatre settings, there is also the option of pairing spatial audio with head tracking should you want to use it.
Loudness
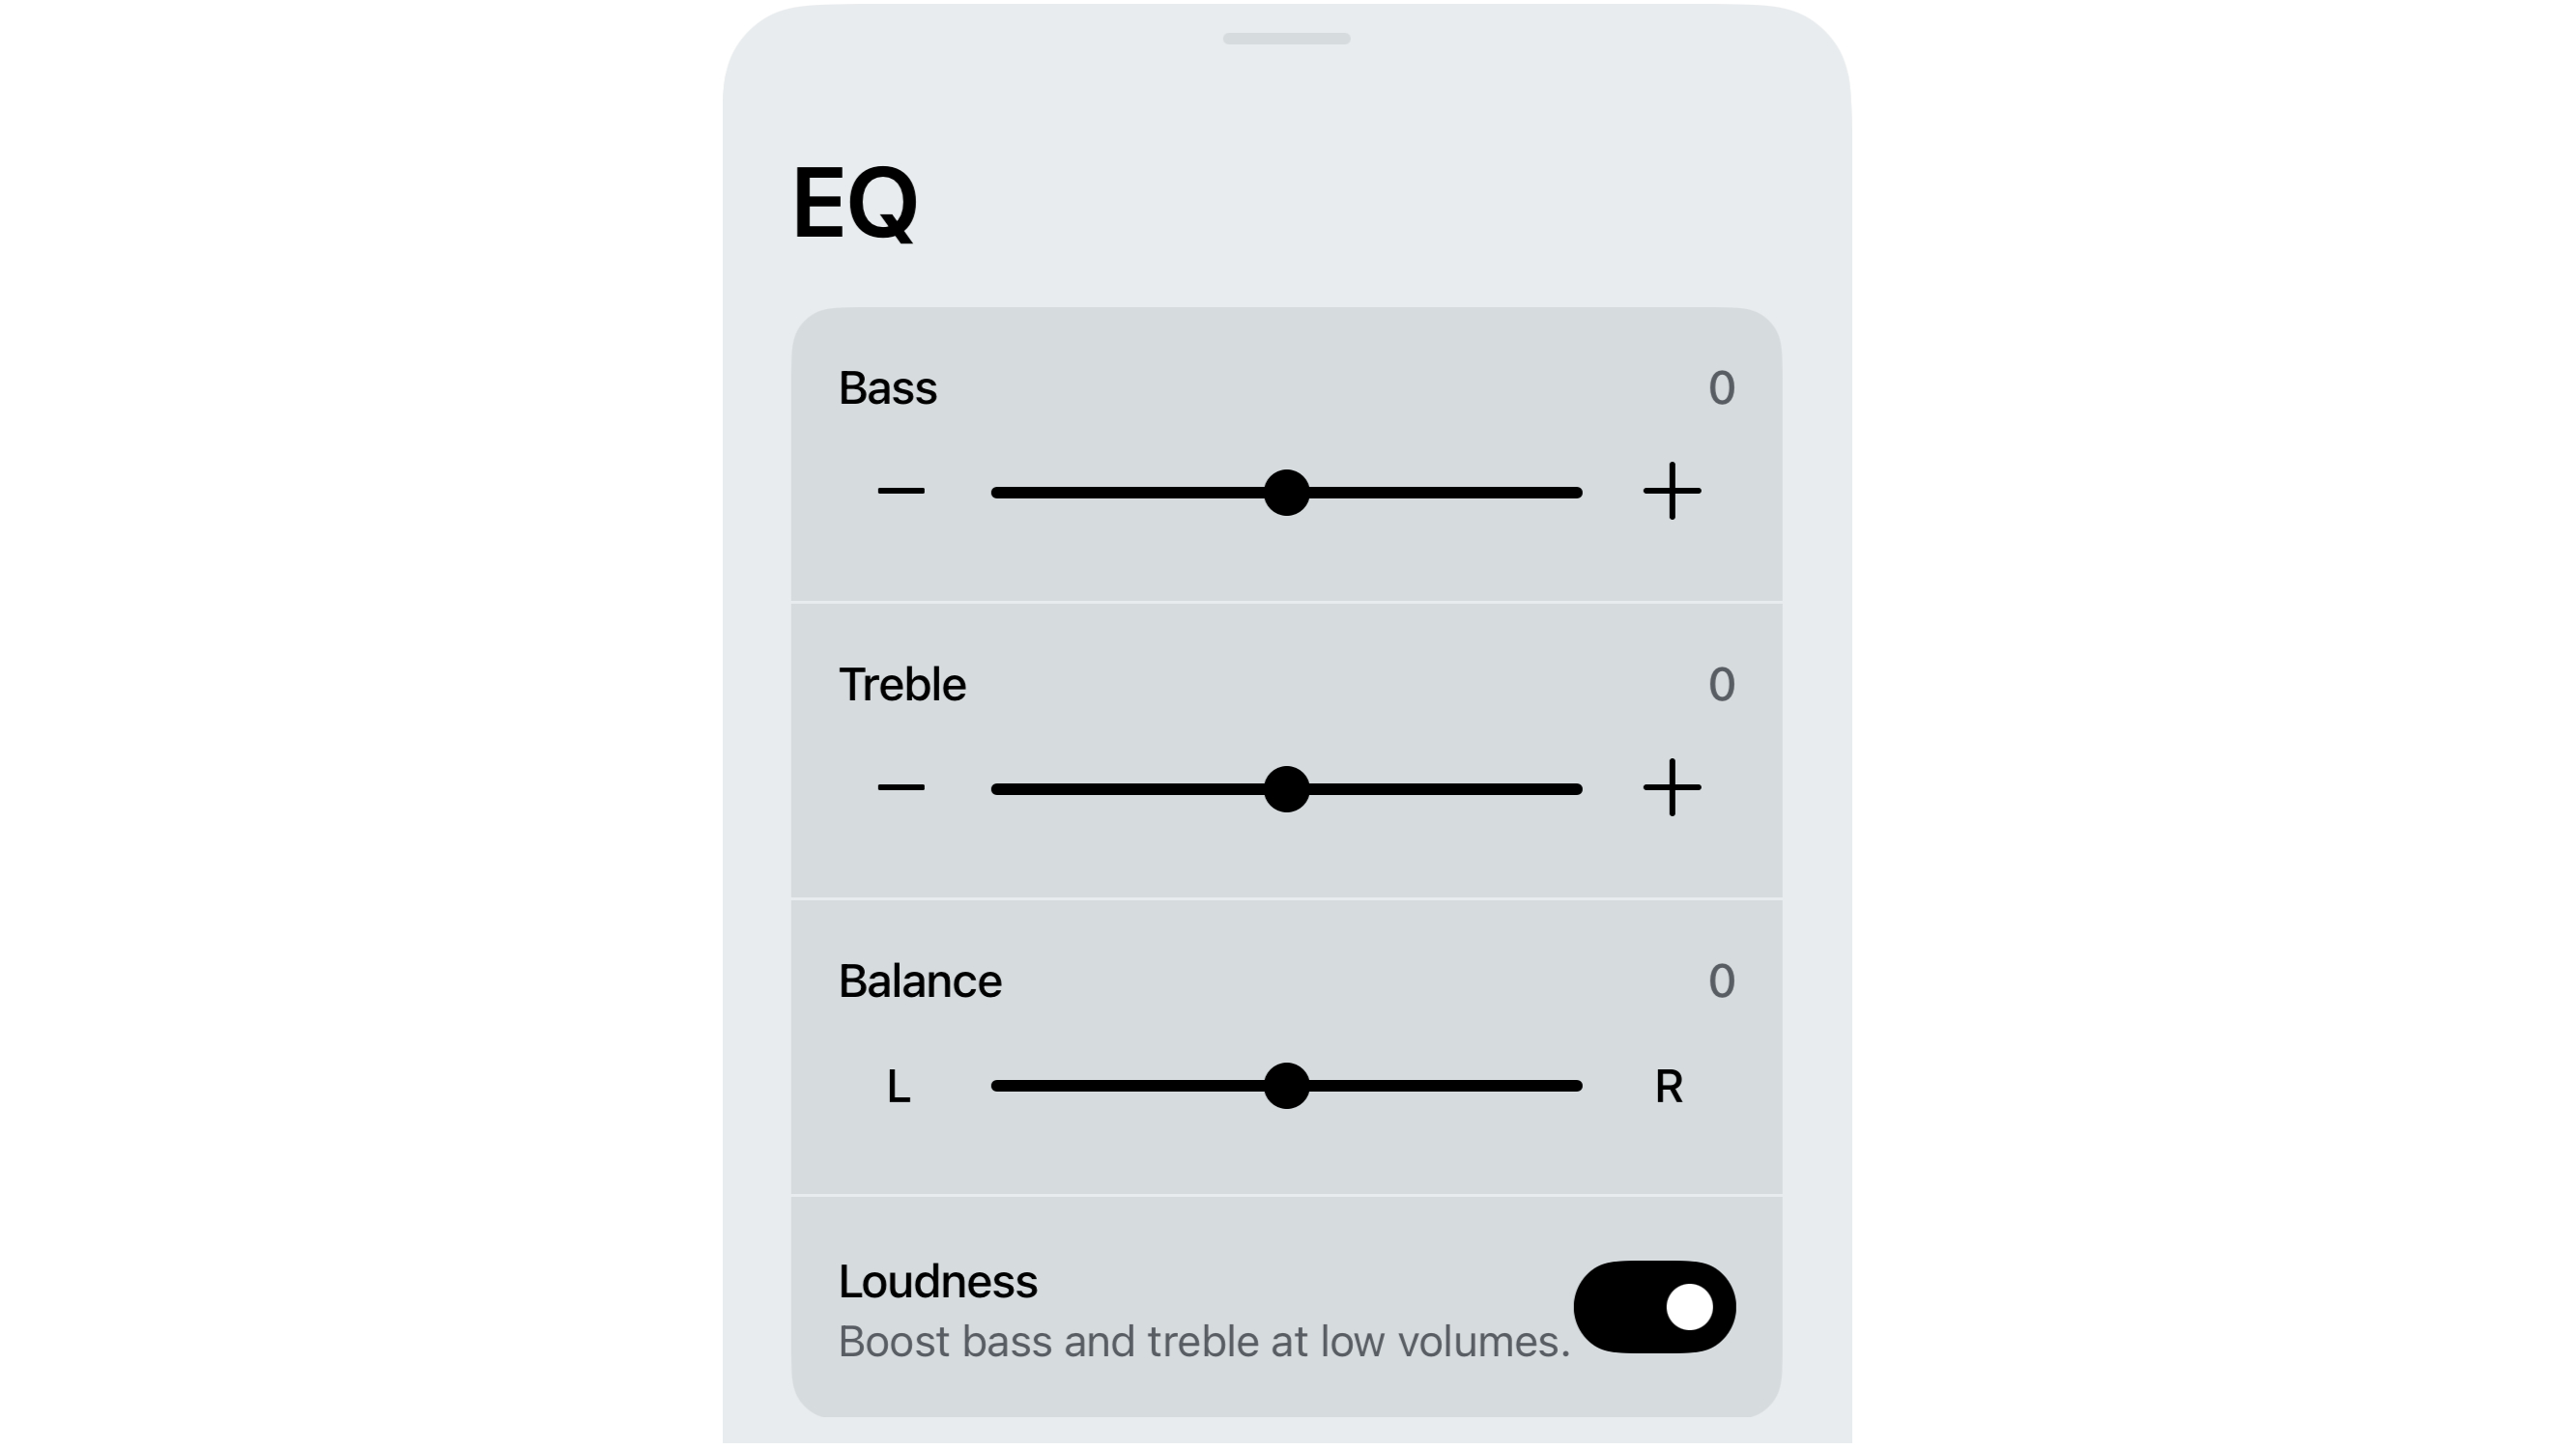
- Sonos Ace Menu > Sound > EQ > Loudness
Sonos includes a loudness setting in the Ace’s EQ, which boosts bass and treble at low volumes. We found it switched on by default but we’d recommend turning it off, at least when you’re listening at normal levels. You can hear it artificially enhance high and low frequencies when switched which might be useful at ultra-low volumes but for the vast majority of the time it feels unnecessary.
2 Device Connections
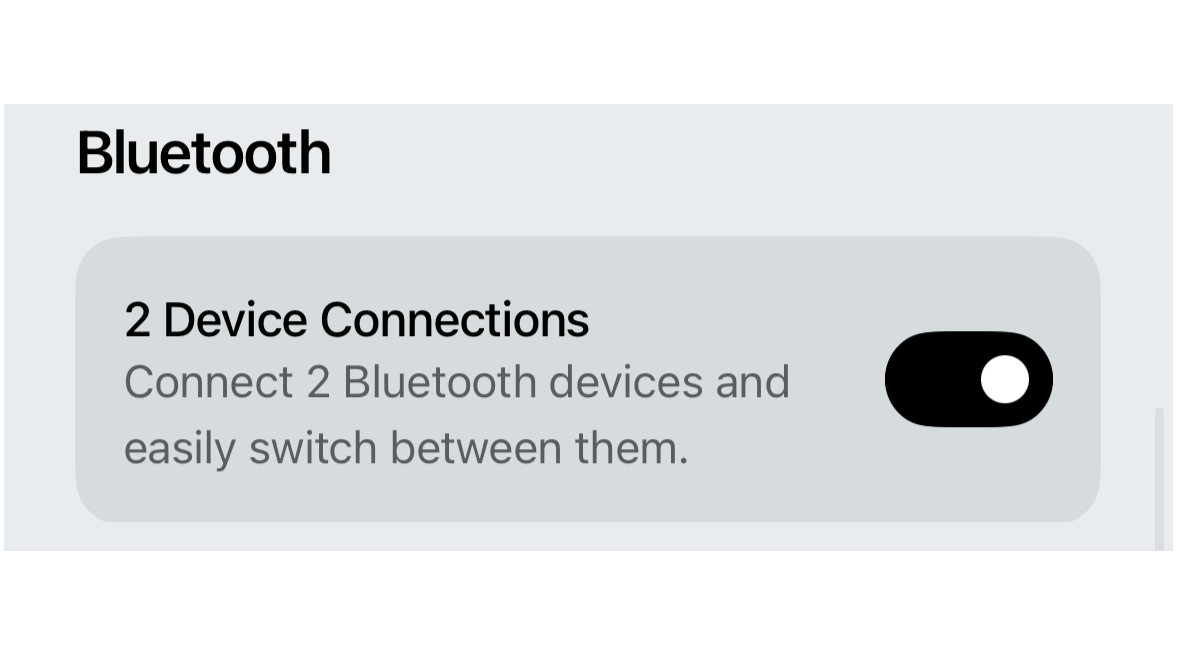
- Sonos Ace Menu > Bluetooth > 2 Device Connections
This is the setting you need enabled if you want to connect a couple of sources to the Sonos Ace simultaneously. It’s basically multipoint Bluetooth with a slightly different name. During testing we found it worked very well with virtually seamless switching between our MacBook Pro and iPhone. Every time you power up the Ace you’ll hear a couple of extra chimes with a slight pause between them – this indicates that you have two devices connected.
Wear Detection
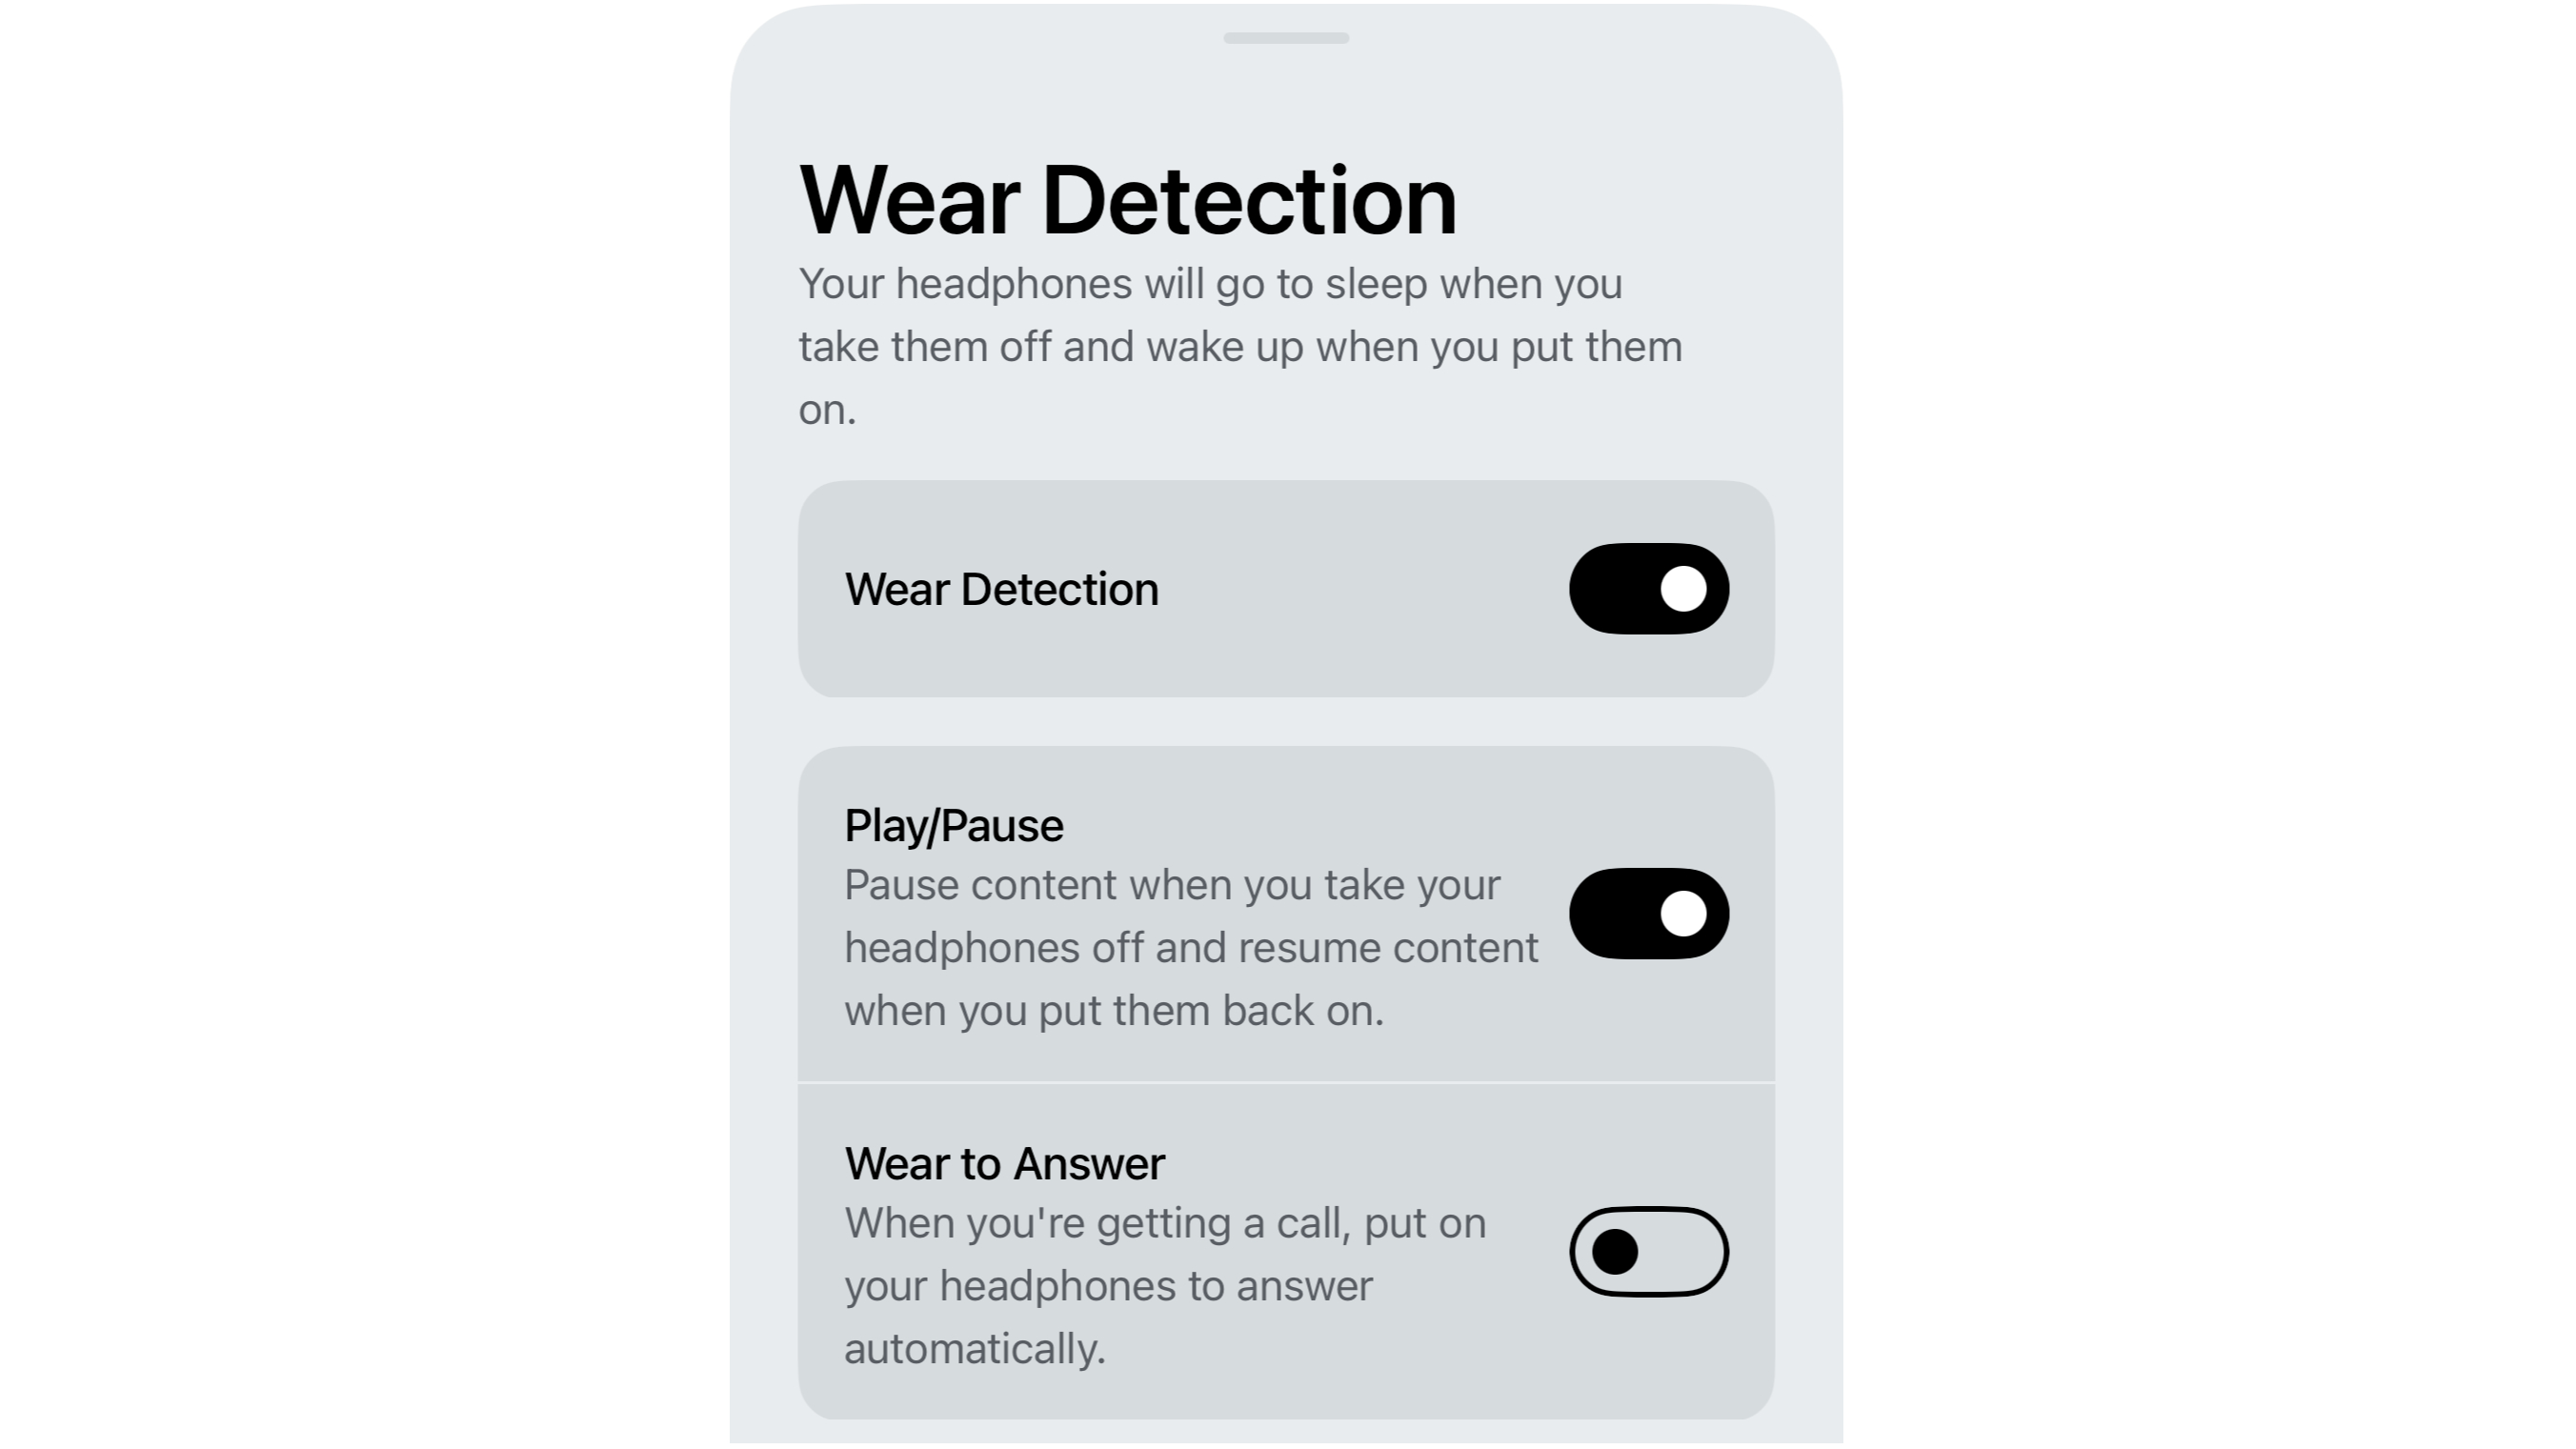
- Sonos Ace Menu > Hardware Controls > Wear Detection
If you take the headphones off for a quick conversation or tea break, the last thing you want is for your music to keep playing and the battery to drain. So, make sure wear detection is enabled so they pause when you take them off and play when you put them back on. We found the headphones quick to respond during testing, which help makes for a smooth user experience.
Noise control
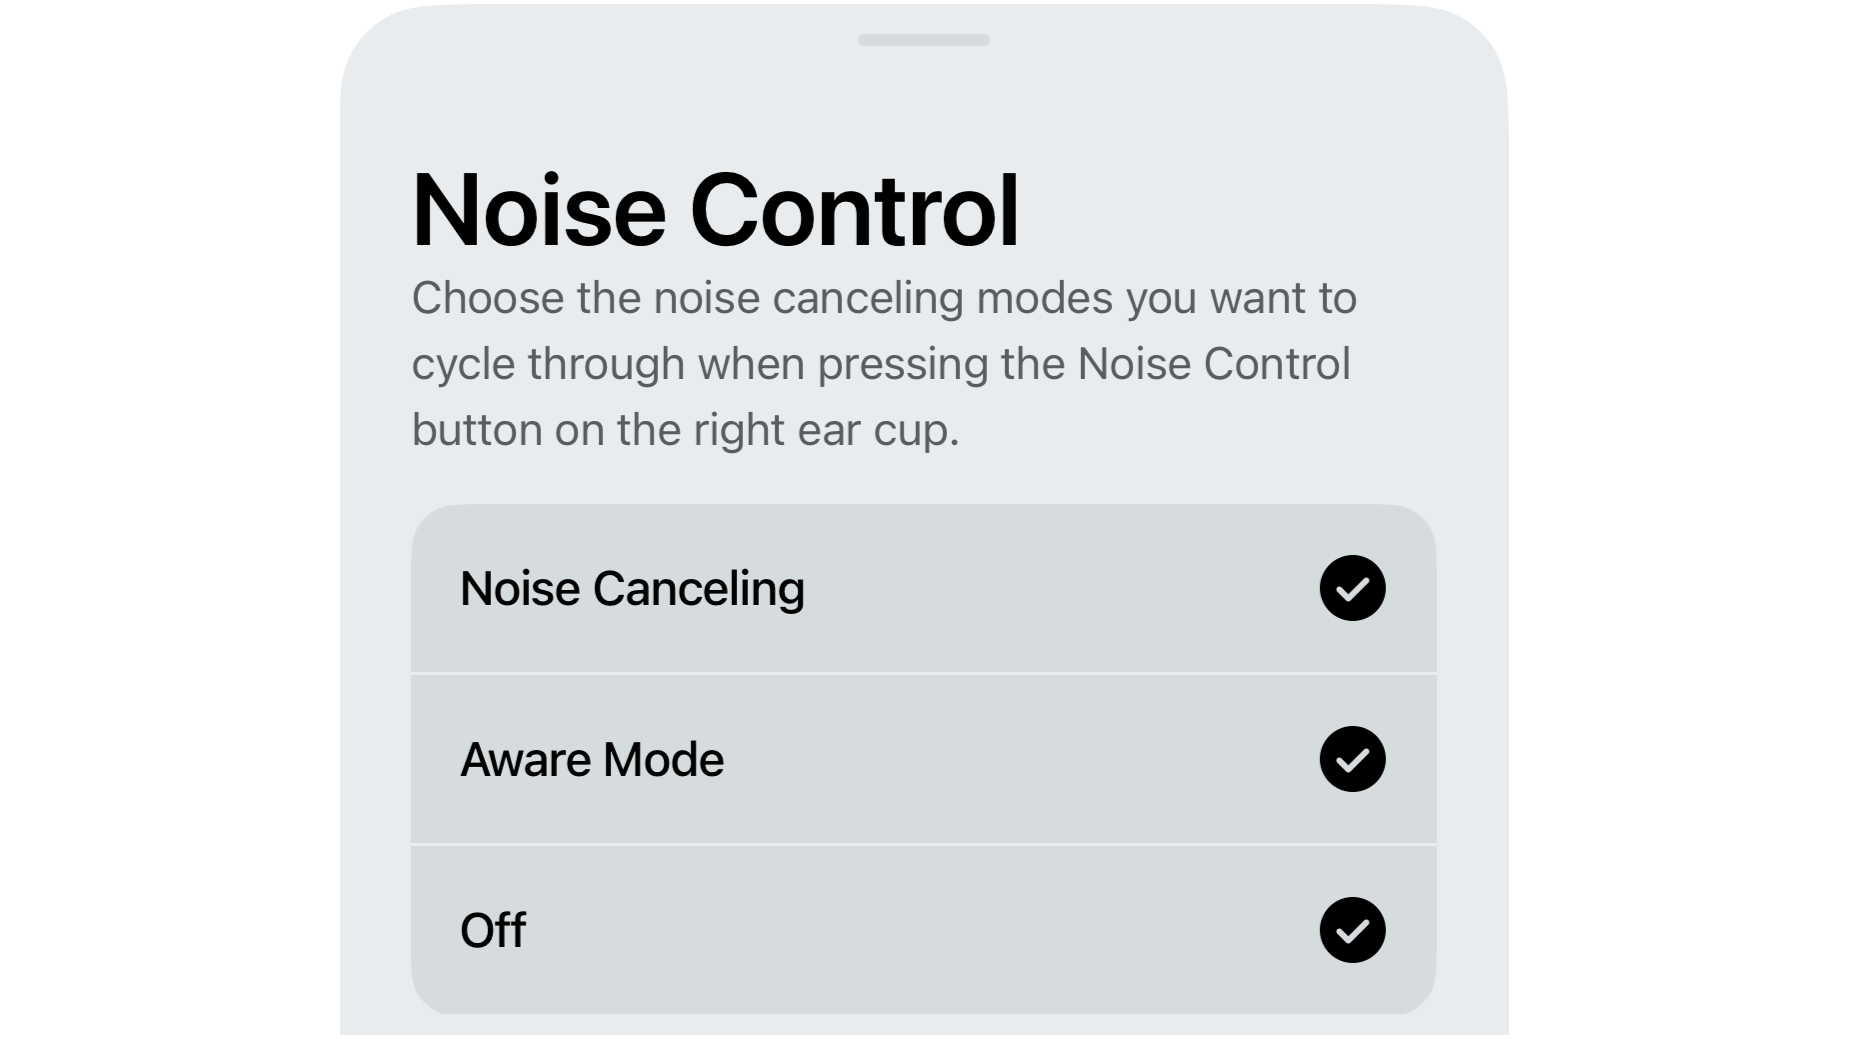
- Sonos Ace Menu > Hardware Controls > Noise Control
Sonos doesn’t offer a huge amount of customisation for the Ace’s sound modes. For example, you can’t alter the intensity of the noise-cancelling. What you can do is use the button on the right earcup to switch between the headphone’s ANC and Aware modes. If you want to add a step where the headphones turn all processing off (e.g. if you need to preserve battery life) you can enable it through the noise control setting.
MORE:
Read our Sonos Ace review
Sonos Ace vs Bose QuietComfort Ultra Headphones: which should you buy?
Sonos Ace vs Sony WH-1000XM5: which wireless headphones are better?
Our pick of the best wireless headphones
Get the What Hi-Fi? Newsletter
The latest hi-fi, home cinema and tech news, reviews, buying advice and deals, direct to your inbox.
Andy is Deputy Editor of What Hi-Fi? and a consumer electronics journalist with nearly 20 years of experience writing news, reviews and features. Over the years he's also contributed to a number of other outlets, including The Sunday Times, the BBC, Stuff, and BA High Life Magazine. Premium wireless earbuds are his passion but he's also keen on car tech and in-car audio systems and can often be found cruising the countryside testing the latest set-ups. In his spare time Andy is a keen golfer and gamer.

